Sunday, May 17, 2009

It’s not over yet

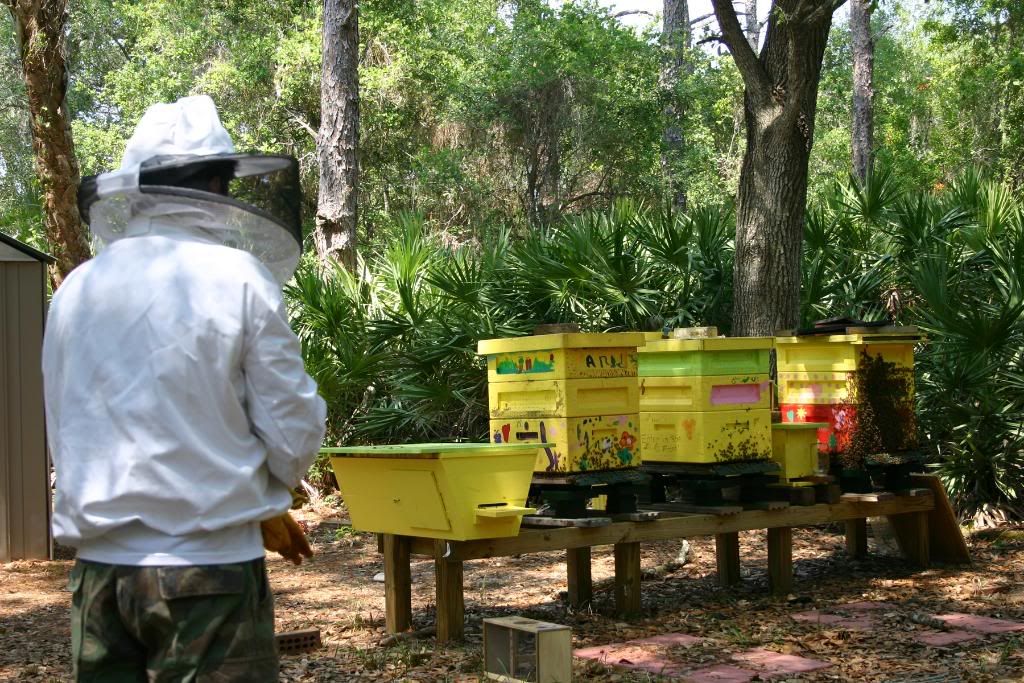
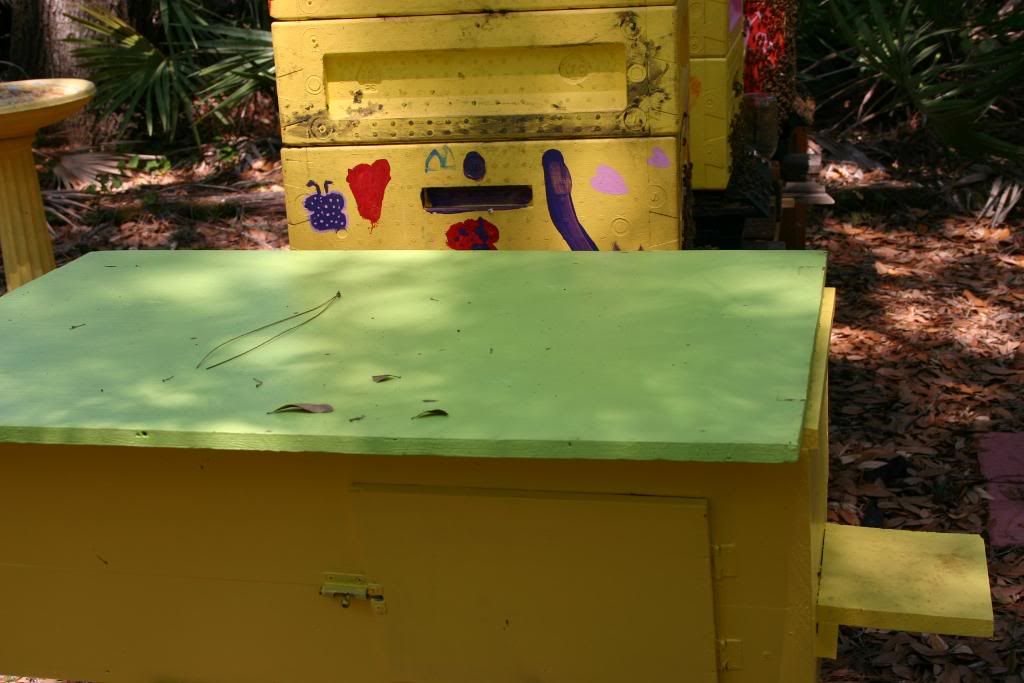
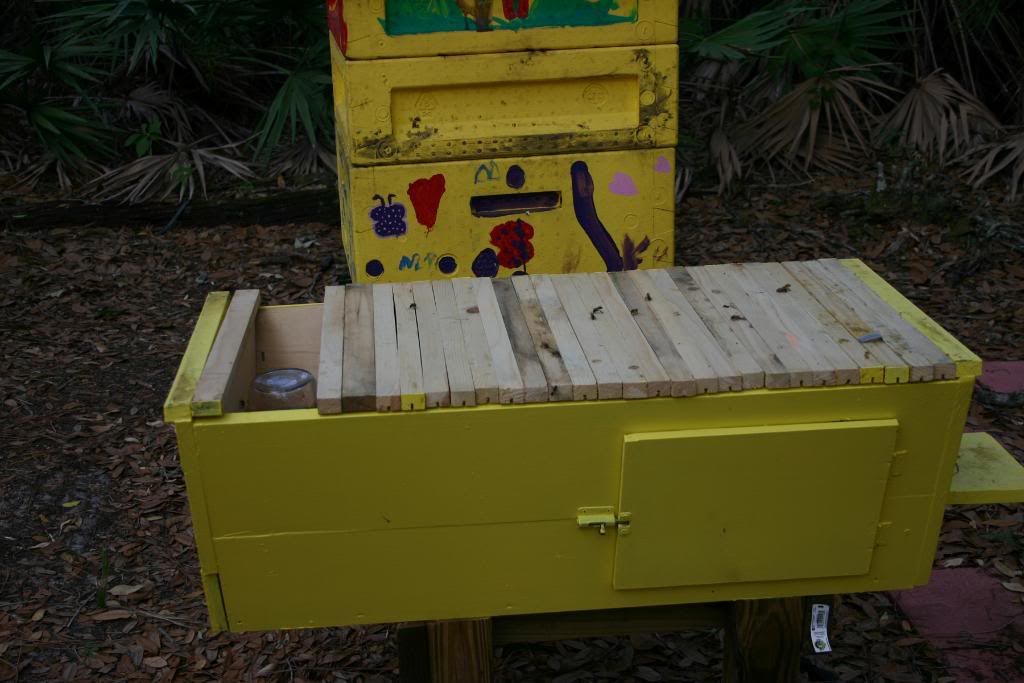
It’s been a good start to the year but the honey season is far from over. Here is my bee yard, from left to right my Top Bar hive…
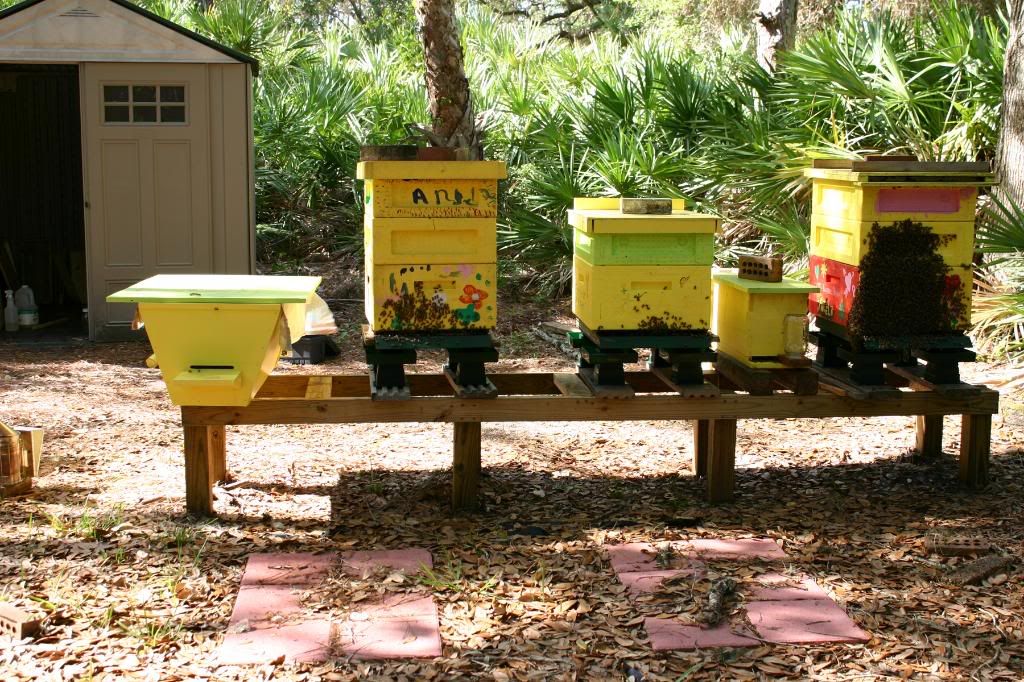
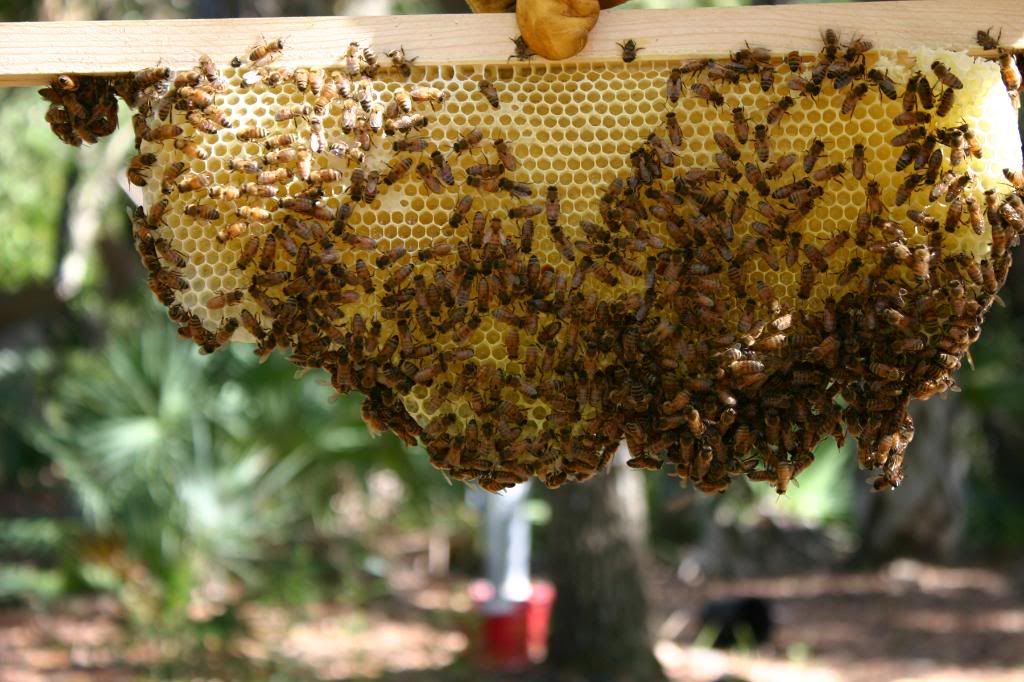
I’m in complete awe on the progress this colony is showing, can it have something to do with the type of beehive?? There are too many variables to really make a call. What I do know is that I provided 3 partially drawn out frames to the TBH and they have, in 2 weeks, pulled 5 more. I didn’t forget to remove the queen’s shipping cage this time, and I removed it causing minimum damage. I do need to be more careful about lifting the top off. It had glued itself to a few bars and when I lifted the top a few bars also lifted. Luckily there was no damage done to anything. Below are a couple of the new Top bars.


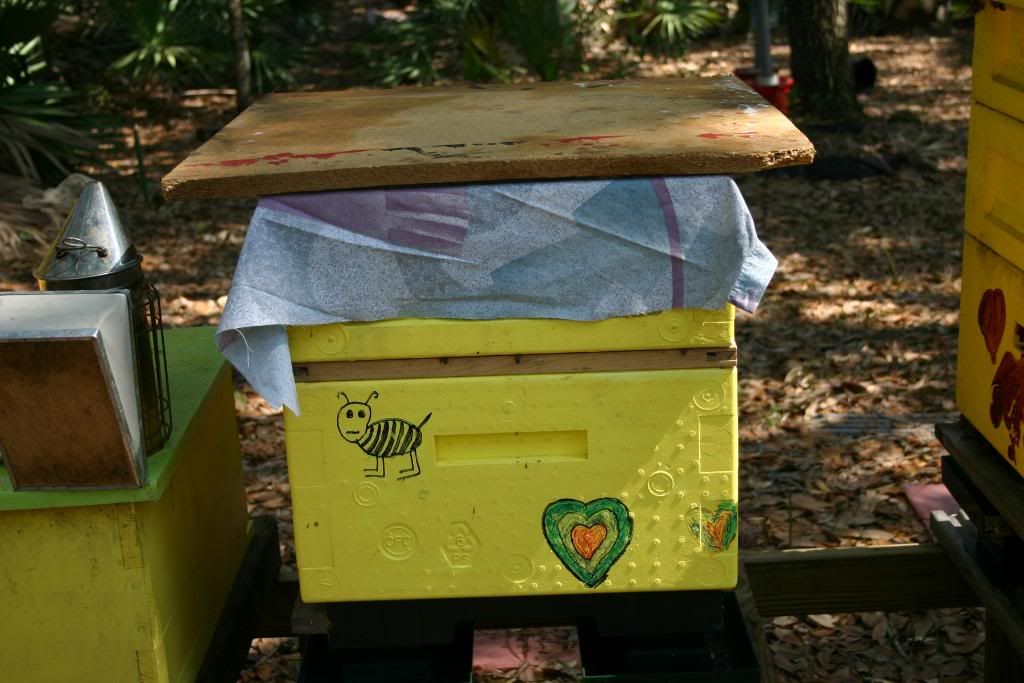
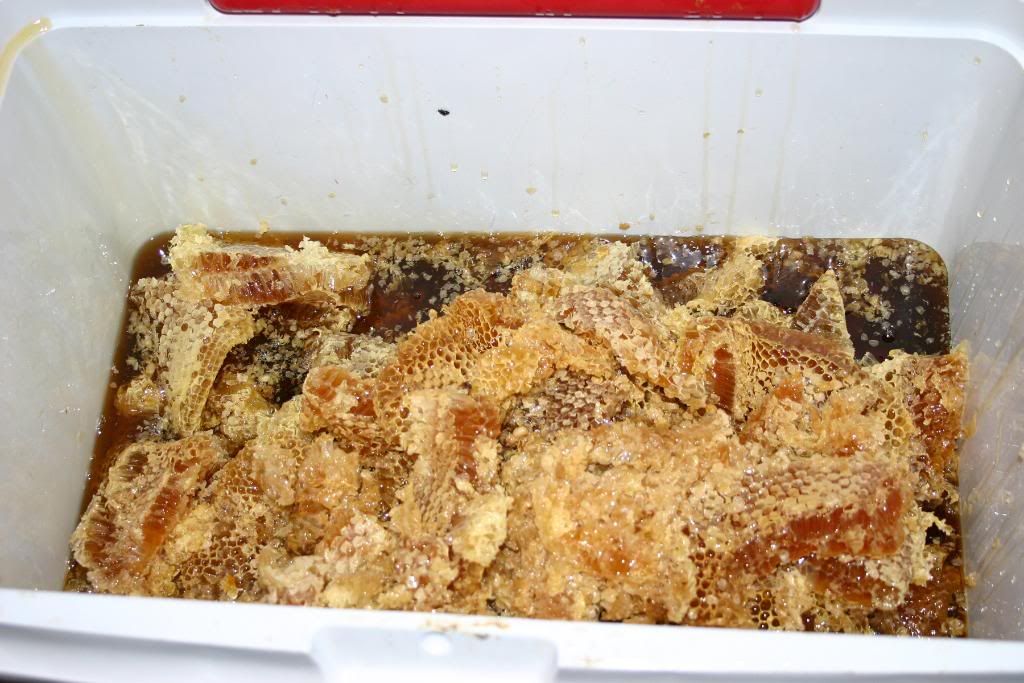
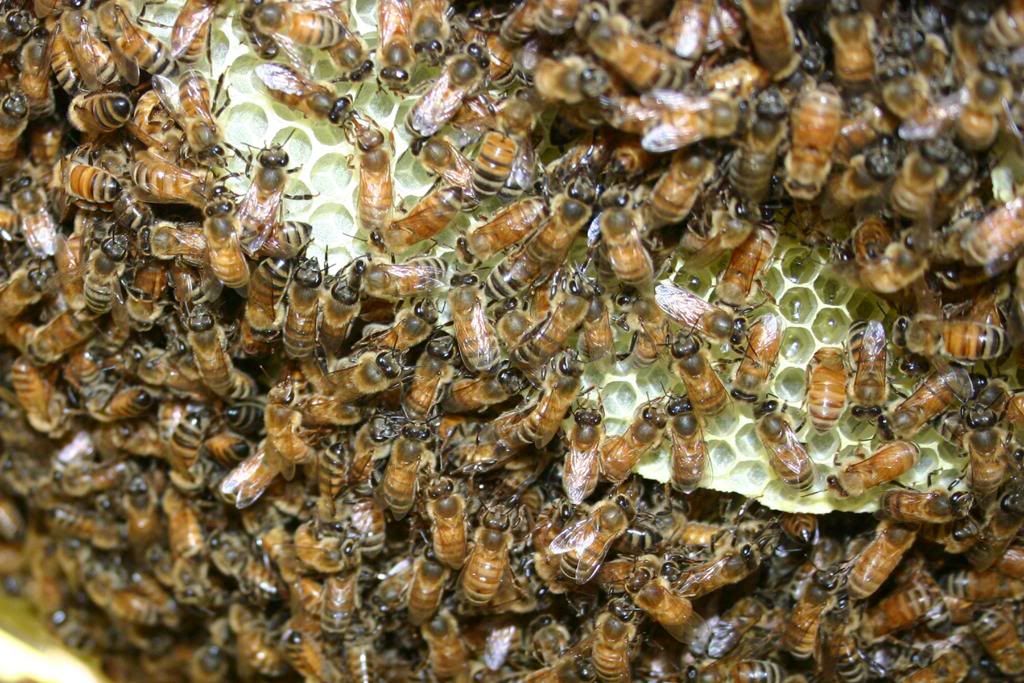
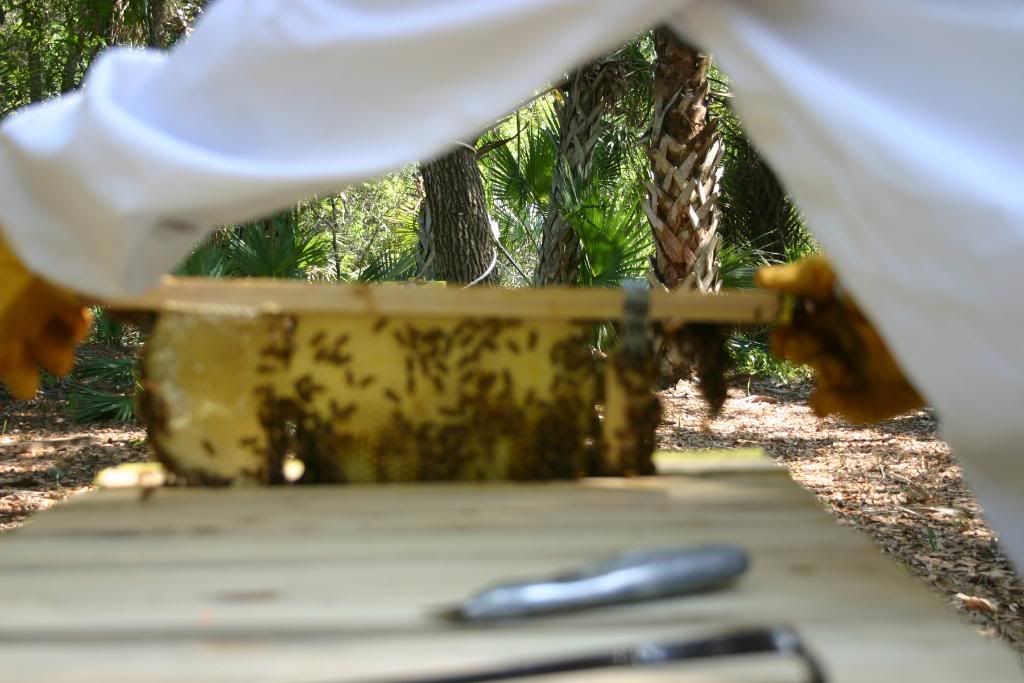
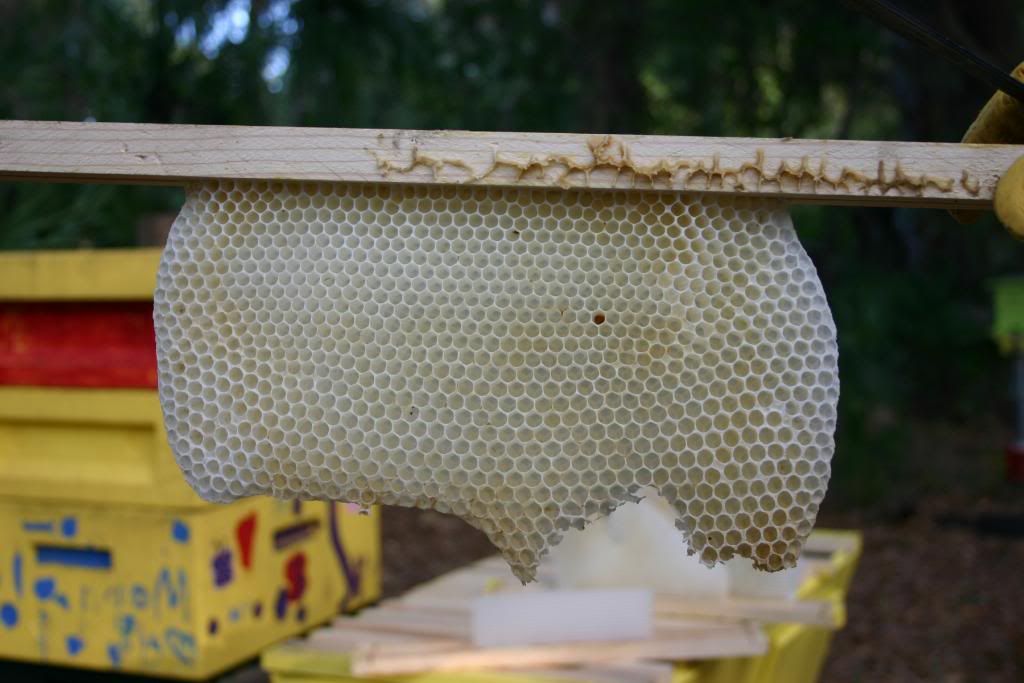
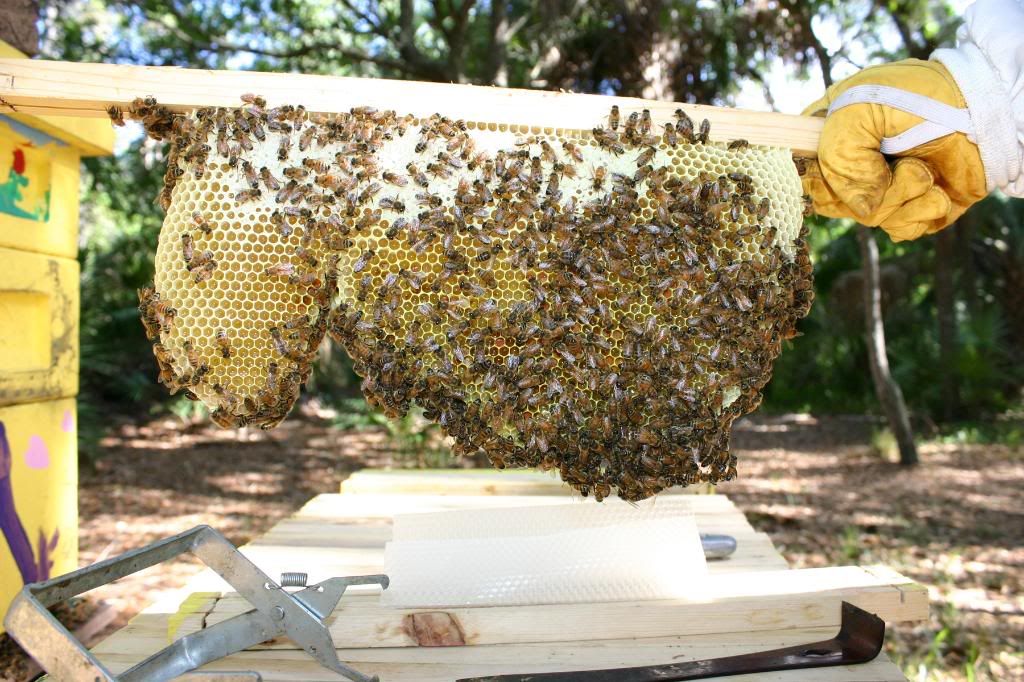
Next to it is my original hive. These guys started it all. Last time I looked in here I notice a lack of stored honey. Until this weekend I was a little apprehensive. I almost pulled my back removing the bottom super. The top is about 75% full and 50% of that is capped. I hope it can wait two weeks until I return from vacation. Here is the outside frame of the top super.

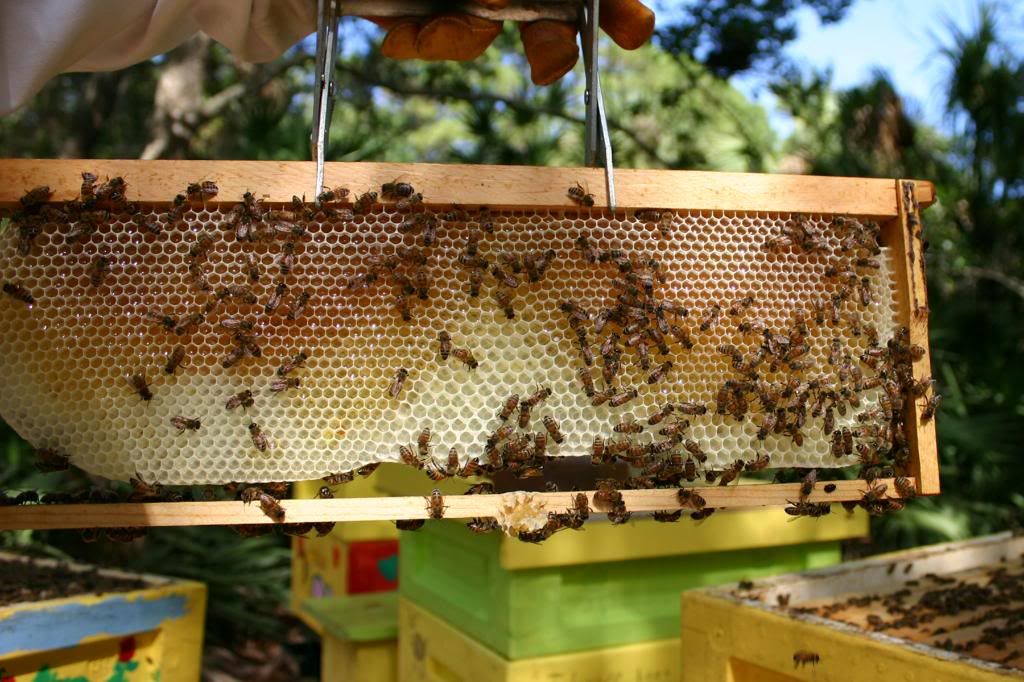
Next to my original hive is one of my NUCs from last year. One of the supers I robbed last week came from them. There’s not much activity going on in the current super. Palmetto and Palms flow is about to begin so maybe then it will pick up. No second super for them since they haven’t touched the one they have now.
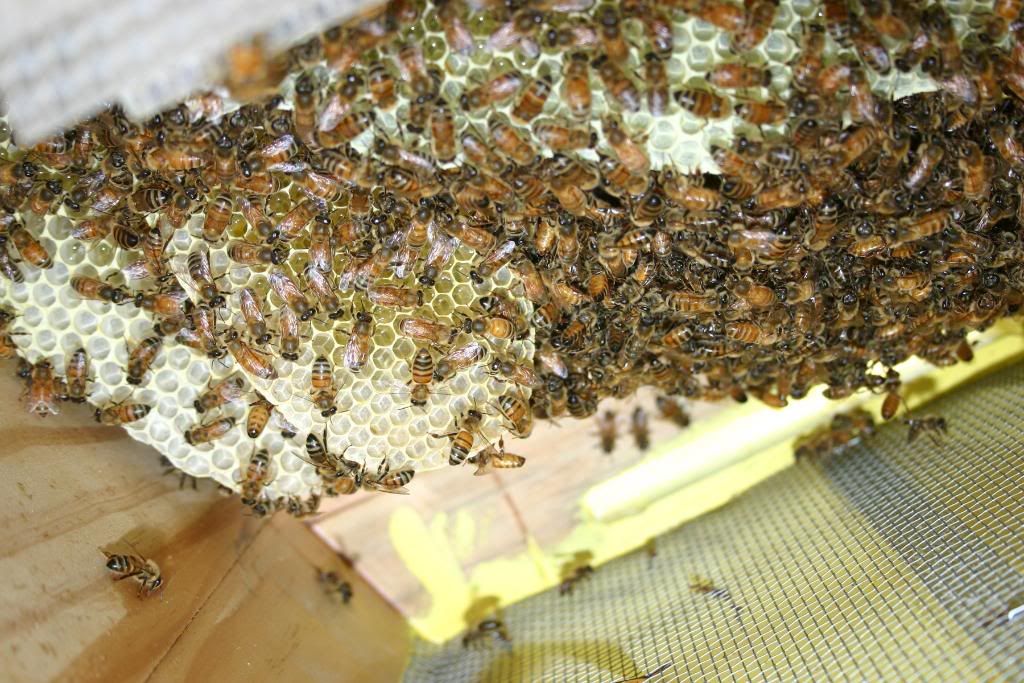
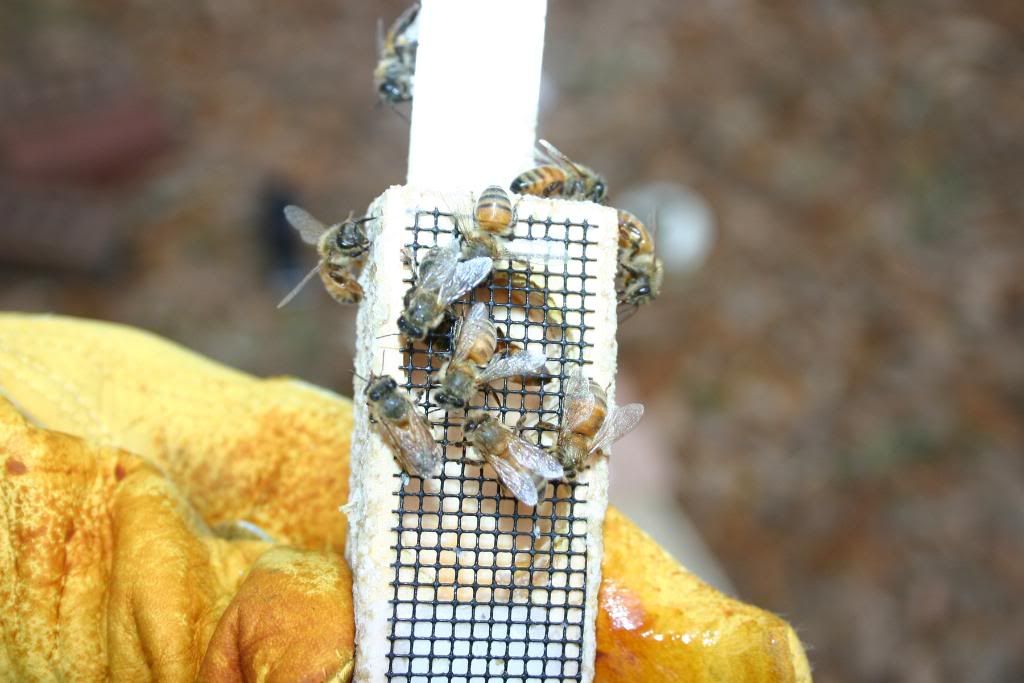
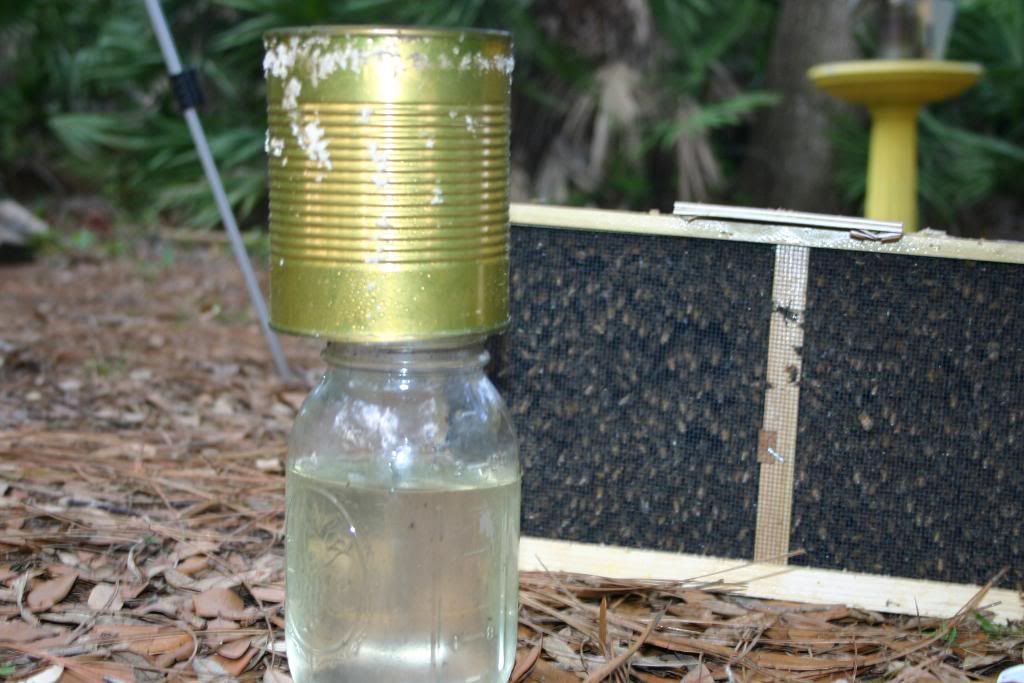
Next we have the new Nuc of the year. I’m not feeding them but I decided to leave the feeder to block the entrance some. I want to keep these gals small and in the NUC for the rest of the year. They right now hold my emergency queen. If anything happens in the established hives these gals with their queen will step in. I like to take pictures while inspecting to catch and review what I may not see. I was worrying about not seeing any eggs in the Nuc. The pictures proved me wrong. There are plenty of eggs in 3 frames, it’s just hard to see with all the bees over them.

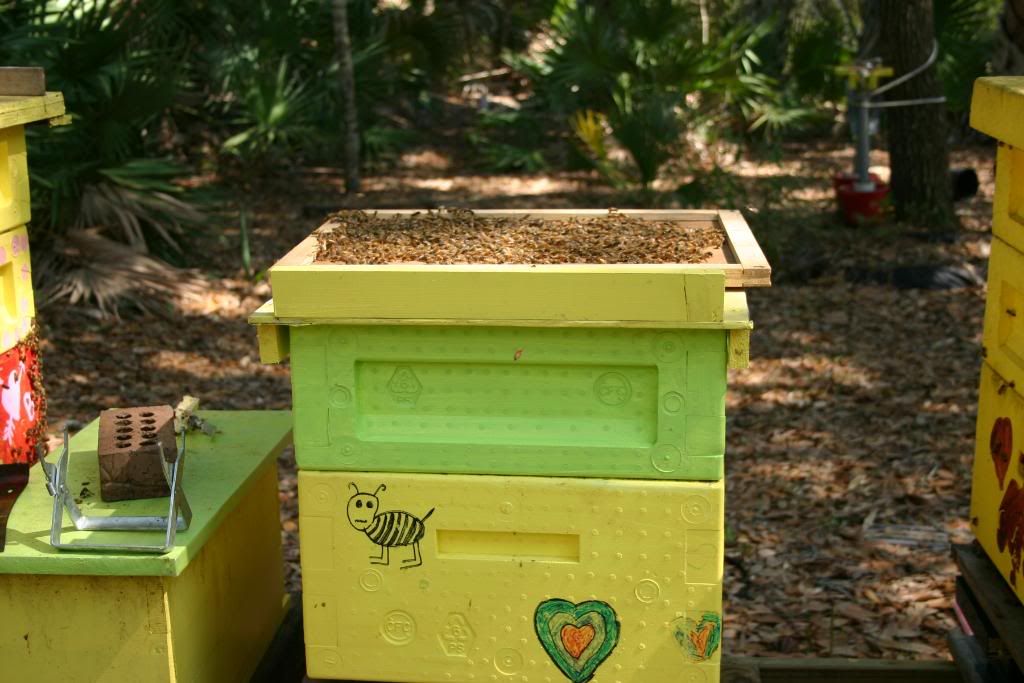
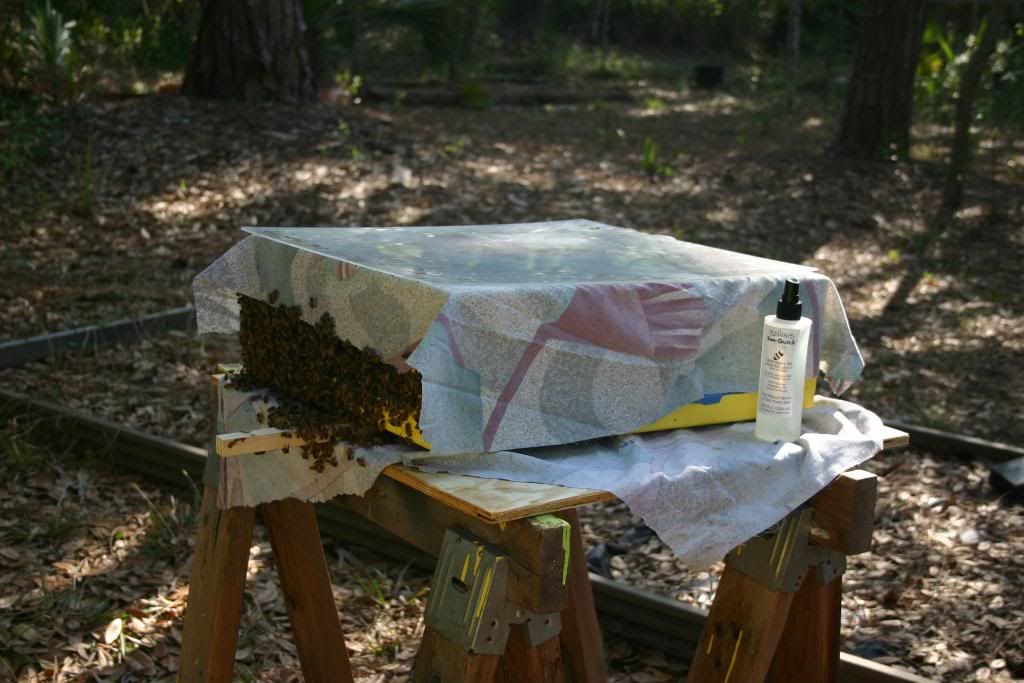
Finally my ex-angry hive with a whole new hard working pleasant attitude. No idea why they like to hang out as much as they do. The bottom super is 75% full, and the top super I placed on today. It’s one of the supers I extracted last week. Maybe this will give all the slackers hanging around some work to do. I’m hoping to have 2, maybe 3 supers to extract in a couple of weeks.
Oh yeah, I didn’t get stung stealing honey supers, but I got stung replacing empty supers. I’m glad the reactions are getting milder and milder.

First Honey Harvest of 2009

How much honey do two supers/twenty frames hold??? I was able to fill Thirty-four 12 ounce containers and seventeen 6 ounce containers, plus about 10 ounces of my personal jar for an approximate total of 515 ounces.
The 5 gallon bucket in the picture below was about 7/8 full, and holding the bucket on my home scale added 45 lbs to my body weight.

It took me several days to bottle all the honey. I need to revisit my choice for a spout. I didn’t feel like paying shipping for a honey spout and thought a regular spout would do the trick. It took just about 10 minutes to fill the 12 ounce jars, and the flow out of the bucket slowed down as the level dropped.


Wednesday, May 13, 2009

Time To Get The Honey

There is nothing more fun than having to put on a jacket and a veil and then starting up a fire in the smoker when the temperature in the shade is in the mid 80’s.


From left to right: Yours truly wearing my jacket and veil. The TBH (Top Bar Hive), Old Faithfull (My original hive), my eager hive (NUC from last year), my NUC (from this year), and my Mean hive with a whole improved attitude ( NUC from last year).Below are a few easy steps to rob honey from a beehive. Required tools: Bee Quick, cloth material (two pieces), inner cover, and a bee brush. Step one, remove and place out-of-the-way the super to be robbed. Step two, place the inner cover on top of the hive and then place the super on top of the inner cover. Step three, spray a cloth with Bee Quick on top of the super and put a hive cover on.
Wait about a minute or two and then remove the super. The smell of Bee Quick will drive a large number of bees out of the super and onto the inner cover. The inner cover will prevent the main body of the hive from being accidentally effected.
Place the super on top of the second piece of cloth, also sprayed with Bee quick. This will drive the rest of the bees out of the super.
Take the super 10 to 20 feet away from the hive and brush off all the bees hanging on it. Aside for a few stubborn bees the super will now be empty of them, and the bees you just brushed off will fly back to the hive.
I would prefer to rob the supers in a more natural way by using bee cones or Bee escapes. These methods take a day for the bees to naturally exit the super. I decided against this because it would give the Small hive beetles complete freedom to runaround in the honey and have a one day gorging feast.

Once in the garage I armed myself with the shop-vac to vacuum up any bees that may have still been in the super box. I cut the honey combs off the frames, dropped it into my nice clean honey cooler and crushed it. I retuned the super minus the honey back out to the bee yard for cleaning. Below is a picture of twenty (two supers) crushed frames.
Since this is a crush and strain method, it was then time to strain. The reason why I selected this cooler was for its nice draining spout. Below is a picture of the cooler draining into a five gallon bucket with two filters, a coarse filter over a fine filter.

Monday, May 11, 2009

TBH Package Follow Up

An inspection to confirm that the queen was release from her shipping cage (click for picture) must be done four to five days after installing a package, whether it is in a Langstroth hive or in a Top bar hive. On Sunday, six days post package installation; I found time to look in on the two new packages, one in the TBH and the other in a regular Langstroth Nuc. Below is a side view of my TBH.

I gave the colony a great kick start by providing it with 3 partially drawn out top bars. Not only did the colony repair and expand the 3 bars I gave them, but they have already drawn out a fourth one. Below is my 1st picture ever of the inside of the hive. To get a better idea of the internal view, tilt your head slightly to the left until the hardware cloth on the bottom of the picture becomes the horizon.

Brood is capped approximately four days after the eggs are laid. Since it takes 3 to 4 days for the queen to be release, there won’t be any capped brood six days after the package is installed. Not even if the queen began laying the minute she was release from her cage. It was hard to get a picture of any hatched eggs or eggs with all the bees hard at work on the honeycomb.

I gently slid the bars from back to front using a box cutter knife to unglue the bars. Many beekeepers claim to use a lot less smoke in Top bar hives, I did use a lot less smoke with this colony, but they are hardly up to full strength and hardly have anything to protect. My guess is that is too early to make a call either way on that myth. Once I made my way to the 3rd bar where I hung the queen’s cage, I gently and nervously pulled the bar out. I needed to remove the queens cage, but I was very apprehensive about dealing with new honey comb wax with no support what so ever. Unfortunately I didn’t catch a good picture of it.

Below is my Top bar hive without its top after my 1st inspection. I’m very pleased with the end result of the design, the paint job colors, the incredible progress of the colony after only a week, and …………….. Wait a freaking minute!!!!!!!! What’s that on the 3rd bar from right to left?? Did I forget to remove the queen’s cage? But I removed the top bar; I have an out of focus picture to prove it!!!!!!! DO’H !!!!!!!!!!!!!!!!

By next weekend when I do an inspection to see if there is capped brood, that cage is going to be permanently part of the honeycomb in that top bar.

Sunday, May 10, 2009

TBH Package installation

Thank you to TyraTech and Jason who paid for one of my packages in exchange for allowing them to collect a hundred or so bees. Wouldn’t you know it? My two packages arrived last Monday just about a week early. I arrived home from work after the Post Office had close, but I decided to call them to find out how early they open in the morning. I was thrilled when they told me I could knock at the back door and pick them up. Two buzzing boxes of bees really freak people out.

I was completely unprepared since the packages were not suppose to arrive for another week, but I made do and put together what I needed to install the packages that late afternoon. All you really need to install a package is a spray bottle with sugar water (1:1). The first step is to profusely spray the bees inside the box. Tap the box on the ground to drop the bees to the bottom of the box. Spray them some more, pry the syrup can cover, spray them some and tap the box on the ground once again. When pulling the syrup can out along with the queen cage, it is not a bad idea to spray and tap the box one last time. It is a good idea to keep the can cover handy to close the hole after pulling the queen cage out.
Inspect the queen and confirm she is alive and looks healthy/active. Then MAKE absolutely sure to remove the cork on the candy end of the cage. Place her in the hive using the metal tab to dangle her from one of the top bars. I chose to place her between the 3rd and 4th bar
I placed one inch starter strips on all my Top bars, but I also outsourced (the current American way) some honey comb construction to my other hives. I removed one of the outside frames that had not been worked on from their Suppers, I slid all the frames out, and placed one top bar right in the middle of the supper for a total of four days. Below is one out of three bars with the results of the four days of work.
Although we are currently in a dry spell, the nectar flow is on. Some 10 ounce of sugar water and the remaining contents of the package’s feeder can is not going to hurt.
Now prepare the hive by removing enough bars to make a large opening in which all the bees can be dumped inside the hive. Before dumping the package spray them some more. The busier the bees are cleaning themselves the less likely they will fly out as you dump them in.
The picture below shows my TBH with the bars back in place. The metal tap to the right (front of hive) is the where I placed the queen’s cage, and to the left (back of hive) you can see the top of the feeder bottle.
Now leave them alone for at least 4 to 5 days

Powered by WebRing.
Powered by WebRing.