Tuesday, March 31, 2009

Hoping for Good Results

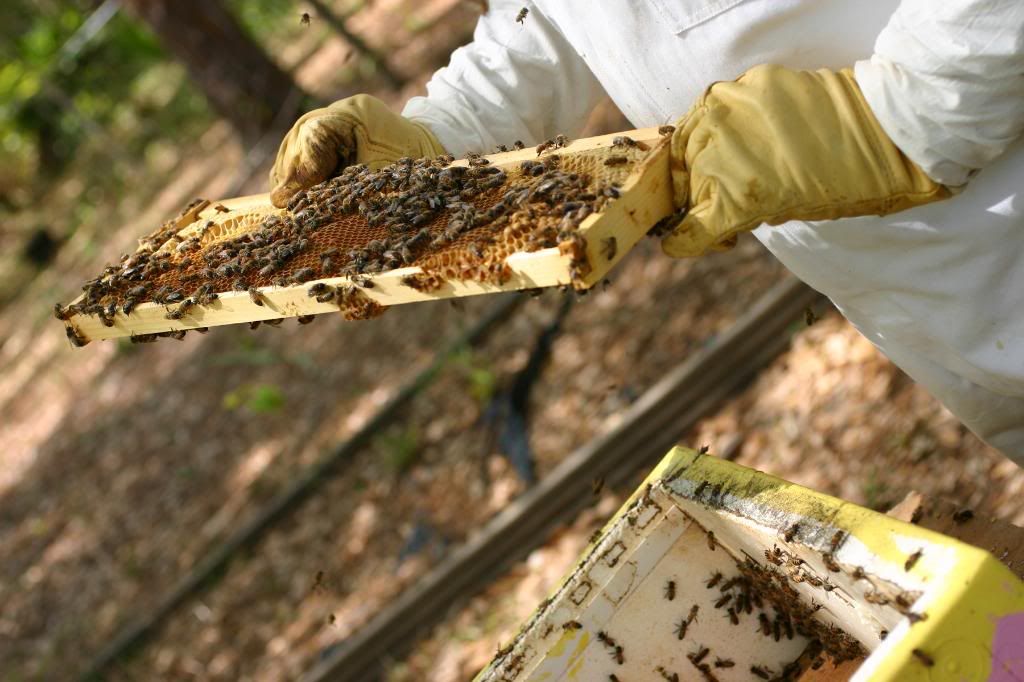
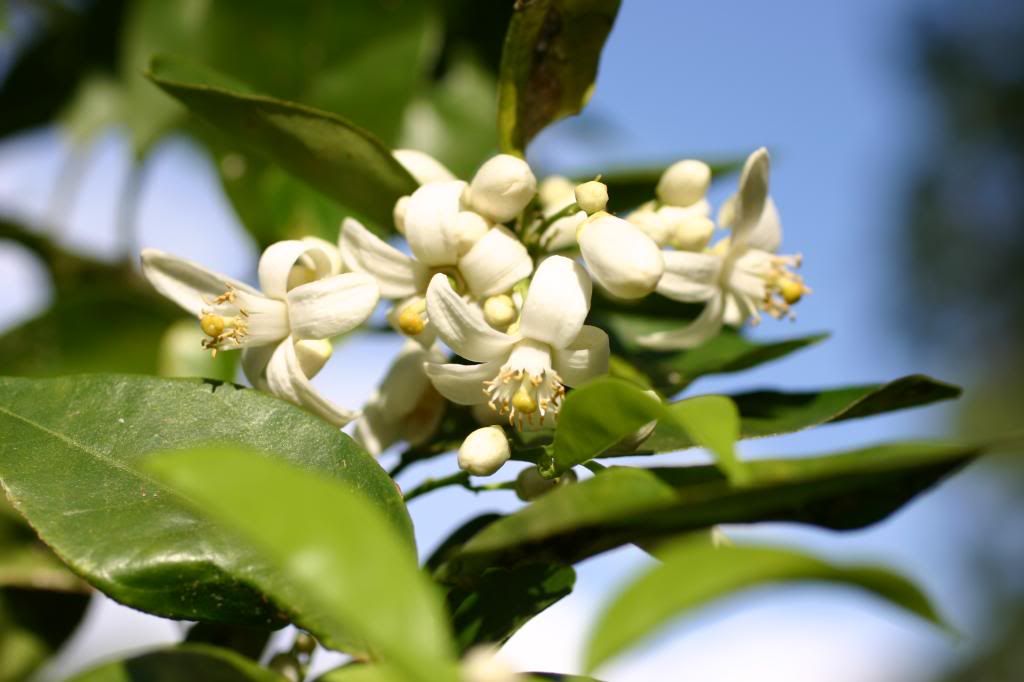
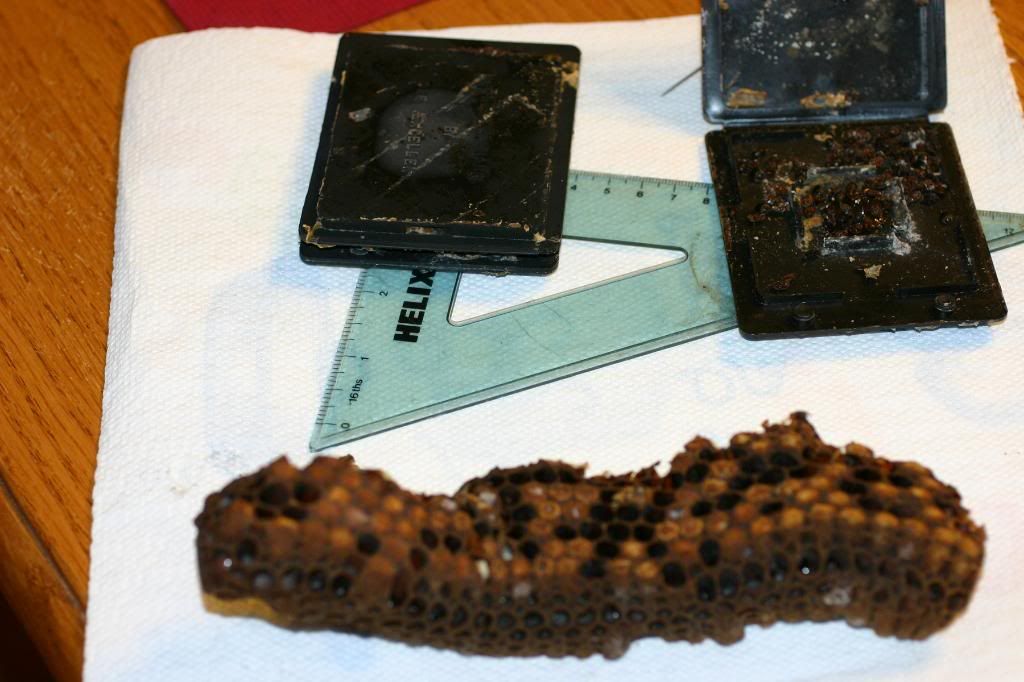
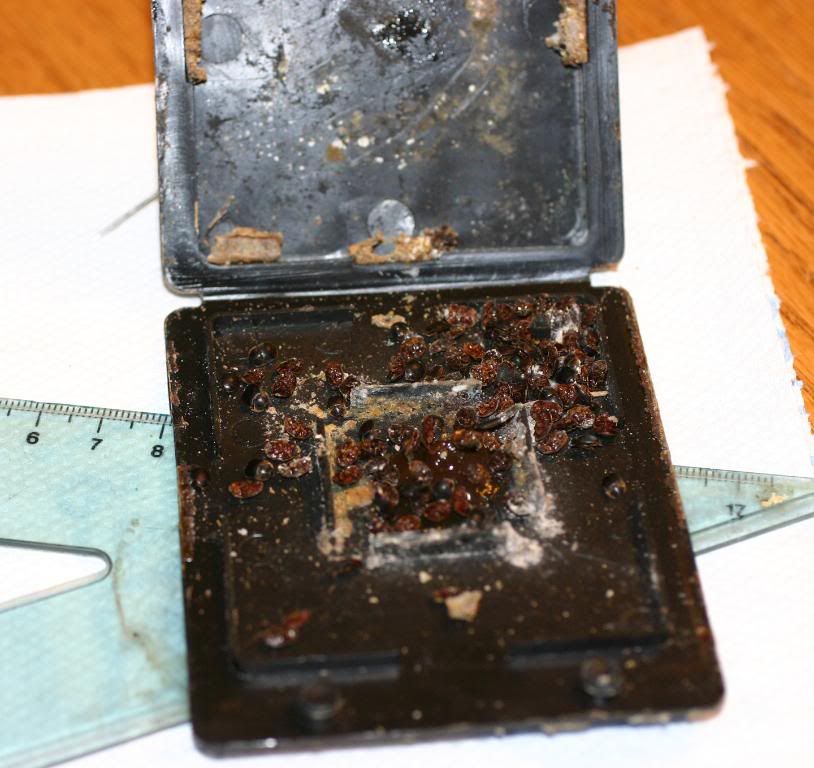
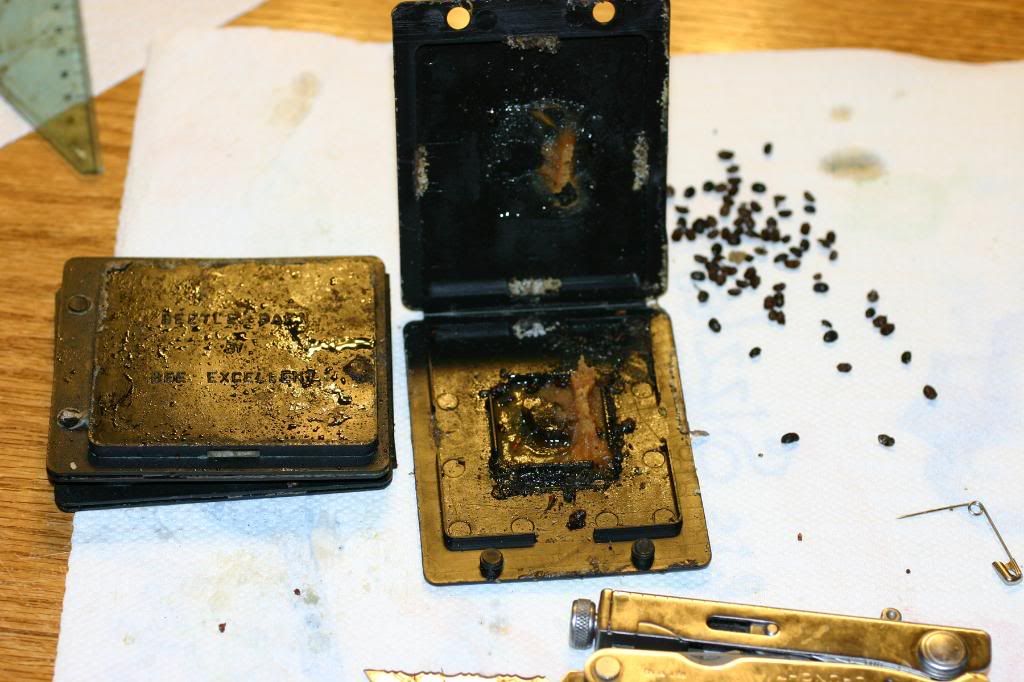
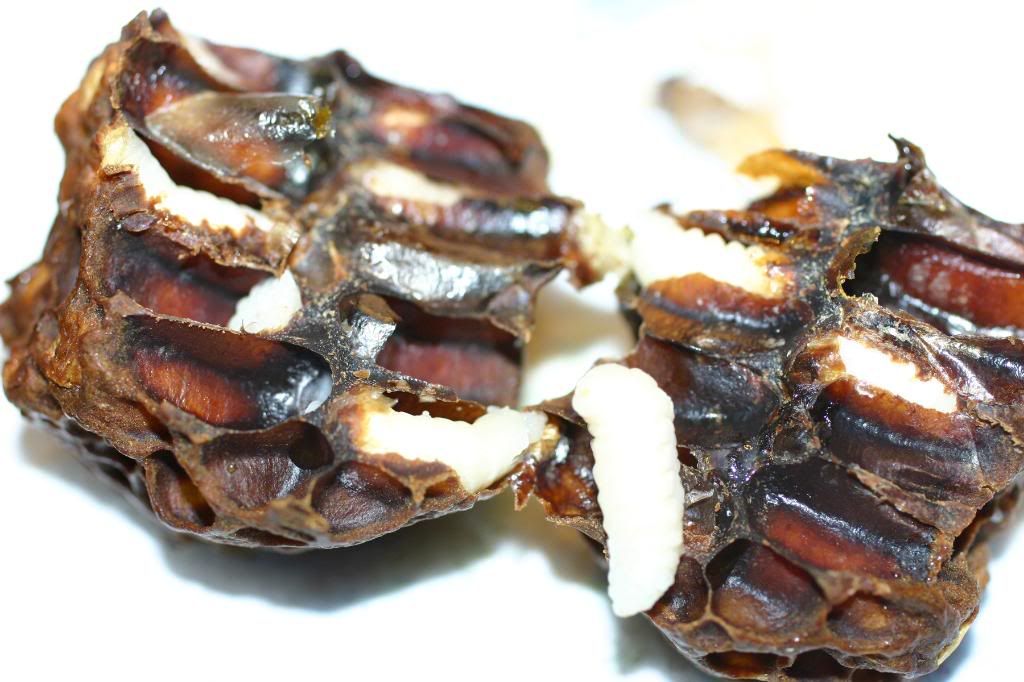
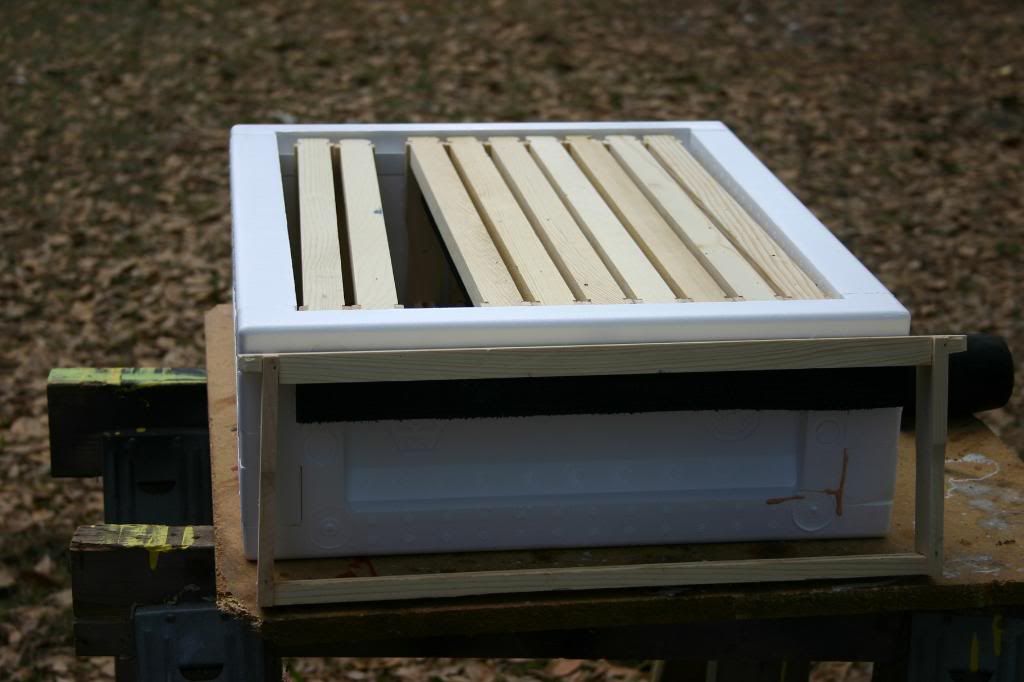
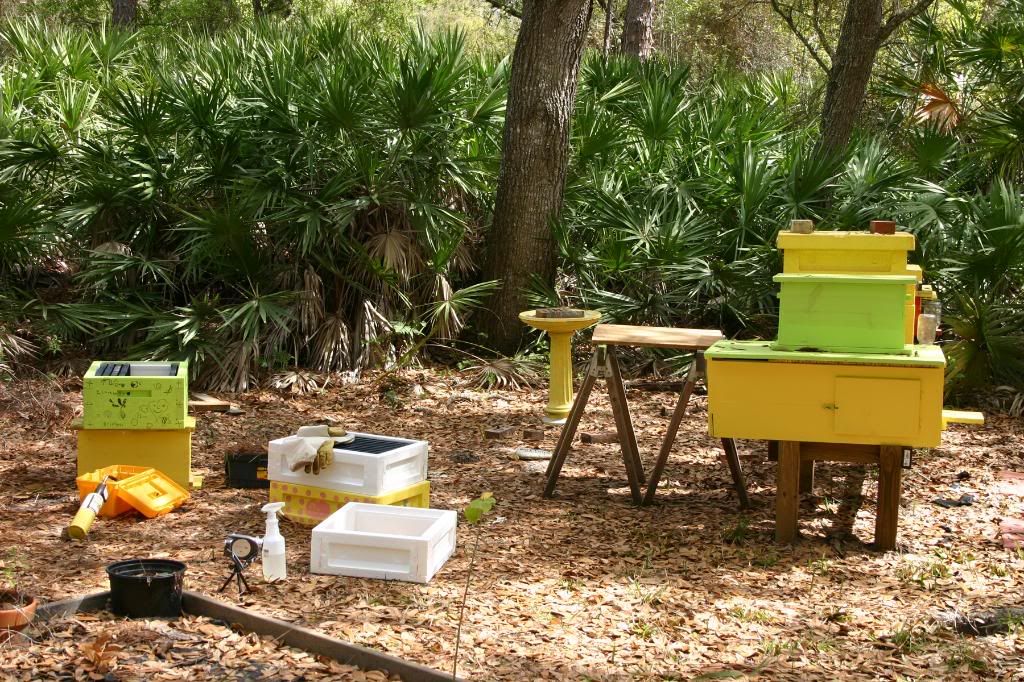
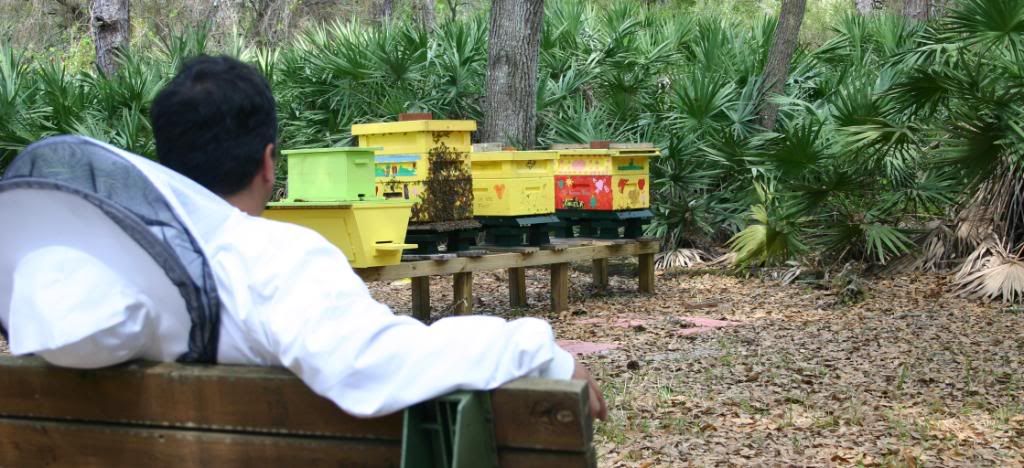
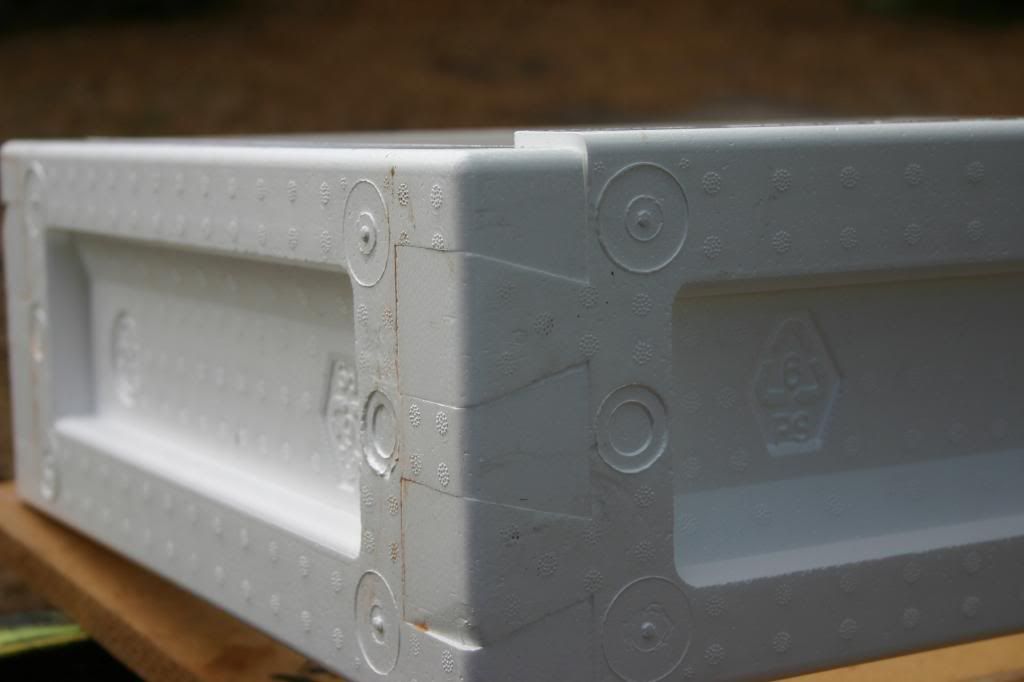
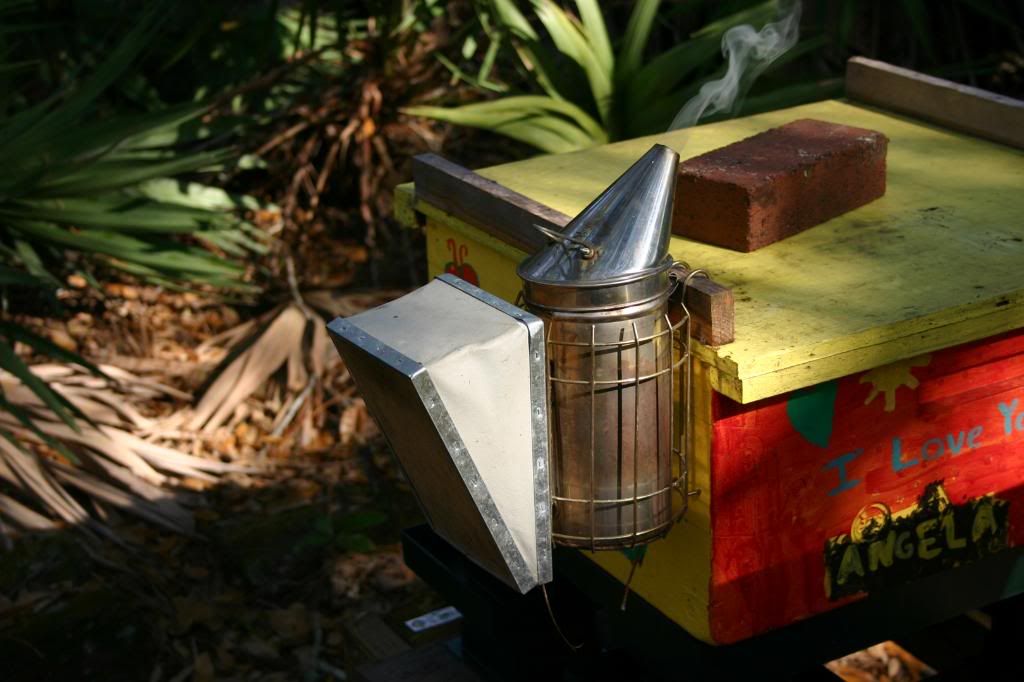
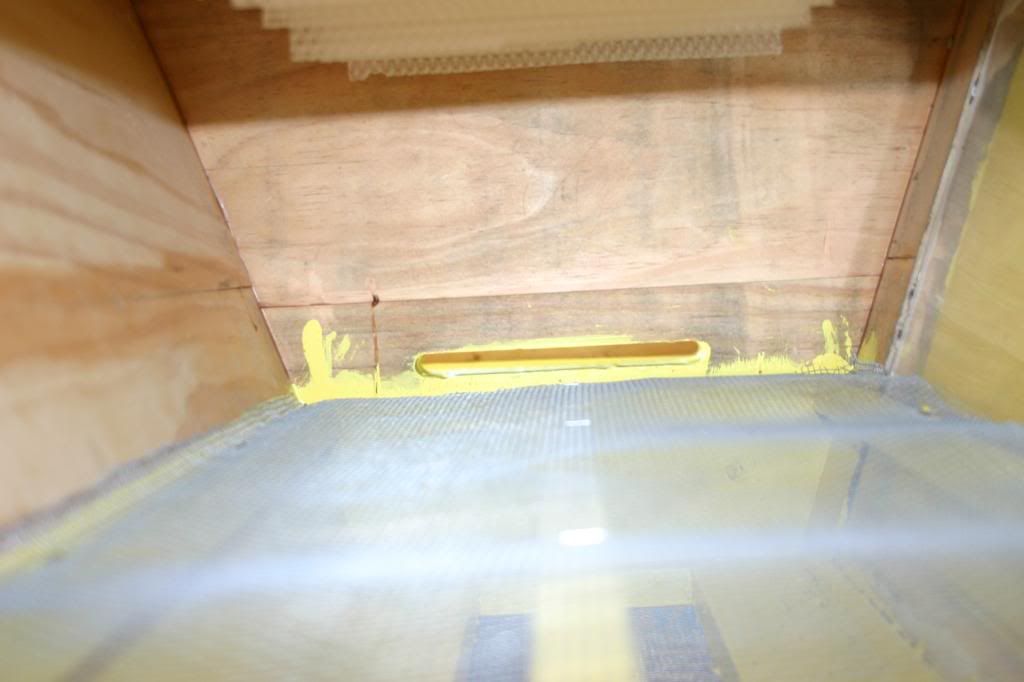
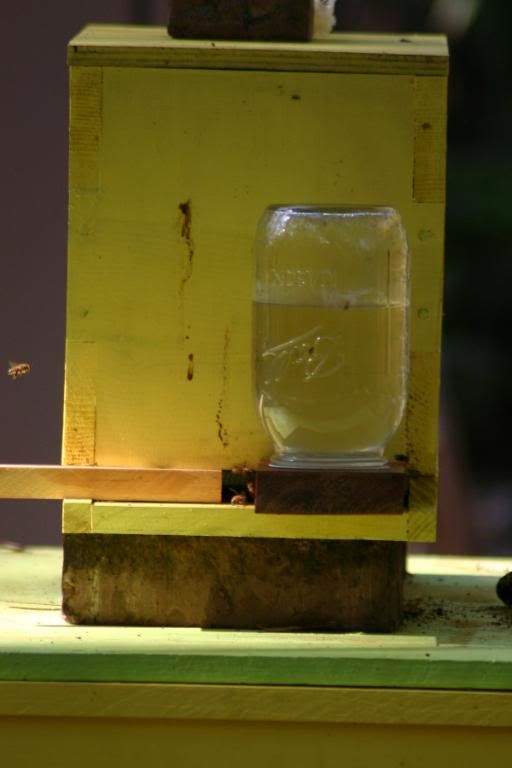
After the hives were re-queened Thursday, I had some out of town things to take care of until Sunday. I needed to pick up some things around the bee yard that I left lying around. If the new queens are accepted I may have to change names for the hives. I have been toying with herb names for a while. I am big fan of herbs and I grow them all the time.
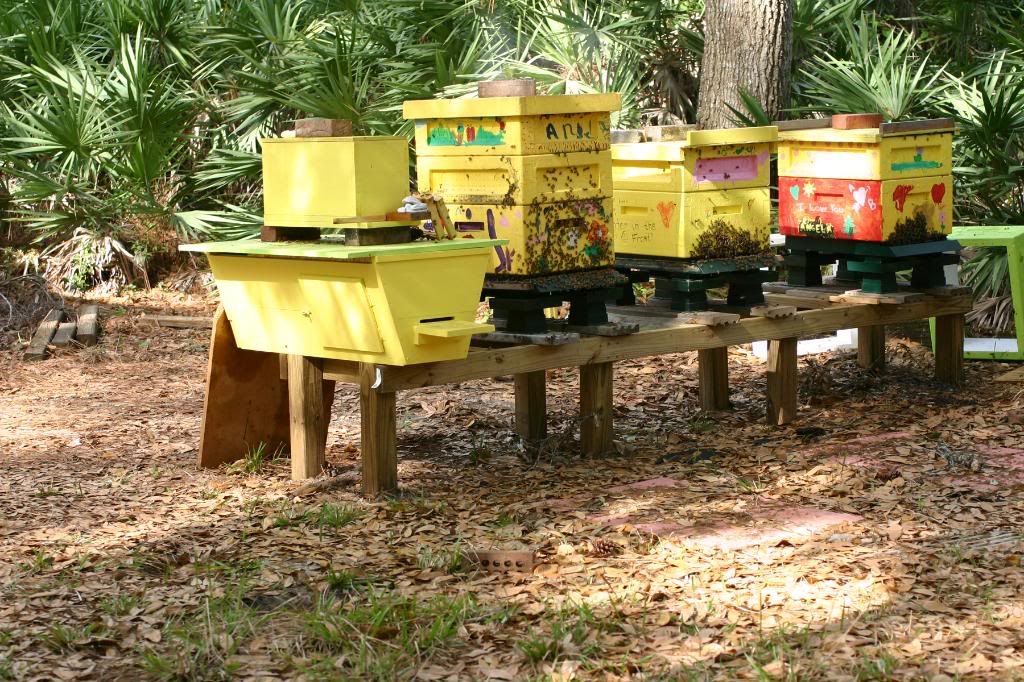
My new NUC sitting on top of the TBH is a split from “Old Faithfull”, my original hive. I’m not sure if it has a queen, but it has a frame to make one and plenty of resources. I also did something in the NUC and all the hives that I think I'm pretty smart for having had thought of it. I put them all to work drawing out 4 total bars from the TBH hive. The bees for it are due to arrive early May. The drawn out frames would be a great head start for the package. So the NUC is composed of one frame of eggs (only one I found in “Old Faithful “) to make a queen if there is no queen, and medium frame of honey, a frame of pollen and honey, one new never used plastic frame, and one Bar from the TBH. From the outside the NUC looks promising.

In my other 3 hives I placed the new queen cage face down over the top of frames containing capped brood. How did I manage to make the cage fit?? Simple, I took one or two frames from the supper above and replaced them with bars from the TBH. They have no bottom bar so the cage doesn’t get in the way, and the bees should begin to draw them out. As soon as I have time and the weather cooperates, I will open the hives to inspect for newly laid eggs from my new queens and at the same time retrieve the TBH bars to replace them with regular frames.
Here is “Old Faithfull”. I removed two deep frames and one medium frame to create the NUC above. The bees should be working on one TBH bar and
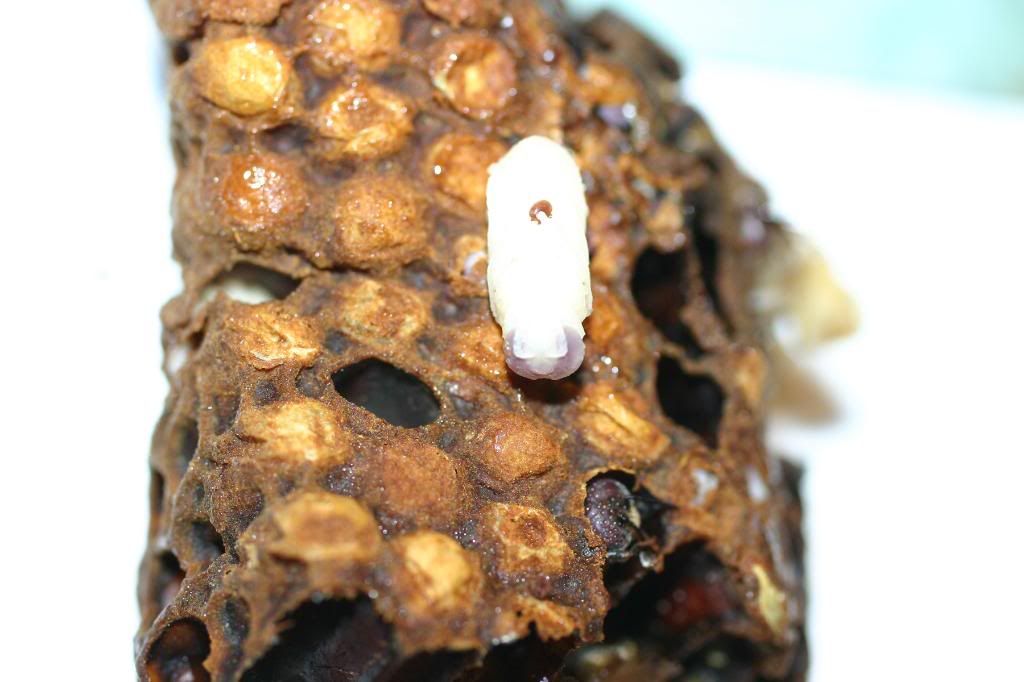
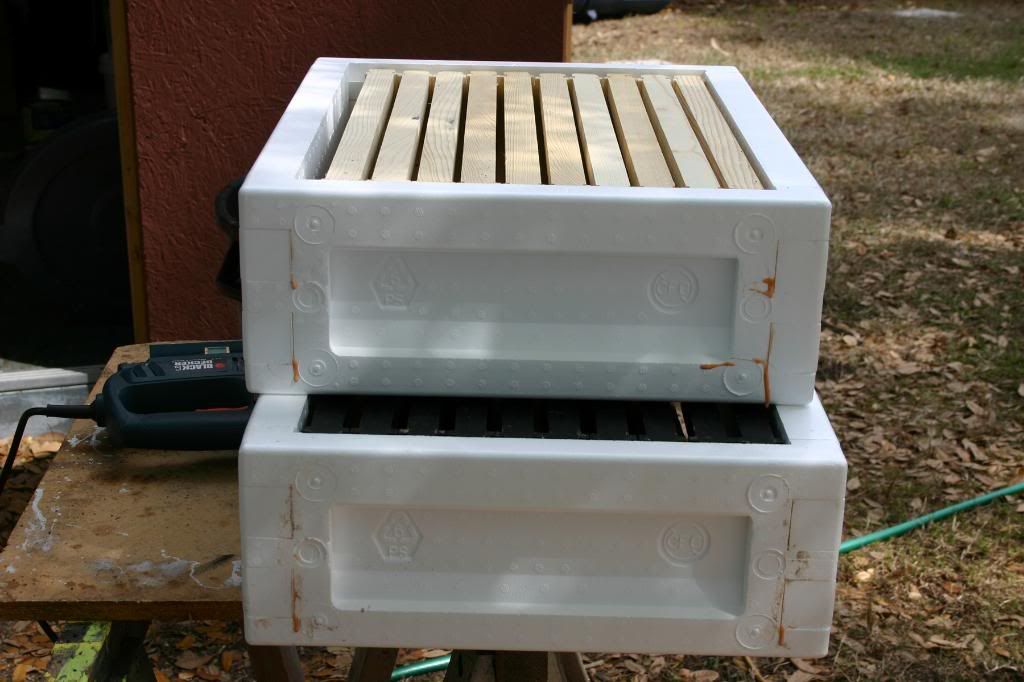
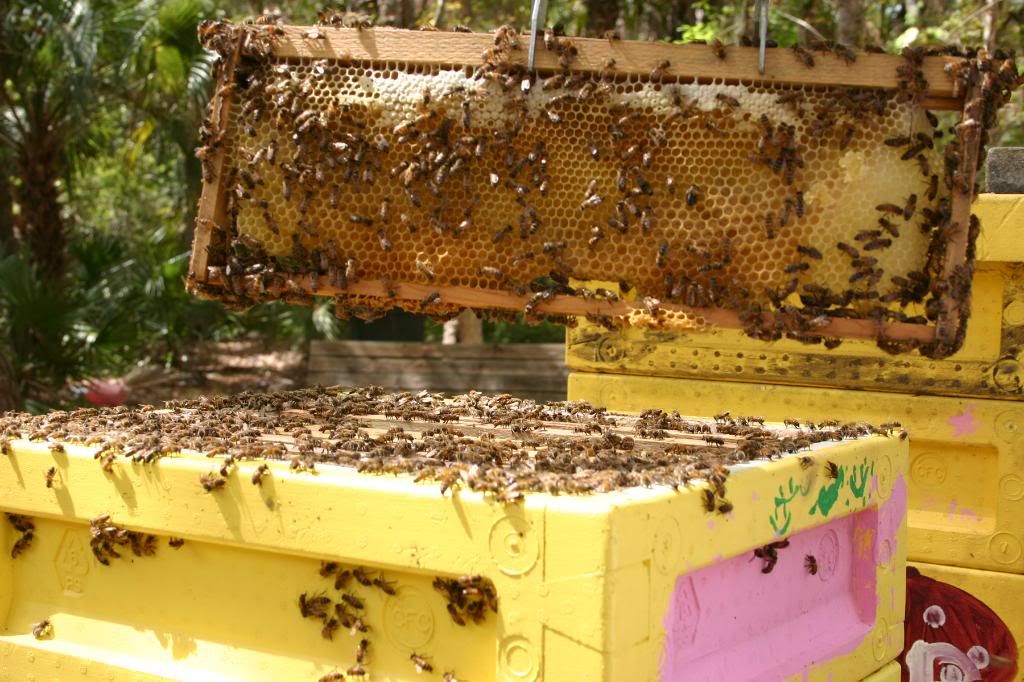
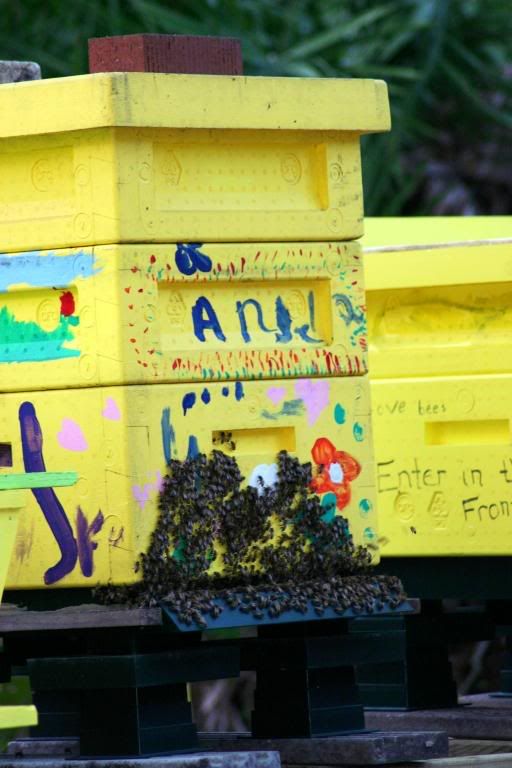
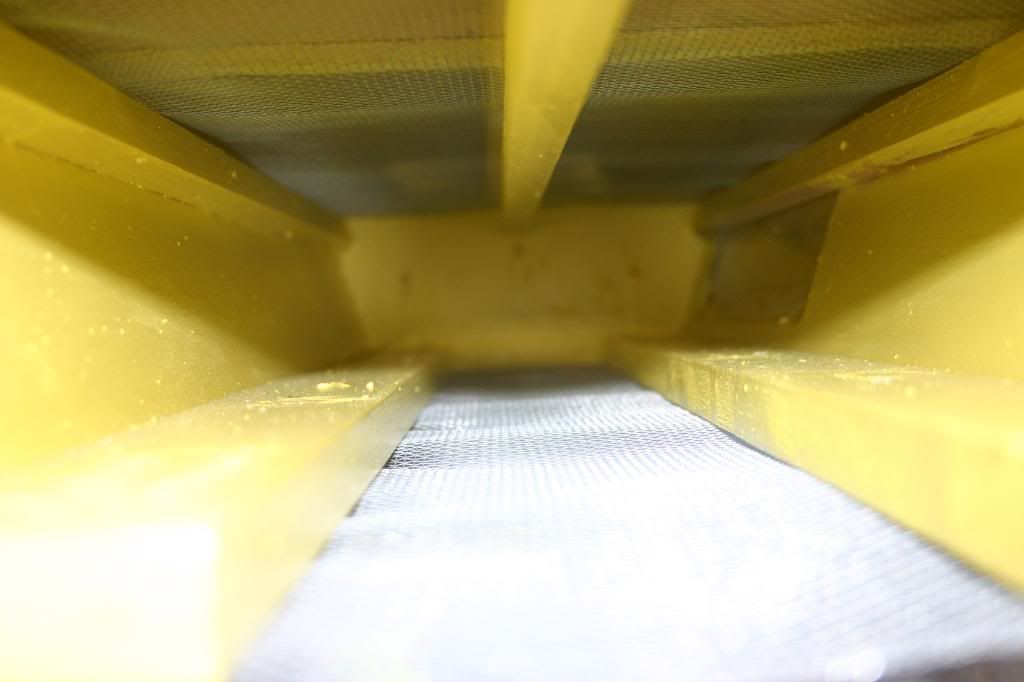
my eager NUC and new queen are working on two TBH bars. The colony also moved the brood frames completely up to the supper.

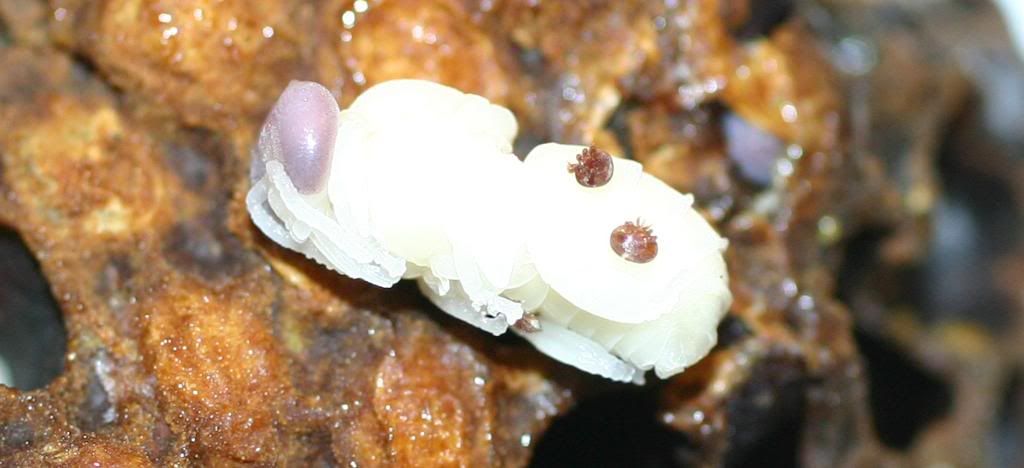
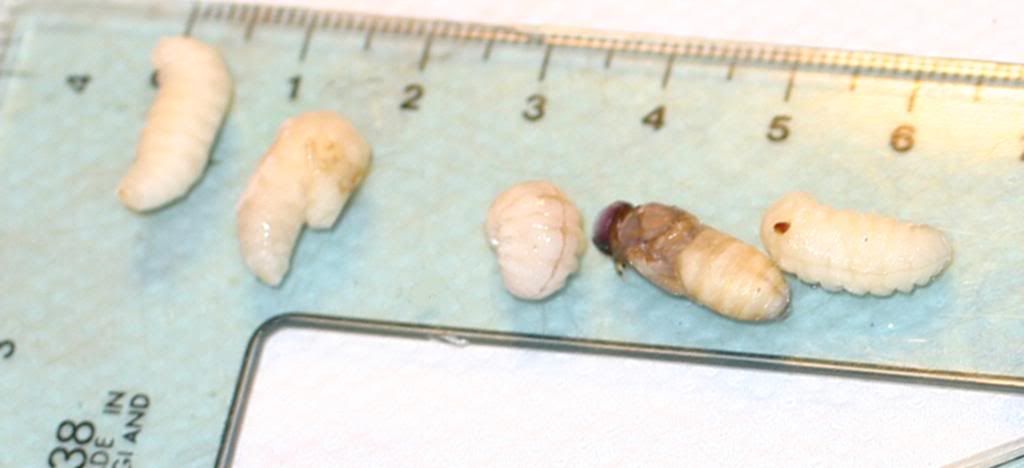
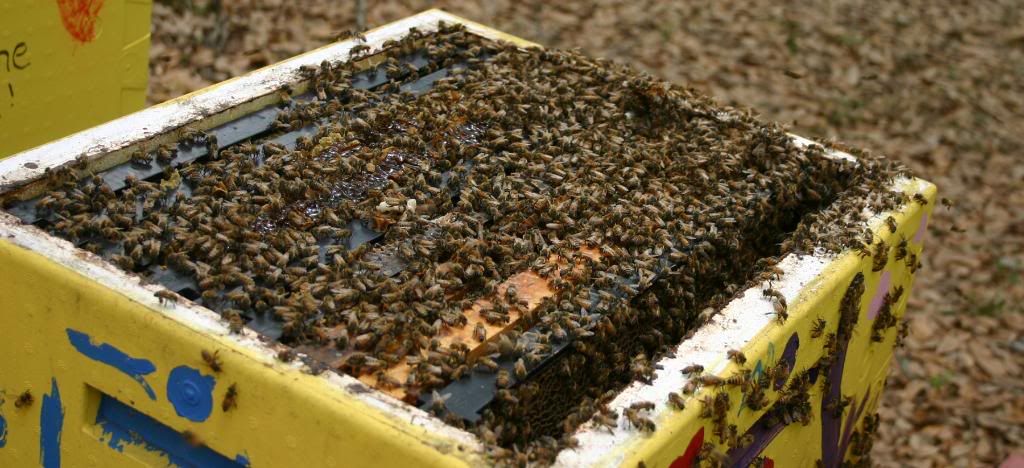
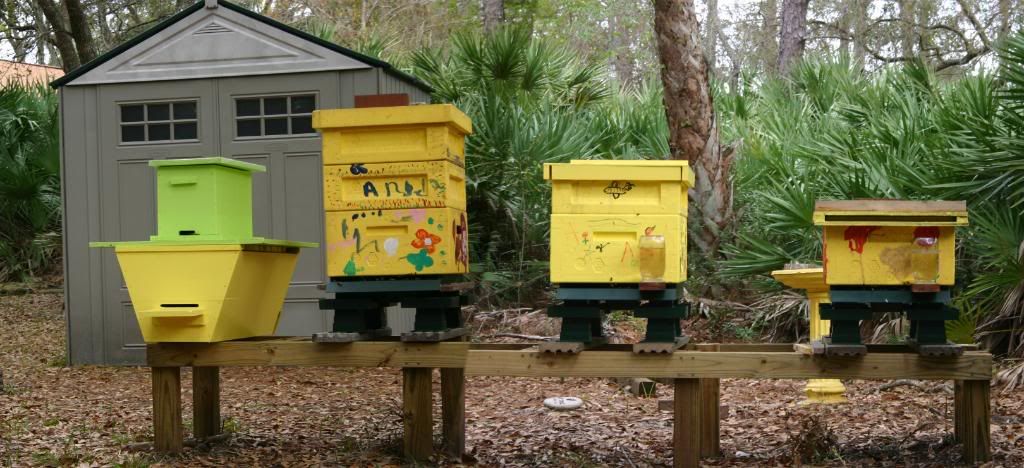
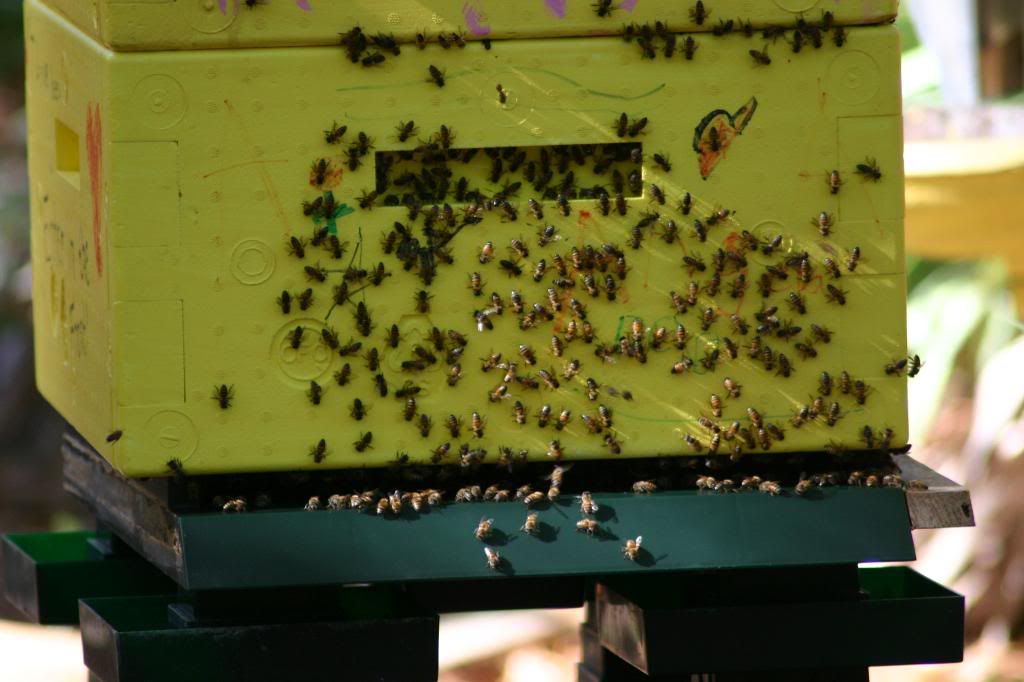
My Angry hive has a new queen and are working on two TBH bars. The colony has a great laying pattern but is also laying a lot of drones. They are useless resource sucking male bees.
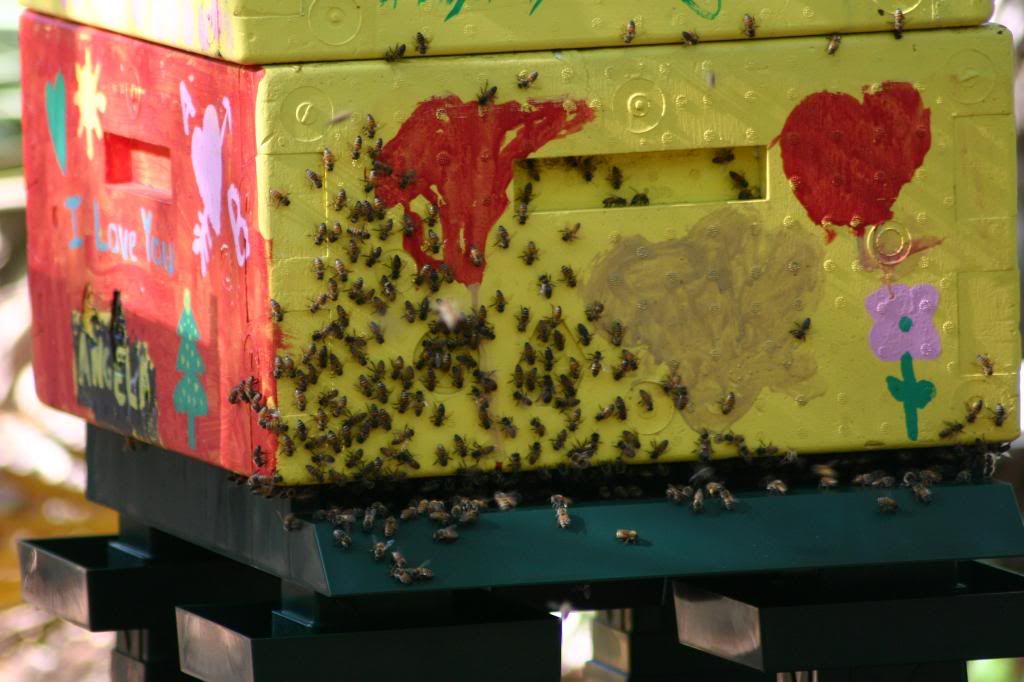
I’m torn between inspecting to look at the new queens or letting them be until the weekend. I think I’ll let the weather decide. We are supposed to get more rain in the next few days.

Monday, March 30, 2009

How to Re-Queen a Beehive

If you are looking for the best advice on how to re-queen a beehive, I suggest you keep looking because you are not going to find it here.

Reasons to re queen a hive:

  • Older queens are more prone to swarming
  • Replacing a failing queen
  • Better stock traits like pest and disease resistances
  • And in my case, improving bad attitudes

So how do you get new queen bees? There are a few suppliers online; I chose to use Gabees.com mainly due to its proximity to my location

How are queen bees shipped to the beekeeper? Well see for yourselves below. I had to pay extra for the overnight delivery because I needed to run out of town for a few days. Here is the envelope that arrived last Thursday.
Below are the contents of the envelope. On the left 3 marked queens (mine) and on the right five marked and clipped wing queens(Mike's).
What is a marked and clipped queen? See the bright spot on the picture below. That’s the queen with a painted dot on her thorax. It makes it easier to spot her next time I’m looking for her in the hive. A Clipped queen is a queen that had one or two of its wings clipped off. It doesn’t prevent her and the hive from attempting to swarm away, it just prevents her from getting very far. Since the workers won’t leave her behind, the swarm is usually found in a cluster on the floor right outside the hive, making it easy to collect and re-hive somewhere new.


One of the few tips to re-queen is to not use a lot of smoke. Well, when the hive has an attitude smoke is your friend. Best advice I can give anyone, is to have a second set of eyes. I asked Mike from Mike’s farm to come over and be my second set of eyes. We had to completely dismantle 2 out of the 3 hives to find two of the queens. Below is a picture of Mike inspecting one of the frames. Notice the body below is lacking any frames at that point.
My strategy was to have spare hive bodies, and inspect frame by frame for the queen. The 1st queen we didn’t find until every frame was out. Mike eventually spotted her on the bottom of the hive stand. She was making a run for the underside. The second we completely dismantle and couldn’t find her on the stand once all the frames were out. To make sure she wasn’t there I took the hive body some 20 feet away, shook all the bees off, and returned to the location. I figured if she was in there hiding, all the bees should be able to fly back, but not her. Laying queens can’t fly; it takes them days to slim down into shape to fly. By then she surely would have died before being able to return to the hive. The draw back of shaking all the bees out is then you have tons of bees fling around highly upset at the world. As we were putting the hive back together, Mike caught sight of her on one of the frames. We missed her on the way out.The queen in the 3rd hive we couldn’t find. We also couldn’t find but one frame of eggs. This is a strong hive and I had decided to create a week split. I’m hoping the queen went in the weak split or she was missing in action all together for what ever reason.

Sunday, March 22, 2009

News from the Week

All the Beekeeping Forums, clubs, and newsletters are a BUZZ with the news out of the White House. NO!!! The economy has not turned around yet. The big news has to do with the new garden and beehives been set up at the White House. “The 1,100-square-foot garden will include 55 kinds of vegetables, including peppers, spinach and, yes, arugula. (The selection is a wish list put together by White House chefs.) There will also be berries, herbs and two hives for honey that will be tended by a White House carpenter who is also a beekeeper.” (Read more in the Washington Post)

Meanwhile locally the flow has definitely been set in motion. The bees are working the orange tree blossoms, and the trees will probably blooming for the next month. The few intermittent showers all weekend have most likely been an improvement to the flow.

Some pictures from the blooms on my citrus trees.


Thursday, March 19, 2009

Mites and SHB update

Last weekend during my inspection I removed the traps my bee inspector gave me. He helped me with the Small hive beetle problem by providing me with baited traps for each hive, made by Bee excellent (local beekeeper that seems not to have anything online). The trap is a variation of the trap build by Fatbeeman (catch his video in this previous post).

I also removed comb cells that the bees usually build at the bottom of the frames in the deep body. Since it is natural comb, most of the drone cells are located here.

Below are the three traps and some of the brood cells. They have been in my freezer since the inspection. The freezing will kill all the critters. Unfortunately, it kills bad critters and the bees, but sacrificing drones is a good way to inspect and remove mites. The mites prefer to nest and reproduce in drone cells. If you get a chance to perform a similar inspection, make sure that you only remove enough cells that you can inspect with in a few minutes. They thaw out rather quickly and become rather juice and messy.

The SHB trap by BEE Excellent is the first trap that I have tried that sits on top of the frames. Up until now I have been trapping beetles in the inspection drawer of the hive bases. This year the SHB problem was borderline serious, but it is now under control. It's not gone but much better. The trap works well, its draw backs are that the hive needs to be open, the trap needs to be baited, and the bees close all the entrance holes. One of the traps was busting with Beetles the other 2 each had a couple. It could also be a little bigger, but it did its job as can be seen below in the pictures.
As far as mites, things could not look better. Only brood in two cells had Mites in them. The best way to open the cells is to break them in half over a white paper towel, and open by hand and empty what ever cells don’t break open. Below is a section of cells split open.

Below is the one of the undeveloped drones that I found with mites. This guy actually had 3 mites on him, the two mites seen here on its top.
and one under

Here is brood in different stages of development. The white ones that don't look like bees at all will turn into a mushy puddle of goo if you don't move them along fast. The one all the way on the right was the second infested mite I found. I’m very excited with the lack of mites. It means my natural methods may be working. I'm using powder sugar and tobacco leaves in the smoker. A new batch of tobacco is sprouting at this very moment.

THE 1st FLOW OF 2009 IS ON

In my area anyway. I was sure everything was ready and waiting for the 1st rain shower, and the rain finally came two mornings ago. Nothing huge, but enough to trigger all the fruit blooms to open.

Here are my Mango blooms. It's the first time my Mango trees have ever bloomed.


And here is one of my citrus. My four citrus trees will be blooming at different times for the next month or so. I have never seen so many blooms on this fruit tree. If every flower develops into a fruit, I’m going to have to cut some off or it will snap the branches off.


Sunday, March 15, 2009

High Bee Unemployment

Sorry, I couldn’t help the pun associated to our current economy. I have been worrying all week about the high number of bees that have been bearding on Old Faithfull. Bearding is normal for a strong hive right before sunset as all the field bees' return for the day, but not normal at 10 in the morning. I have been worried that the hive is getting ready to swarm. I decided to do a thorough inspection on all the hives. I decided I was going to be equipped for anything and everything. Supers fully drawn out, swarm cells, and overcrowded hives.

I prepared two medium supers. I hollowed out the plastic frames, and had the bright idea of using the cut out plastic as starter strips in the wooden frames.

Here are the two supers. One has 10 hollowed out plastic frames, and one has wooden frames and plastic starter strips. I was prepared to use unpainted supers if the situation called for it.
Here is the whole array of tools I prepared. A Nuc to put frames with swarm cells to create an artificial swam. You take the frames with the queen cells and give them a frame of honey and pollen, shake some bees, feed it and close it for a few hrs. Some bees will return to the original hive, but enough should stay with the new Nuc. There are also two suppers with 10 frames a piece in case all the suppers were drawn out, a spray bottle with sugar water to spray the bees to keep the number of bees flying around down, saw horses to place supers off the ground, and my camera and hive tool.
I began inspecting with the hive in the middle, my Eager hive. I had a little incident while removing the super. One of the deep frames came up with the super as I was lifting it away. Then it cut loose half way out and landed on top of the hive. No major harm done except for all the mad bees in that frame were now flying around. I quickly sprayed them down and placed the supper back on. From what I saw of the brood frame that fell out, there was a good laying pattern. The bottom deep body is about 80% drawn out and the super is about 75% drawn out. I took the pictures below before closing the hive back up. I’m not too concerned about this hive swarming this year. Here is one of the newly drawn out empty super frames. Notice the nice white color of the wax.
Below is a frame out of the same super from my Eager hive, but this one they have begun to fill and the top has already been capped.
Next up for inspection to the right is Old Faithfull, this is the hive that began it all and has been here from day one. The small hive Beetle was surprisingly a little bad between the 1st and 2nd super. The top super has not been drawn out at all but there are tons of bees prepping the starter strips. Below is a picture of the top of the 1st super, the one adjacent to the deep brood box. The middle frames are partially now part of the brood that has expanded up into the supper, technically making the hive a 1.5 hive. Before the end of the summer the hive will move back down, and I can rob the honey from these frames.
Here is a picture of Old Faithfull with all of its supers removed, and the outer most frame out. Once one of outer most frames is removed, the other frames can slide out to allow for easier removal and inspection of the brood nest.
Below is your typical frame out of the brood nest. This is frame number four, plenty of capped brood for the most part, a few uncapped, and pollen stores. The pollen stores are surprisingly in the middle on both faces of the frame splitting the brood up. I have never noticed such a pattern before.
Finally all the way to the left, the Moody hive. These guys definitely need an attitude adjustment. There is no need to go deep into this hive. They have plenty of room to grow, especially now that I placed a super on, but their day is coming. The new queens should be here at the end of this month.
Mmmmmm, bee unemployment seems to have gotten worse in Old Faithfull after my inspection. I prepared for everything but encountered nothing. Not sure if that is good or bad. Swarm season is here and I get the feeling these guys are going to want to go.

At least my Moody hive is allowing me to sit at my bench with out harassing me. I have no clue how I’m going to find the queens among all those bees. Up the sting count, someone got me good in my right thigh through my jeans while inspecting Old faithful.

Assembling Beemax Hives

Parts and tools (mallet and glue) to assemble a Beemax hive (Super in this case)

Insert the L brackets into body of hive. The frames sit on the L- brackets.

Align joints and tap with mallet until joints slip in about 1/4 of and inch. Apply a mild glue (elmers is a good choice) to joints. Tap down with mallet untill joints slip completely in.
Confirm that all emblems and writing are oriented in the same direction; it is possible to insert parts upside down. The clue of an upside down part is seen below. Notice how the hive edge is not aligned.

Two Beemax supers assemble in less than 5 minutes.
Two coats of paint will take a few days. What is Beemax made out of? Click here to find out

Wednesday, March 11, 2009

Look at the Sting Count Go

March has not been good to me, three stings in the last two weeks. If bee stings are truly good arthritis treatment, then I'm going to be the most limber 80 year old. Luckily the more stings I get the less reaction my body experiences. They still hurt like "H" - "E" - double sticks. (For those of you with no kids that can’t speak “Spell language”, that means HELL) All three stings courtesy of my Moody hive. This hive is making me feel like a parent making excuses for a misbehaving child.
The Moody hive has been fed so it is not low on resources; it has plenty of capped and uncapped brood so its queen must be fine. Last I looked it had a Small hive Beetle problem but steps have been taken to control them. It is the only hive that I have not placed a super on because I was waiting for it to expand from its original Nuc size (5 frames) to the new ten frame body, but maybe it wants more space ?

This past weekend, after I took down a dead Oak on my property, I went over to the bee yard to relax and observe the ladies at work. Some people gaze at fish in tanks to relax and release stress, I look at my beehives. It hadn't been more than 2 minutes when two bees came after me and one stung me in my forearm. I was sitting down on my bench so I was not in their flight path, it was definitely an intentional assault. I have read in beekeeping literature how bees don’t like bad smells, I was still in my work clothes so maybe …………………….. No, no more excuses, time for some tough love. As all good parents should now and then, it is time to put my foot down. An order for 3 new queens from gabees.com has been place, and they should be here by the end of March. Since1 queen bee or 3 queen bees cost the same for shipping, might as well take care of all 3 hives, and begin the new year with new queens. If I play my cards right, changing the queens should set the hives back just a few days. No biggie!!!!

Spring flow should be here any week now. I have planned a full inspection for all the hives this weekend, I’ll get to use my new inspection Hat and jacket pull over.

Here is Old Faithfull, this group has a full supper that is partially being used for brood right now. What you see the bees doing in the picture is call bearding; everyone has an opinion on why they do it. It is completely normal event on a late afternoon for a good strong beehive.

This is my Eager hive.
And this is the Moody Hive.

Requeening made me think that my choice of names will be out dated; an attitude change for better or for worse is one of the main reasons to introduce a new queen.

Sunday, March 1, 2009

Handy Thing to Know

  • Why is honey measure by weight after 8 ounces?
A: I have no clue. My best guess is that it sounds more impressive to say 1lb of honey instead of saying 12 ounces.
Check my math and see for yourself
Specific Gravity of Honey (From http://wiki.answers.com/ ): Ratio of the mass of a substance to the mass of an equal volume of water.
The SG of good honey is 1.425, which means it's 42.5 percent denser than water. Since a liter of water weighs one kilogram, a liter of honey weighs 1.425 kg. Water weighs 8.34 pounds per gallon, so honey weighs 8.34 * 1.425 = 11.88 pounds per gallon of Honey.
so:
128 ounces in 11.88 lbs = 8 ounces in 0.7425 lbs therefore
12 ounces in 1.11375 lbs and 16 ounces in 1.485 lbs

Learn and Experience Something New

The TBH (back out in the bee garden) and the Nuc sitting on top of it are waiting for my two bee packages to arrive in early May.

I had my annual state inspection this weekend. The state of Florida inspects every registered beekeeper for serious diseases that could be spread through out the area or state, and the inspectors are an incredible source of information.

This weekend, after seeing the state bee inspector in action, I finally learned what the hook on the smoker can be used for. Who knew!!!! It honestly never occurred to me and I had never seen anyone do it until now. I will never need to bend down to pick it up off the ground ever again.

During the inspection my last remaining hive without a name earned its name…the “Angry” hive. I had never experienced bees behaving like they did during the inspection. As the inspector put it, “these bees are angry”. It wasn’t that they came out to sting us, but they definitely were more aggressively coming up to get in our face and following us around for a longer time and distance. They seemed to be low on resources so my guess and optimist hope is that they were just very defensive of what little they have. Also, they seemed to have a worse Small hive beetle problem. The inspector gave me a small trap and bait to try and help with the beetle problem. I’m feeding the hives again (1:1 suagr water), and hopefully the bait and trap for beetles will help. I have worked with this hive lots of time, and this is not their normal behavior. Hopefully instead of angry they are just simply moody.

The Small hive Beetle problem seems better in the other hives. To stay on top of the problem I cleaned the inspection drawers in my stands, and re-baited them with lard. Below are my three inspection drawers dripping over a window screen. The round caps are baited with Crisco oil lard.

After scrapping and rinsing clean the drawers, I re-baited them and poured oil in them.
And the circle of life is not complete until the chickens get their feast of oily small hive beetles

Top Bar Hive Story (TBH)

If you want to stand out among your neighbors you start keeping bees. If you want to stand out among beekeepers you do it on a TBH. The Top bar Hive has also become the hive of choice for most organic beekeepers. Here are my plans for my TBH, and below are some steps on how I build it, and background history of my TBH. First I should give credit where credit is due. The base for my plans came from http://www.biobees.com/ - Check them out, great site “about sustainable, chemical-free, small-scale, 'organic' beekeeping, using simple equipment that almost anyone can make at home.” Hey!!!!!! They are right; I did build it myself at home. Also, check out http://www.bwrangler.com/bee/index.html for information that leads me to my conclusions about what I think might work for me. Here’s what influenced my design:
· Florida beekeepers keep one deep brood in Florida - So a smaller TBH should work better here. I built the smaller 36” version and I modified the trapezoid dimensions to give me a volume slightly larger than a deep box hive.
· Hot and humid weather means more ventilation required – so I built a screen bottom.
· Small Hive Beetles control - Building inspection/ trap drawer
· How to provide support to it– Cover can slide back to allow placement of hollow top bar that gives access to a medium supper, deep body, or place a NUC above it to provide drawn out frames of pollen, honey, or brood from the Lang hives
· How it provides support to my Langs - The length measurements of the Top bars is the same as the length of a standard frames. Top bars will fit in standard Deep body hives.
My 1st Mod to the original design was to replace the peak roof to simple and flat. The split on the roof made it hard to seal for rain. I placed the hive out in the bee yard in the 2008 season. It quickly led to my second Mod which was my choice of color.
I was successful in introducing a colony by sliding back the top and replacing the 1st bar with a hollowed out bar that allowed access into a Nuc placed on top of the bars. Unfortunately my choice of a purchased Australian queen did not work out. The bees were particularly gentle and hard working. Gentle in this case proved that nice gals finish last. The colony hardly fought back against the Small hive beetle, and eventually the colony collapsed.


After the colony collapsed I brought the hive back in the shop for more changes. I replaced the gutter screen with 1/8 hardware cloth. I shortened the inspection drawer board and in its place to close the bottom I put 1/8 hardware cloth. I believe too many pests were infiltrating the hive from underneath.
The picture shows the hardware cloth on the bottom, entrance at far end, and starter strips above.

Area below living quarters for ventilation and to place lures/traps for small hive beetles.

I furthermore gave the hive a better coat of paint, removed it from the post stands and moved it side by side with my Lang hives. Right now I’m waiting for one of my 2 purchased packages to try again.

Powered by WebRing.
Powered by WebRing.