Sunday, February 22, 2009

DO'h

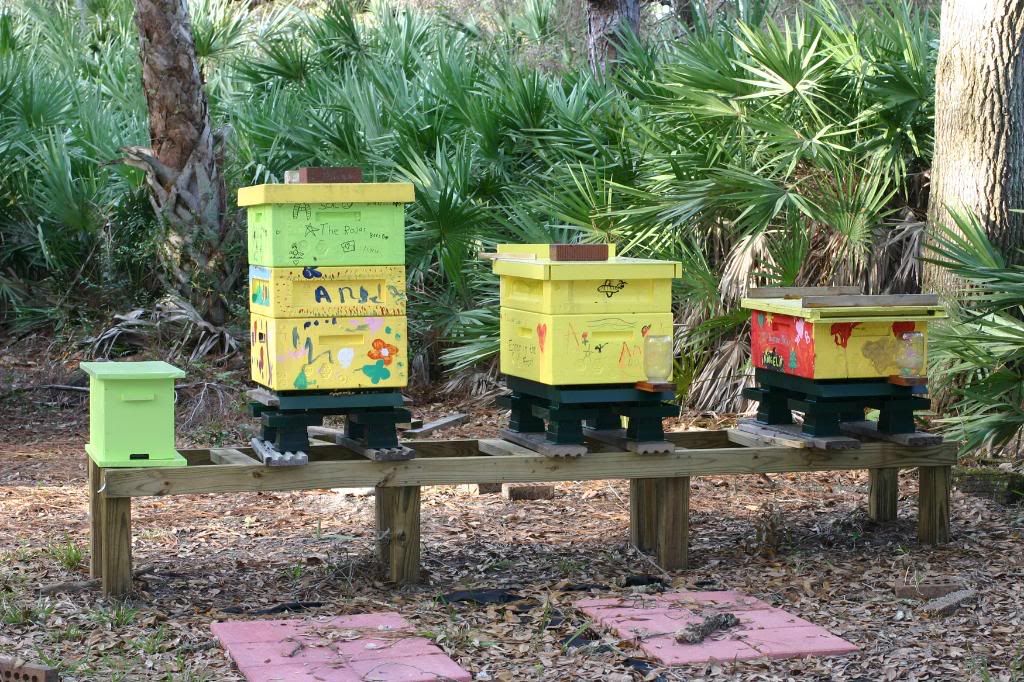
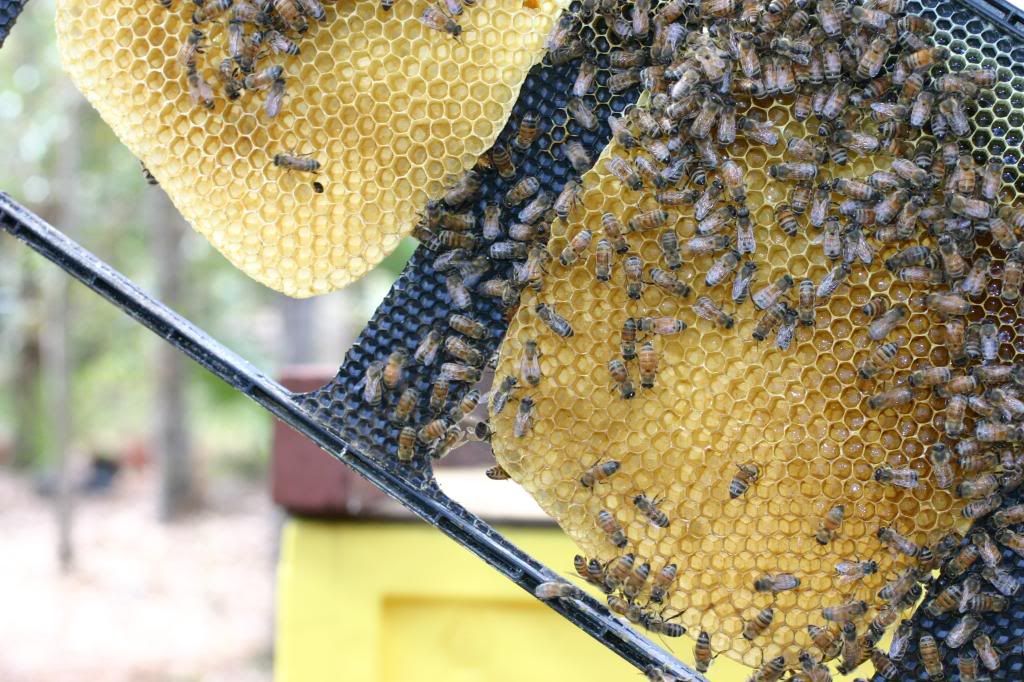
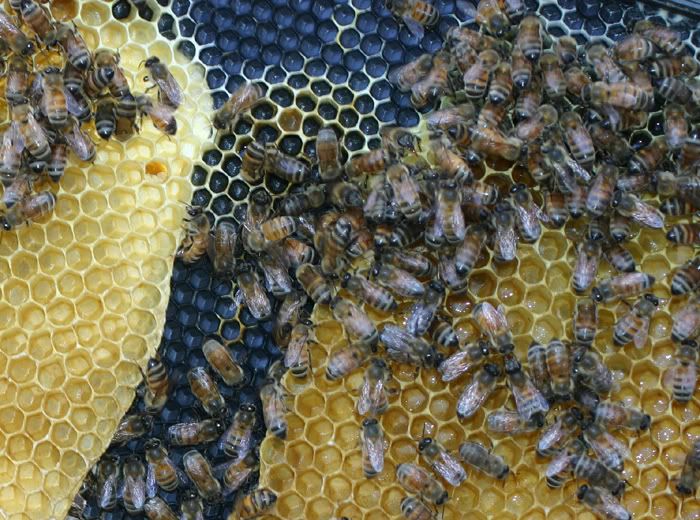
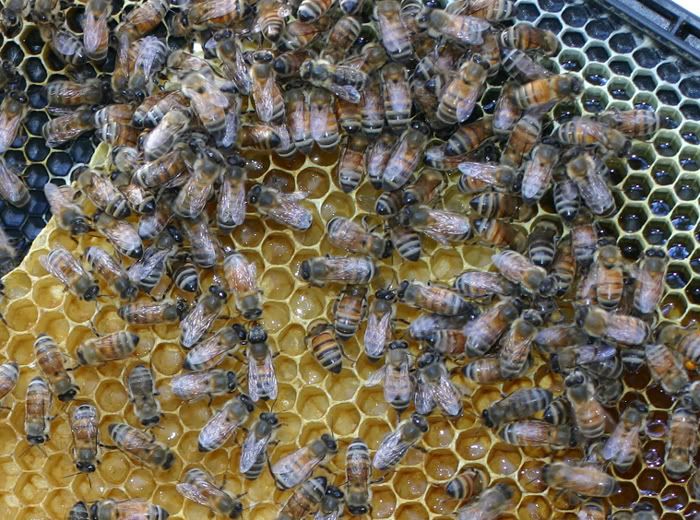
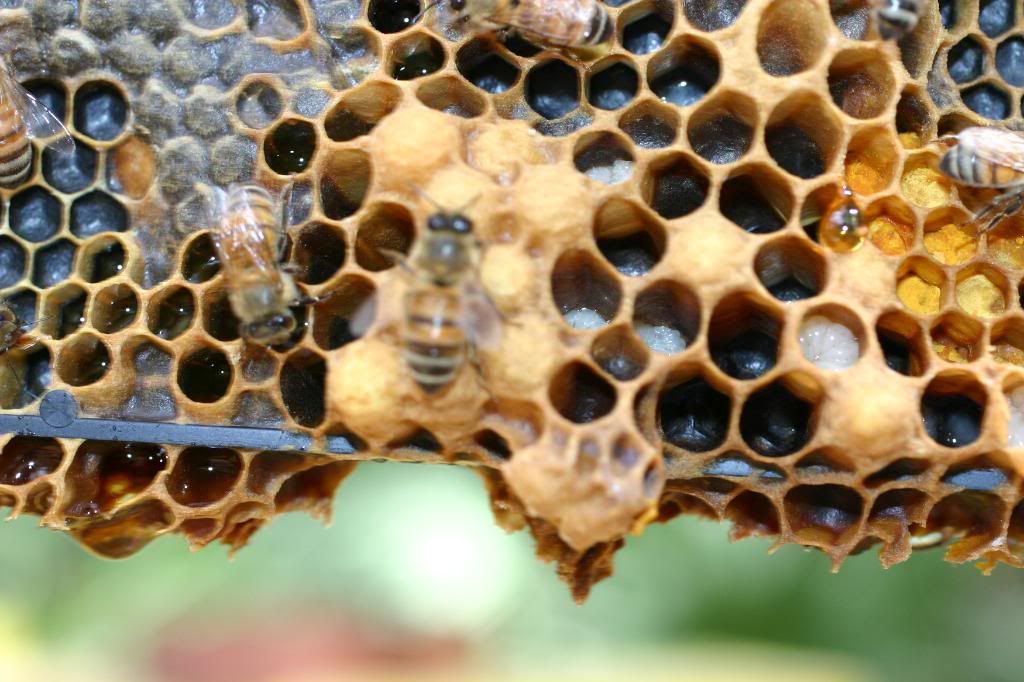
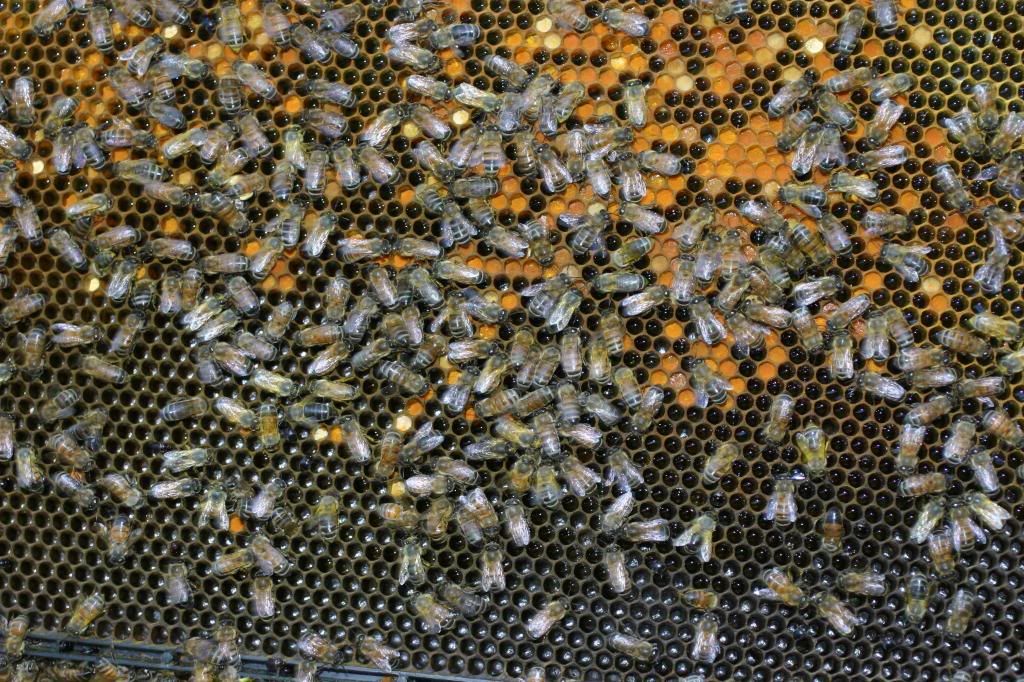
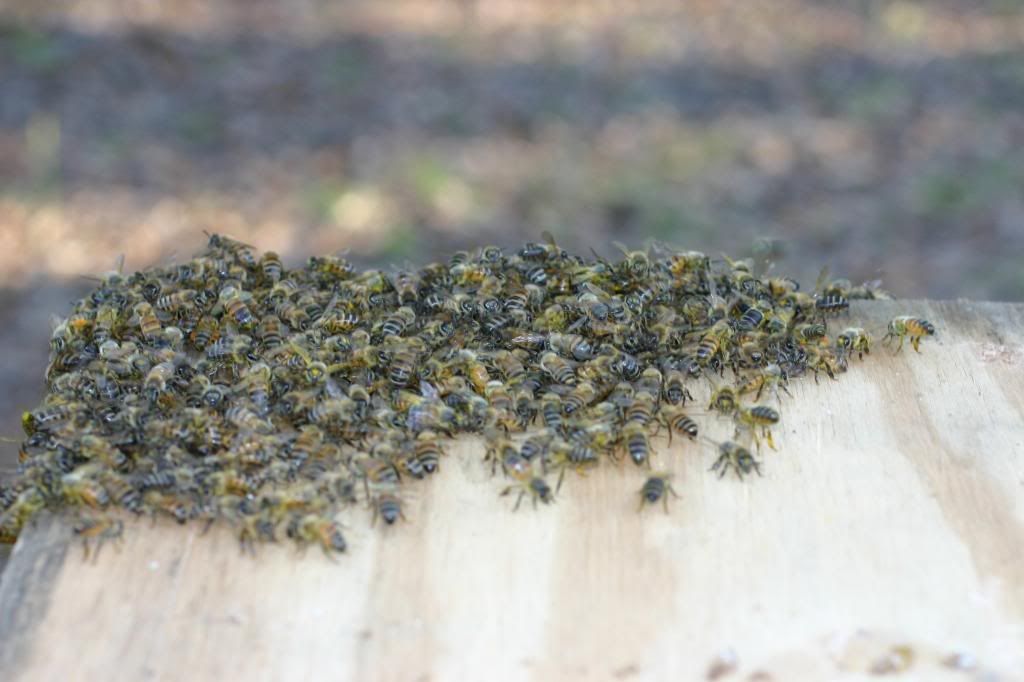
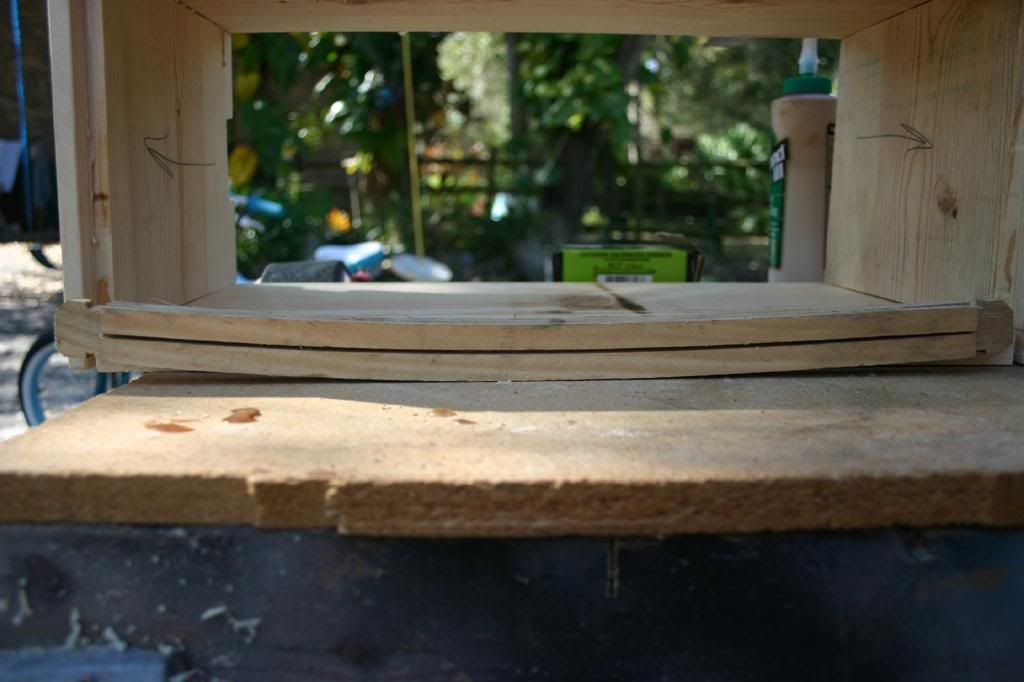
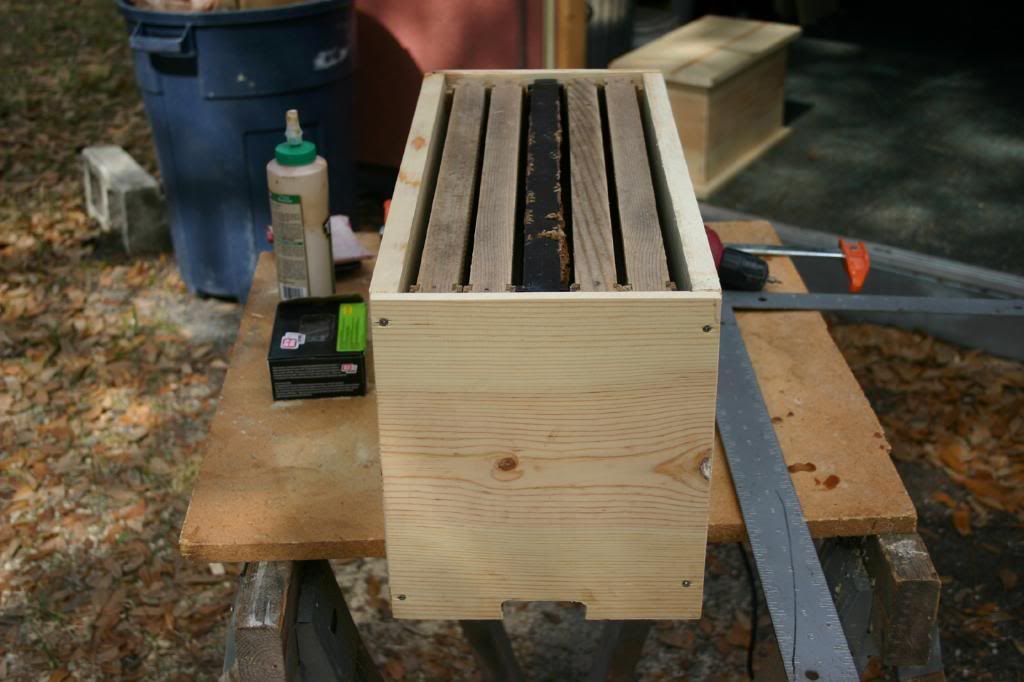
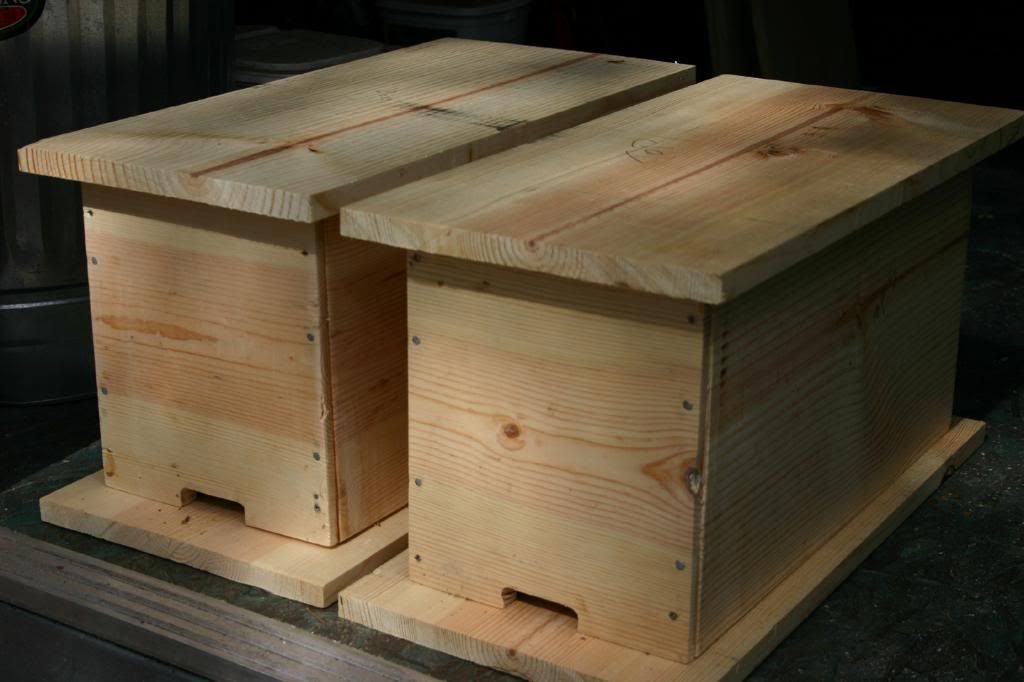
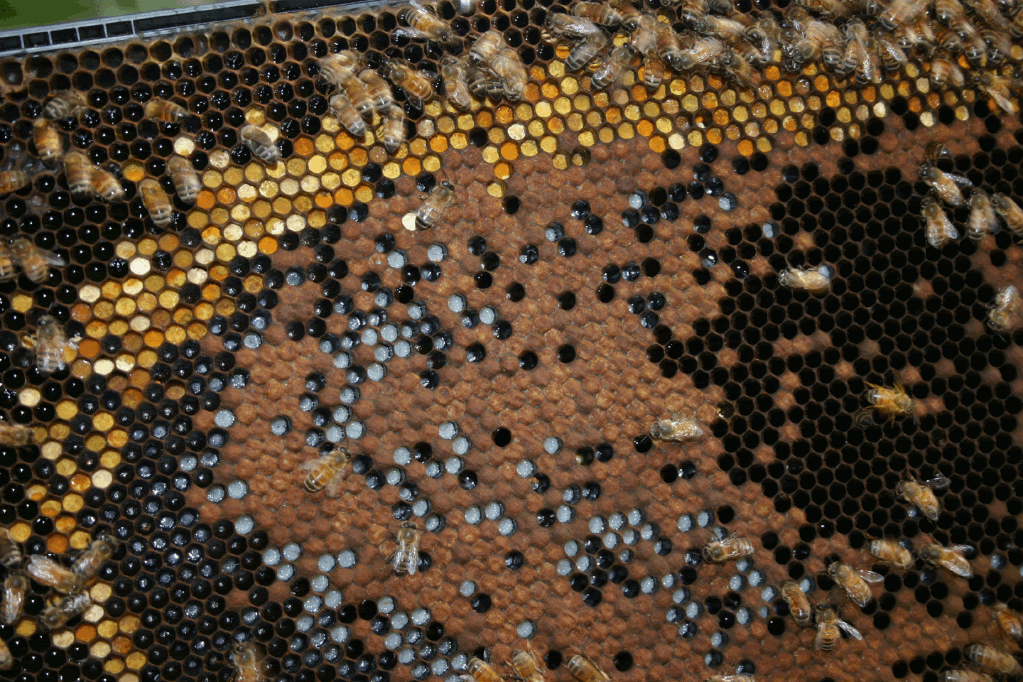
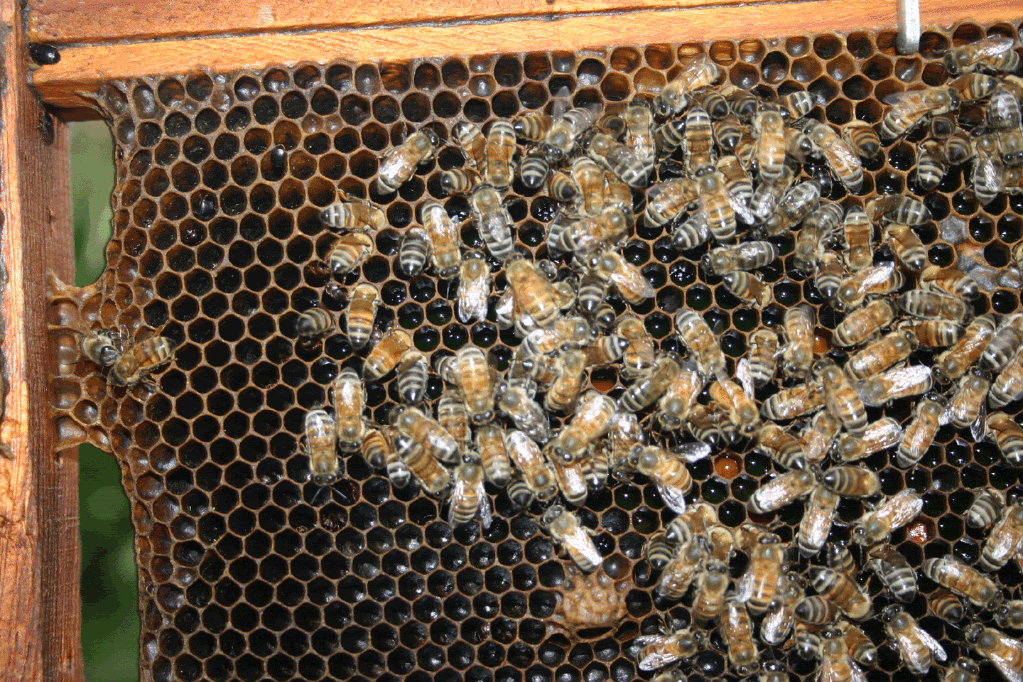
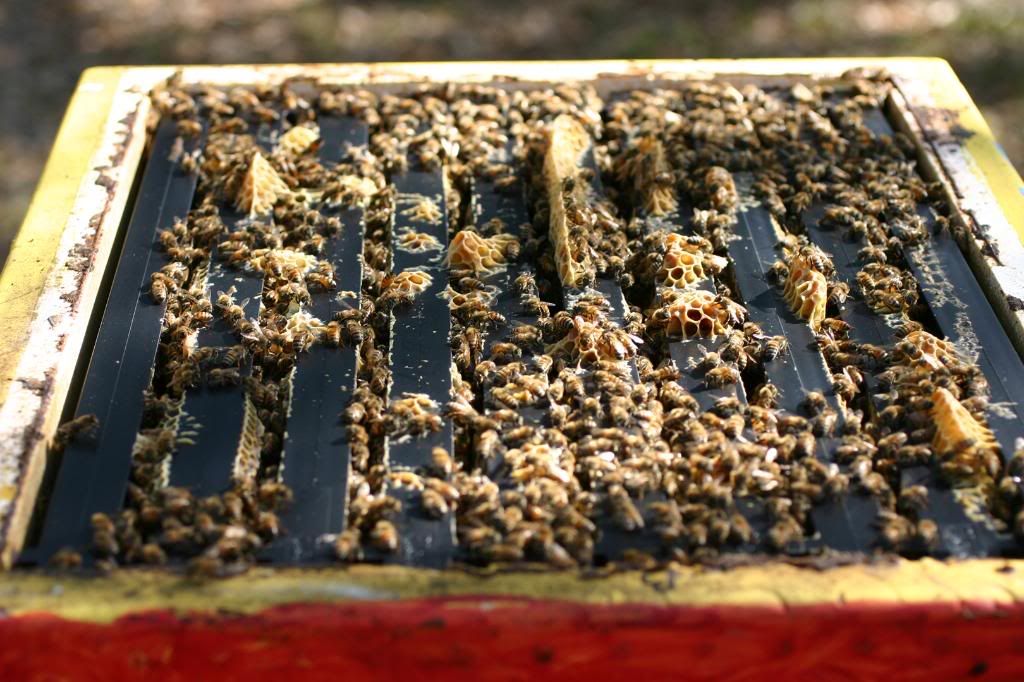
As Homer Simpson would have said after the mistake I made yesterday…DO’h! I took a walk to the bee yard this morning, as I do most weekend morning, and as I looked at the hives there was something that just didn’t look right. I couldn’t put my finger on it until DO'h…….. Now I can’t believe I did it and then walked away without noticing. (Picture from yesterday). Below is a picture from today after fixing the mistake. 
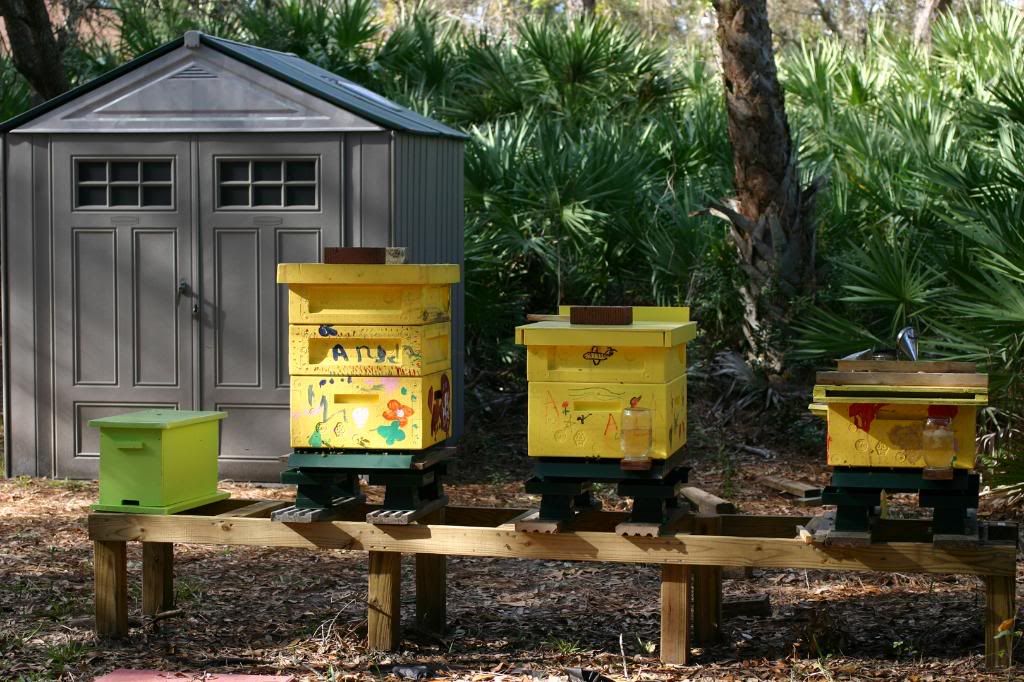
The blunder?? I put a deep brood box with 10 medium frames on top of “Old Faithfull”. How exactly does one do that?? Well …….. I just purchased, assembled and painted that deep box. I had it in the shop at the same time as I was installing starter strips in the medium frames. Afterwards I used it to haul the frames out to the bee yard. Without giving it a second thought, I placed it next to the hive and after inspecting it, I placed the deep with the frames instead of a medium. No real harm done. As seen in this picture on the 5th frame from right to left, the bees built up some bur comb overnight. Below is a picture of the top of “Old Faithfull”. This is the medium supper (brood nest expanded into it temporarily), there is a deep box below it, and now a medium supper above it. It is just the last week of February, I have not fed this hive at all and notice how strong it looks.

I use a digital Cannon EOS with Macro lens because I love the detail of the macro lens.
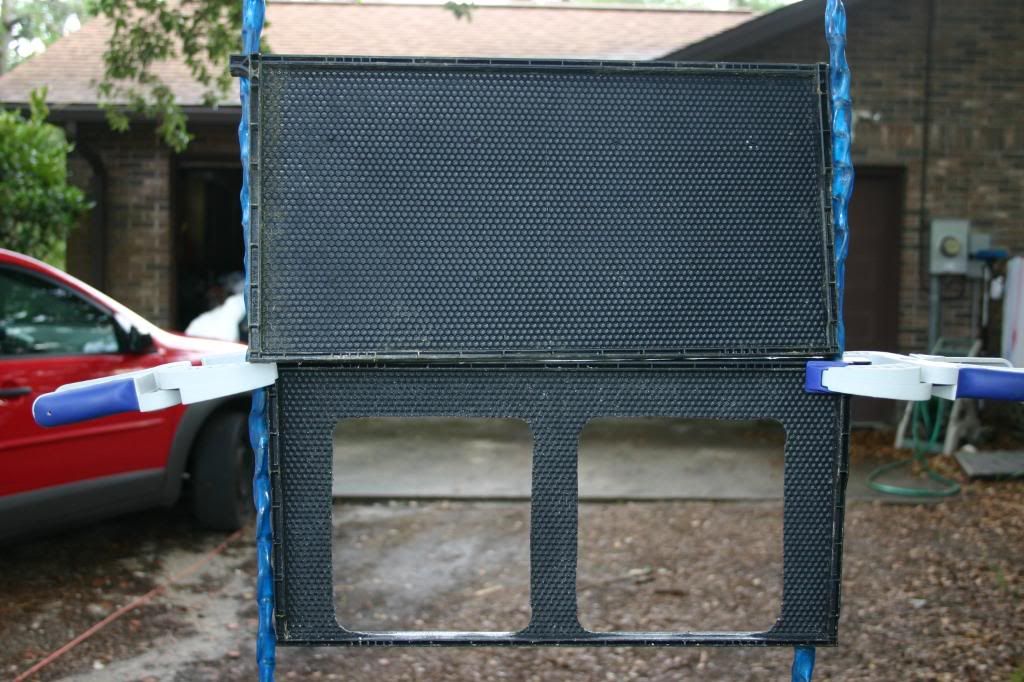
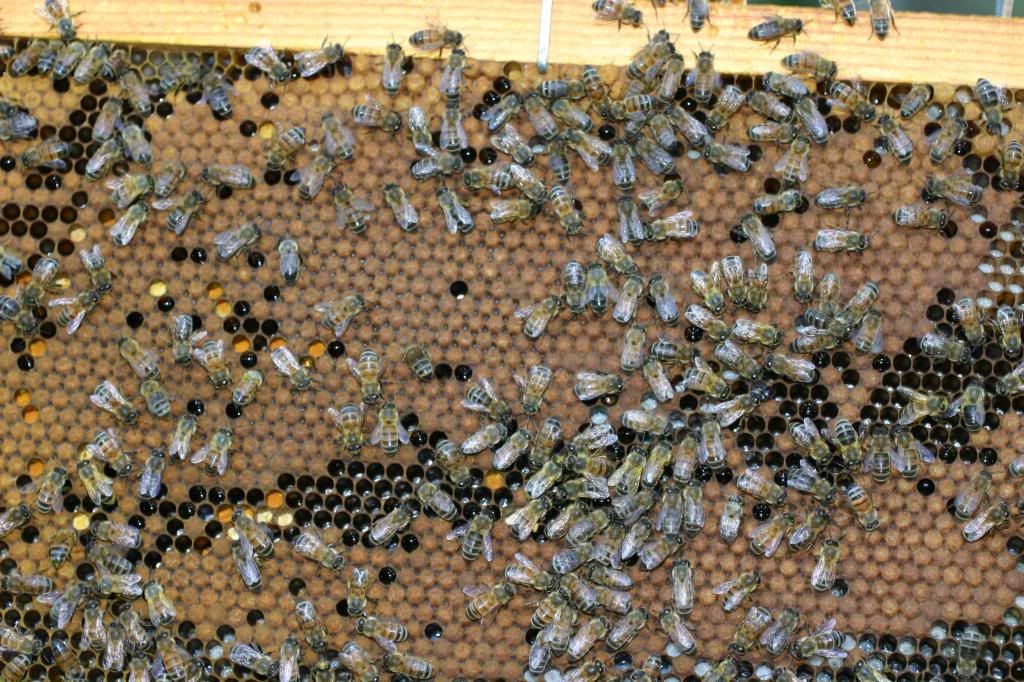
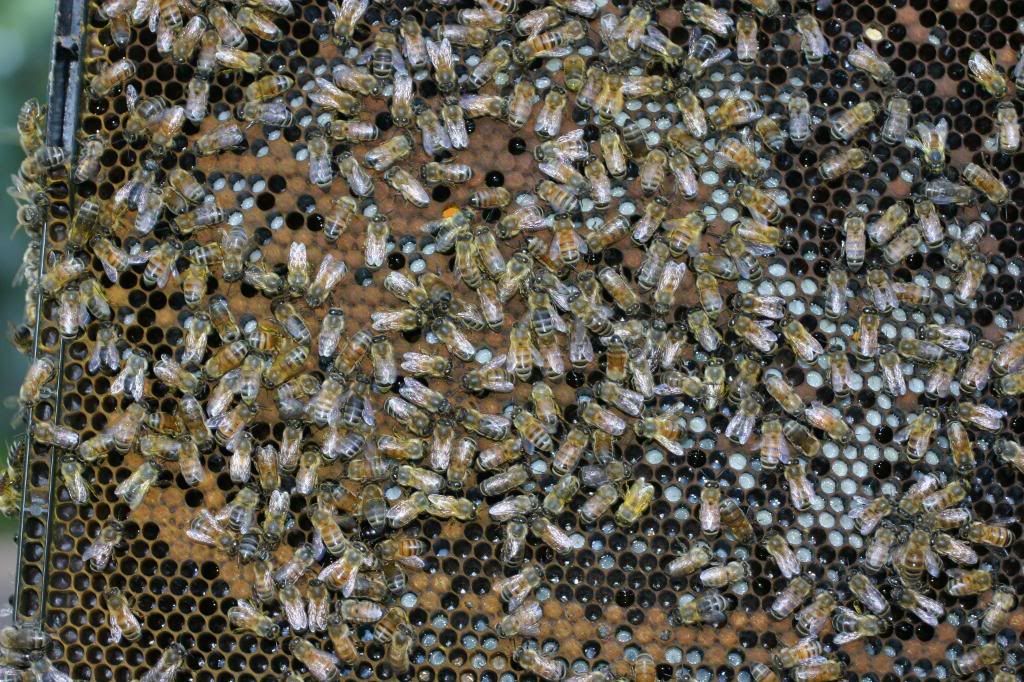
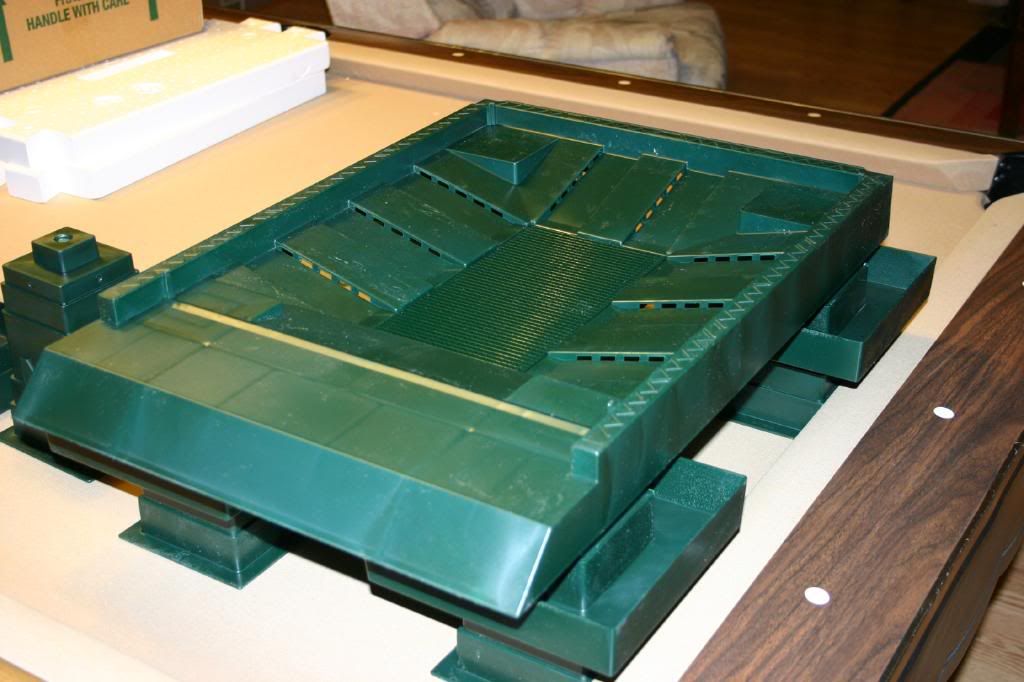
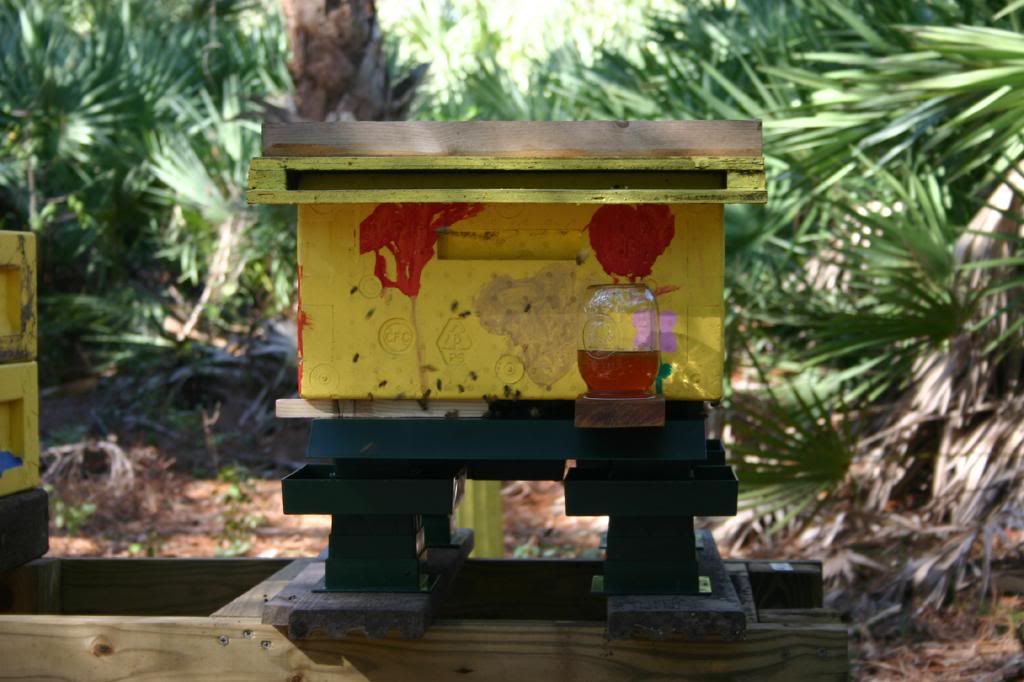
A couple of days ago Mike from Mike’s Farm forwarded me a video he saw by “FatBeeMan”. His Small Hive Beetle trap idea sounds interesting and his choice of building materials is very unique. I embedded his video below; he is a very knowledgeable beekeeper. For more of his videos look him up on Youtube under “FatBeeMan”. I took his bait idea and implemented it in my inspection/trap drawer. Below is a picture of the inspection drawer with an orange juice plastic jug cap baited with Crisco shortening. The cap simply floats on the oil.
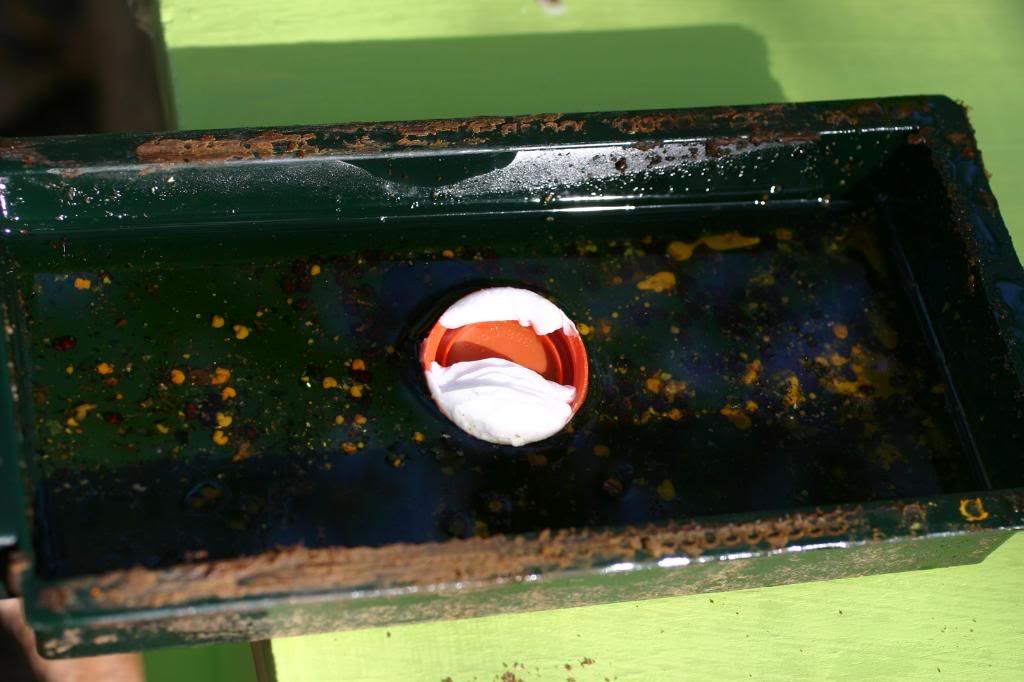
This is a close up of the Small Hive Beetles that were trapped before the bait was installed. They simply come in the drawer or are chased in by the bees. The beetles fall into the vegetable oil and die. With the bait I’m hoping more will wander in.
Picture of the bait
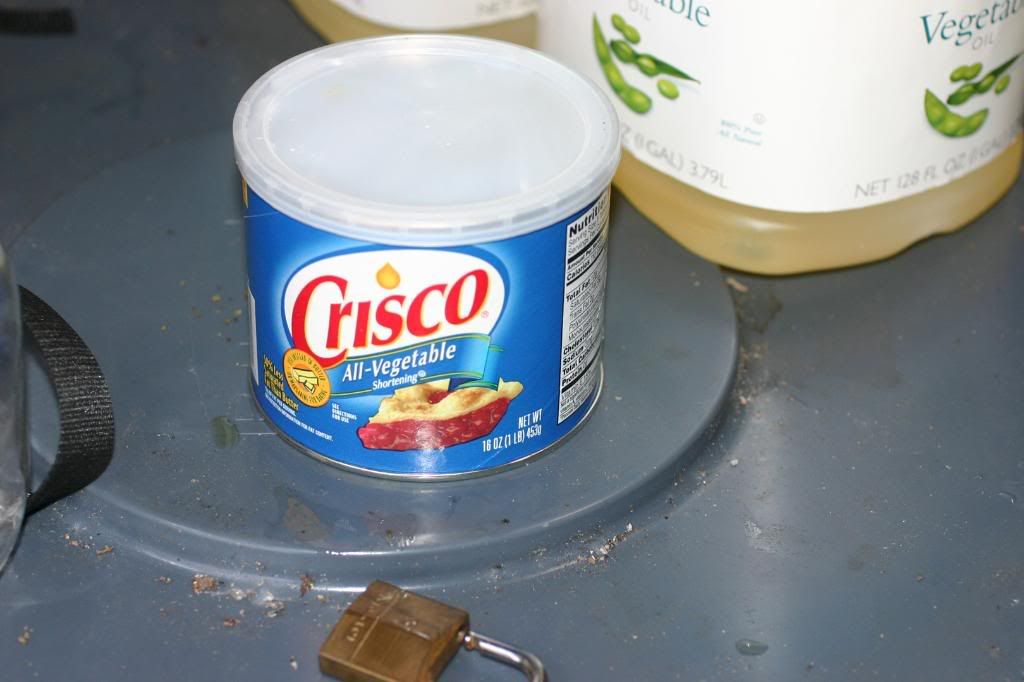
The "FatBeeMan" on how to build and bait a Small Hive Beetle trap. I like his choice of construction materials.


Saturday, February 21, 2009

Bee Winter Ends, Bee Spring Begins

There is a small cold front in the area, but the daytime highs are in the mid 60’s. I have been feeding 16 ounces of 1:1 sugar water for a week to last years NUCs, almost 16 ounces every two days. Here is the bee yard as of today. Although the hives don’t need to be feed any more, I might as well use up the last remaining ¼ gallon instead of letting it go to waste.
From left to right: Empty NUC with 5 top bars and a wax started strip. Just in case a colony would like to move in to the neighborhood. Next to it is my original hive, “Old Faithful. It is one deep and 2 medium suppers. To the right my eager NUC; these ladies just went into this ten frame box with a ten frame supper last week. Finally on the right my last NUC form last year.

I like plastic frames because they don't warp with the Florida humidity but I like natural comb. Last year I had this idea about converting the plastic frames into plastic frames with starter strips. The picture below shows the unmodified plastic frame (top), and the hollowed out frame (below). I believe this configuration is the best to prevent the bottom of the frame from sagging.
I finally get to see my experiment at work. This is frame number 9 in the hive to the right. It appears the bee's began drawing out at the end of the strip.
This is Frame 8; they filled in the whole area I cut out with natural comb.
Flip side of frame 7, and close ups below.
Flip side of frame 7; they began to draw comb connecting both cutout sections.
Flip side of frame 7; they began to draw comb out above the cut out.
Flip side of frame 7; less than four days ago the queen expanded the brood next to the frame.
Now on to my Eager Colony… below is a frame out of their supper. I moved these guys into their new 10 frame home just last Friday. Last week the supper had 3 drawn out frames and 7 frames with one inch starter strips. Today the supper has seven frames that look like this. Since I just moved them last week, I didn’t want to inspect any deeper. The main purpose for opening this hive was to replace the top with a more permanent one.
Finally, “Old Faithfull”, now has two suppers and is currently configured as what some people call a 1.5 hive. One standard deep 10 frames hive body and one medium 10 frame supper/brood. The colony expands the brood into the first supper when in need for supplementary laying space. Below is the bottom of one of the outside supper frames. It is honey from top to bottom.
Below is a supper frame that sits above the brood next. Notice how the bottom edge is being used by the queen to lay eggs.
Here is a close up of the same frame showing capped and uncapped brood.
The new supper should provide plenty of room, but I have to keep a close eye on this one. They should be ready to swarm by the end of March if not sooner. Things look great in all the hives, except for the small hive beetles. The bees have them under control and keep them cornered, but I never seen so many Small hive Beetles in my colonies before. Below is a picture of the beetles that were trapped in my 3 inspection drawers for this week. I used a piece of window screen to pour out the oil and trap everything else. A close inspection revealed Small Hive beetles, 1 Small hive beetle larva, wax caps and pollen.

Since I didn’t want to waste some good protein, I took the screen out by the chicken coop. Oily Small hive beetles are a colossal treat for the chickens and they absolutely don’t let any go to waste.


Sunday, February 15, 2009

Hobby or Job?

I have been working the last few weekends just getting ready for the upcoming beekeeping year. Right now I have the TBH in the shop up on the work horses getting a new coat of paint, and a few modifications. I'll have more on the modifications to the TBH once they are finished. I have two new NUC’s, one is out as a swarm trap, and the other is to house one of my two 3lb bee packages due to arrive early May. I put together ten new supper wooden frames, and installed wax starter strips to twenty supper frames. I have been applying coats of paint to wood and Beemax hives, and I cooked up a gallon of sugar and water syrup…… good thing this is only a hobby.

The main thing I wanted to do this weekend was move my eager NUC into one of my new ten frame hive bodies with its new base. Below is a ten minute video of how I moved the NUC into its new home. I wish I had held the frames in front of the video camera a little longer. This five frame NUC had a five frame supper on it. Last fall I put 2 full frames of capped honey in the supper. The bees used up all those resources of honey over the winter, but they are working on drawing out the other supper frames. They are strong and progressing, but also have a bad infestation of Small hive Beetle. Hopefully the new base with the inspection drawer full of vegetable oil will trap enough beetles to bring it back under control.


If you saw the video, you saw me taking pictures. I like taking pictures, it allows me to see problems and fine details later on.
Frame one is fully drawn out but empty.
Pollen stores on Frame 2

Capped brood on Frame 3Uncapped brood on Frame 4
Pollen stores on Frame 5
The new hive is in the same location as the NUC, the only difference is the entrance is about 1 foot lower. Everyone that I shook out of the Nuc or was returning from foraging kept gathering at the same location where the old entrance would have been. It took 20 minutes before they all found their way in.

Here is “Old Faithfull” on the left, and the eager NUC in its new home in the middle. All the work I've been doing, and I forgot one of the most crucial components of the hive……. a HIVE COVER. I luckily had a scrap of plywood lying around that I can use while I prepare and paint a more permanent top.

Sunday, February 8, 2009

Getting Ready!!!!!!!!

February is the last month in Central Florida to prepare for the up coming beekeeping year. It was a beekeeping chores weekend.... here is what I accomplished.
I ordered two new M01691G VIZ PLASTIC HIVE STAND/VENTILATED BOTTOM BOARD, and two new Deep Beemax hives from Dadant.com. The hive stand aids with the Florida heat/humidity and the moats control the ants.


The Beemax hives insulate, are light weight, and will not warp in the humidity. Below is a picture of the dove tail joint. From experience it is better to assemble thm, and then paint them.


Using Beemax hives is rather untraditional, but here is a good example of what wood does in the Florida humidity. This is the top of a wooden frame I purchased last year. Plastic frames and hives may be unorthodox, but so are bees in the back yard.


I also put together two NUCs following the plans on beesouce.com. There is something very rewarding about building your own stuff. Below I’m practicing a lesson learned from last year. YOu need to make sure both the wooden and plastic frames don’t fit snuggly in the NUC. Also leave extra room for the wood frames to expand; otherwise they may not fit later on.


I like my tops and bottoms to flare out an inch or two.

First coat of paint drying, I like the new color. The yellow gallon is not gone; I’m just looking to add some more color out at the bee garden. This gallon of paint came from the reject shelf at Home Depot, I wonder if it was mixed incorrectly or someone thought this color would had look good on/in their house. Their loss my cheap gain.

Last chore of the day was inspecting the NUC that has been housed in the 10 frame box. I wanted to make sure these ladies had enough to eat after the cold spell we had. When I brought this NUC home, I just placed it on top of my hive stand. Watch the video to see me remove the traveling/double screen bottom. I removed the top to make the hive lighter, then I place a thin sheet of fiberglass to keep everyone inside until it had been moved, kill some small hive beetle with my hive tool, and finally I inspected it.


Here are some cool pictures from the inspection. The neat assortments of rainbow yellow colors are pollen,


there is also a lot of uncap nectar,


and good laying patterns.

Here is how the hive stands now. I had some extra honey from last season, and since it is low on honey/nectar stores …… It is getting fed.
Next weekend, my eager NUC joins the ten frame Hive club.

Powered by WebRing.
Powered by WebRing.