Monday, May 11, 2009

TBH Package Follow Up

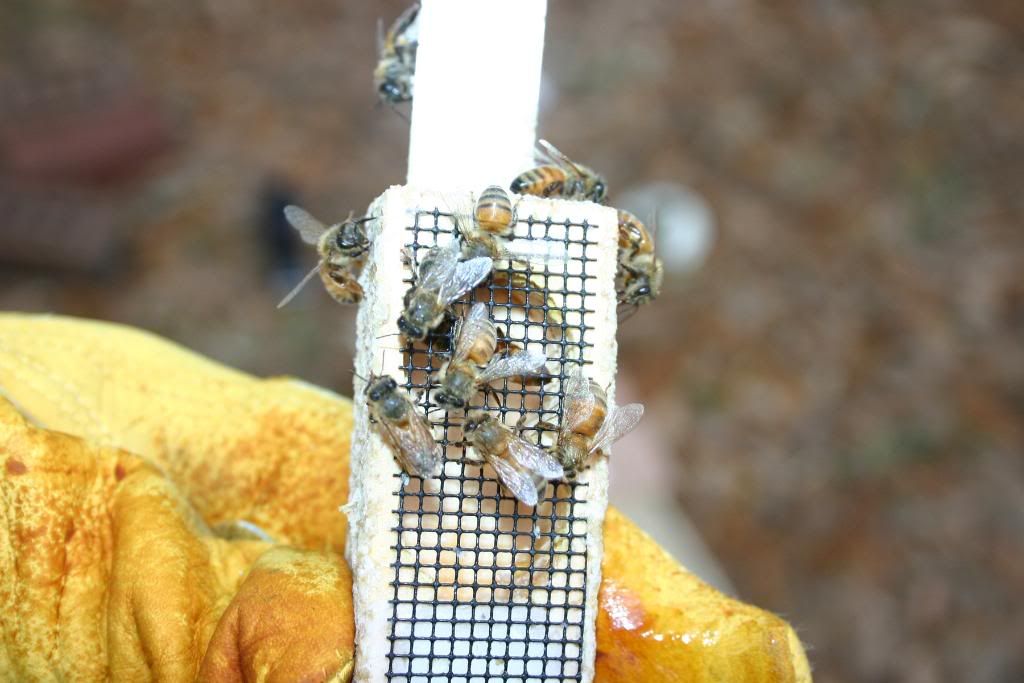
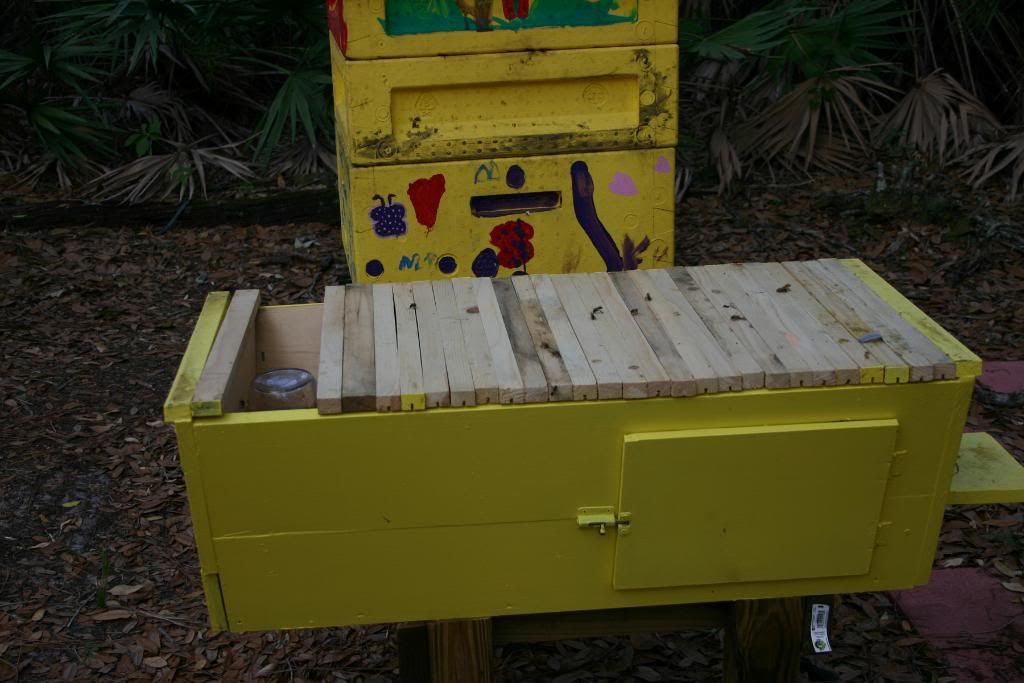
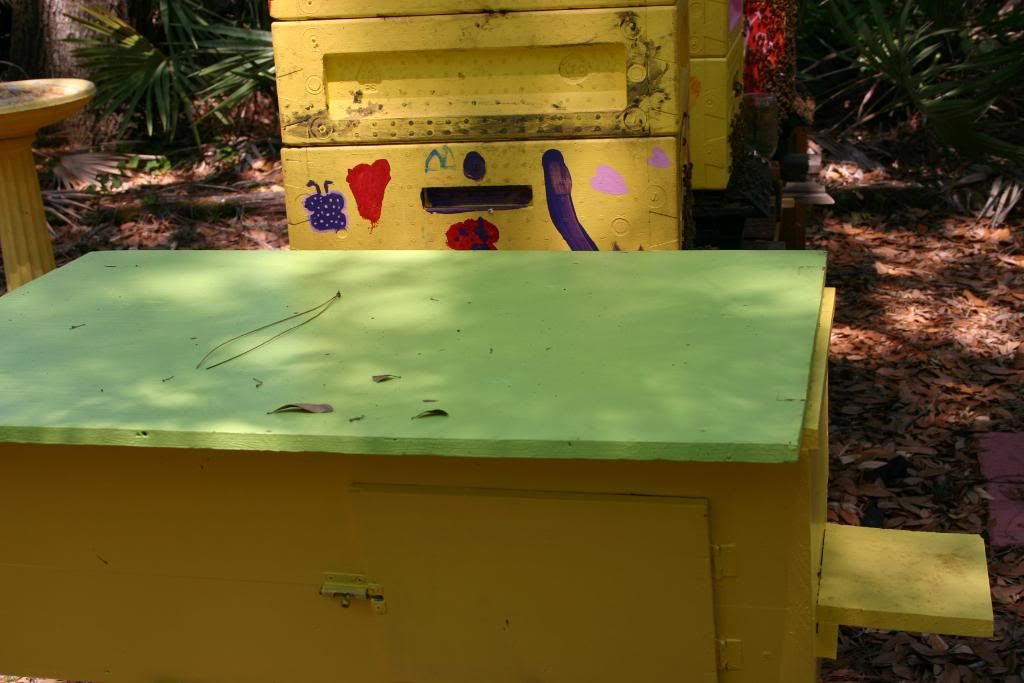
An inspection to confirm that the queen was release from her shipping cage (click for picture) must be done four to five days after installing a package, whether it is in a Langstroth hive or in a Top bar hive. On Sunday, six days post package installation; I found time to look in on the two new packages, one in the TBH and the other in a regular Langstroth Nuc. Below is a side view of my TBH.
I gave the colony a great kick start by providing it with 3 partially drawn out top bars. Not only did the colony repair and expand the 3 bars I gave them, but they have already drawn out a fourth one. Below is my 1st picture ever of the inside of the hive. To get a better idea of the internal view, tilt your head slightly to the left until the hardware cloth on the bottom of the picture becomes the horizon.
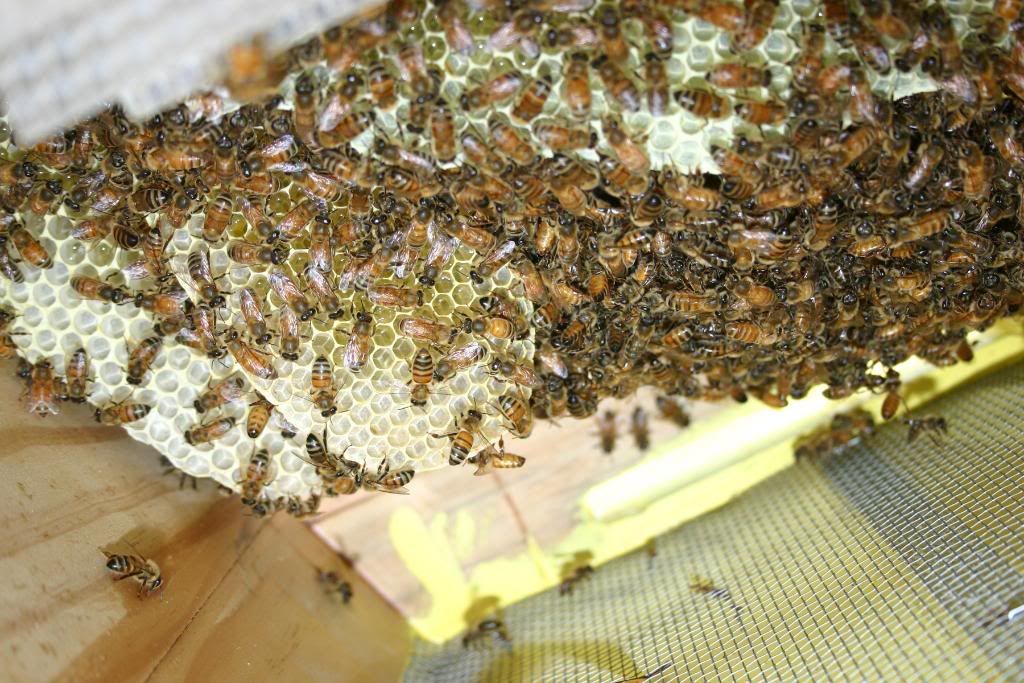
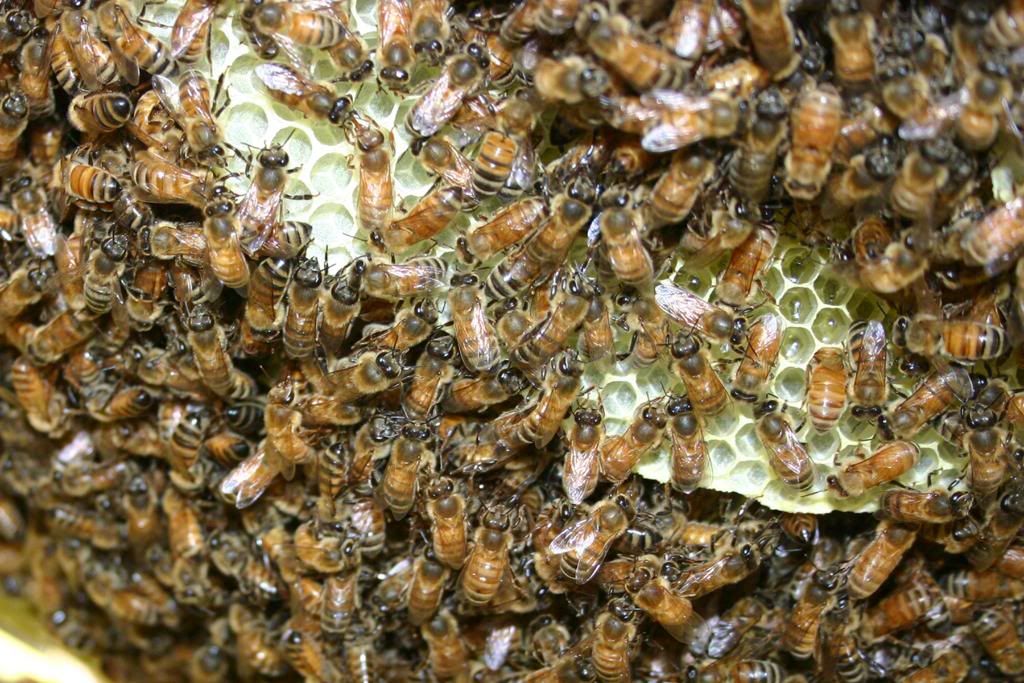
Brood is capped approximately four days after the eggs are laid. Since it takes 3 to 4 days for the queen to be release, there won’t be any capped brood six days after the package is installed. Not even if the queen began laying the minute she was release from her cage. It was hard to get a picture of any hatched eggs or eggs with all the bees hard at work on the honeycomb.

I gently slid the bars from back to front using a box cutter knife to unglue the bars. Many beekeepers claim to use a lot less smoke in Top bar hives, I did use a lot less smoke with this colony, but they are hardly up to full strength and hardly have anything to protect. My guess is that is too early to make a call either way on that myth. Once I made my way to the 3rd bar where I hung the queen’s cage, I gently and nervously pulled the bar out. I needed to remove the queens cage, but I was very apprehensive about dealing with new honey comb wax with no support what so ever. Unfortunately I didn’t catch a good picture of it.
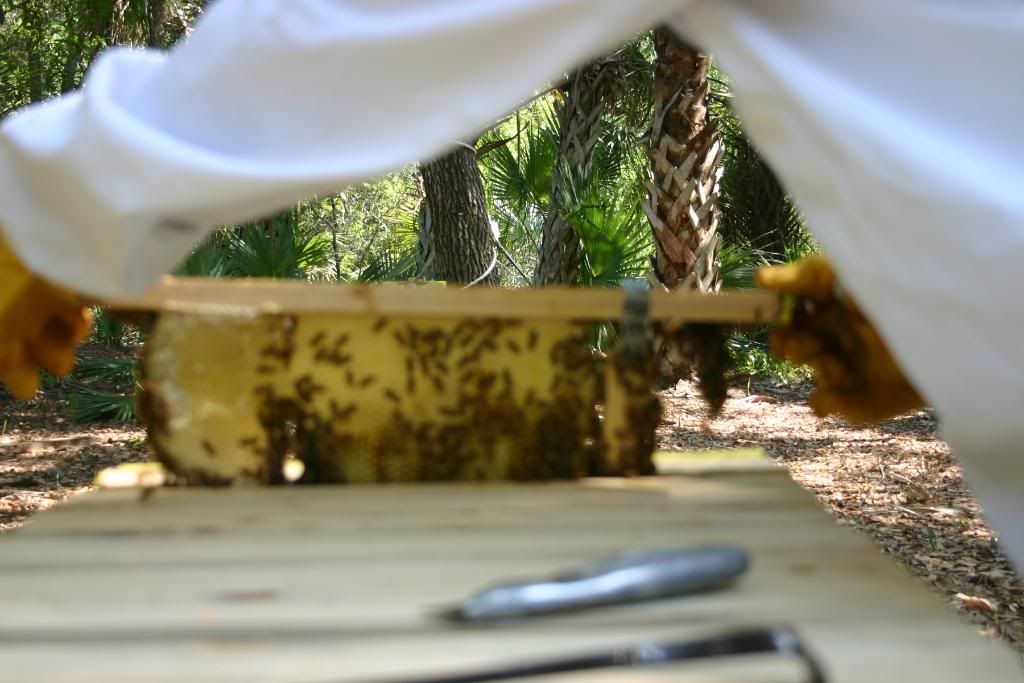
Below is my Top bar hive without its top after my 1st inspection. I’m very pleased with the end result of the design, the paint job colors, the incredible progress of the colony after only a week, and …………….. Wait a freaking minute!!!!!!!! What’s that on the 3rd bar from right to left?? Did I forget to remove the queen’s cage? But I removed the top bar; I have an out of focus picture to prove it!!!!!!! DO’H !!!!!!!!!!!!!!!!
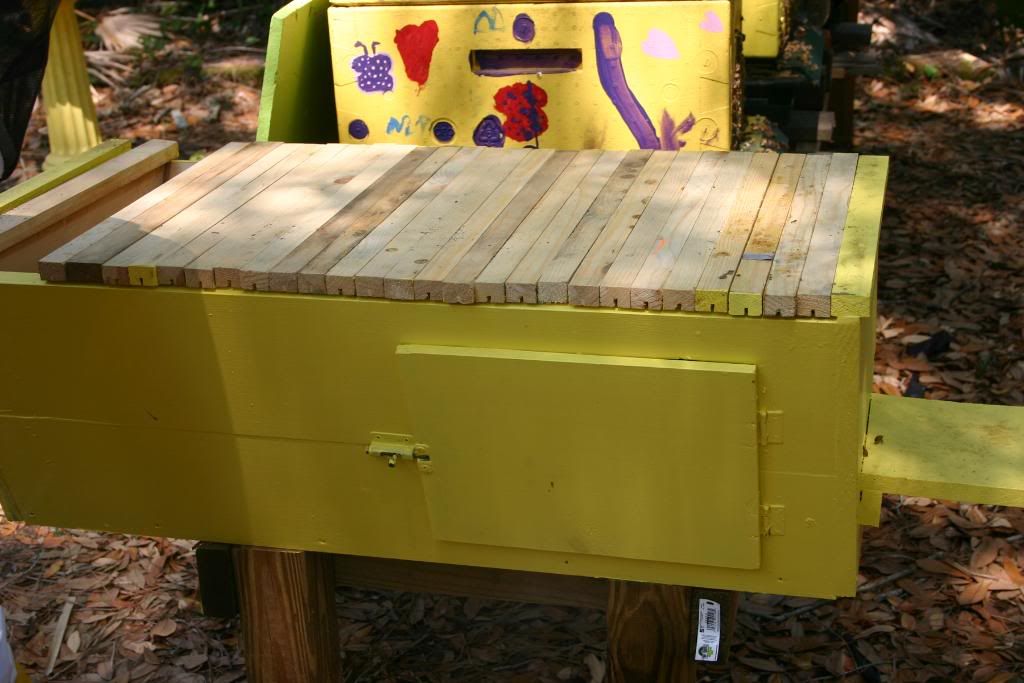
By next weekend when I do an inspection to see if there is capped brood, that cage is going to be permanently part of the honeycomb in that top bar.
Sunday, May 10, 2009

TBH Package installation

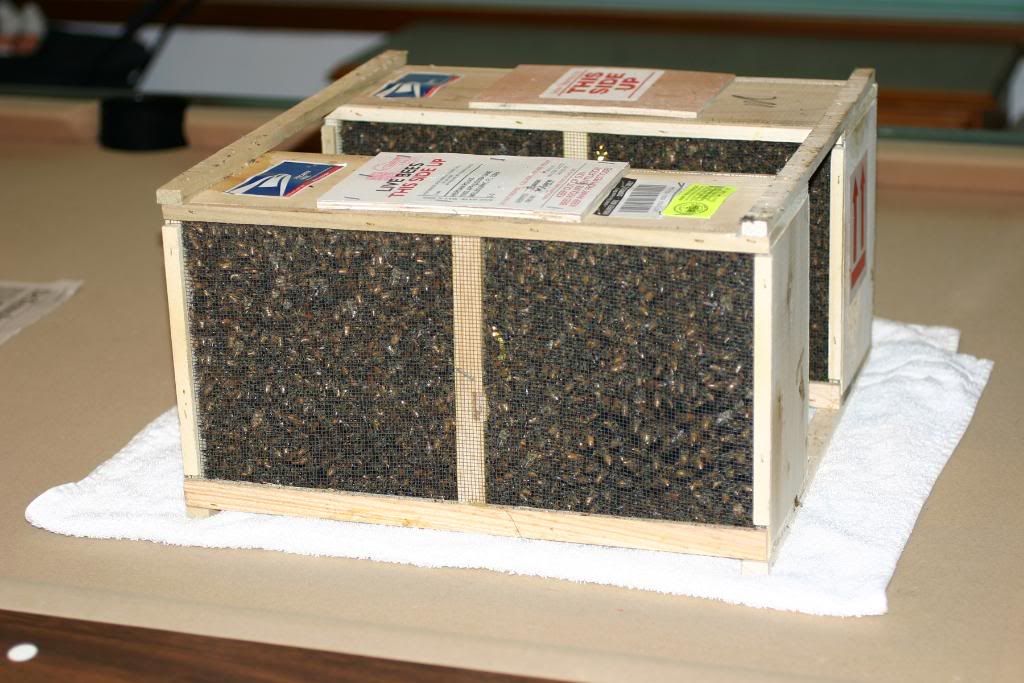
Thank you to TyraTech and Jason who paid for one of my packages in exchange for allowing them to collect a hundred or so bees. Wouldn’t you know it? My two packages arrived last Monday just about a week early. I arrived home from work after the Post Office had close, but I decided to call them to find out how early they open in the morning. I was thrilled when they told me I could knock at the back door and pick them up. Two buzzing boxes of bees really freak people out.

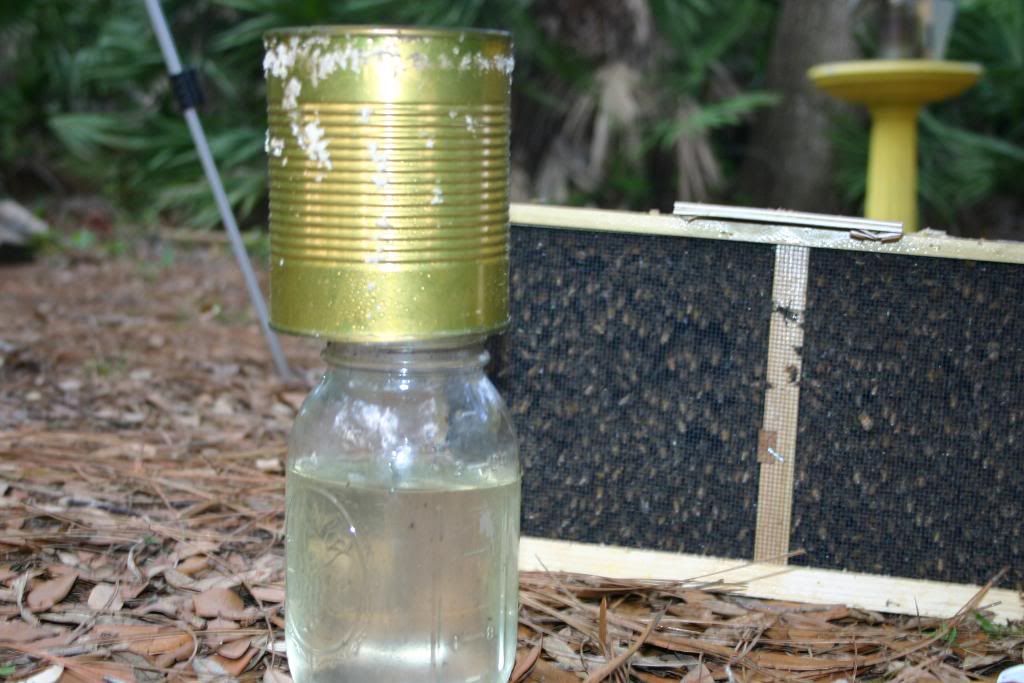
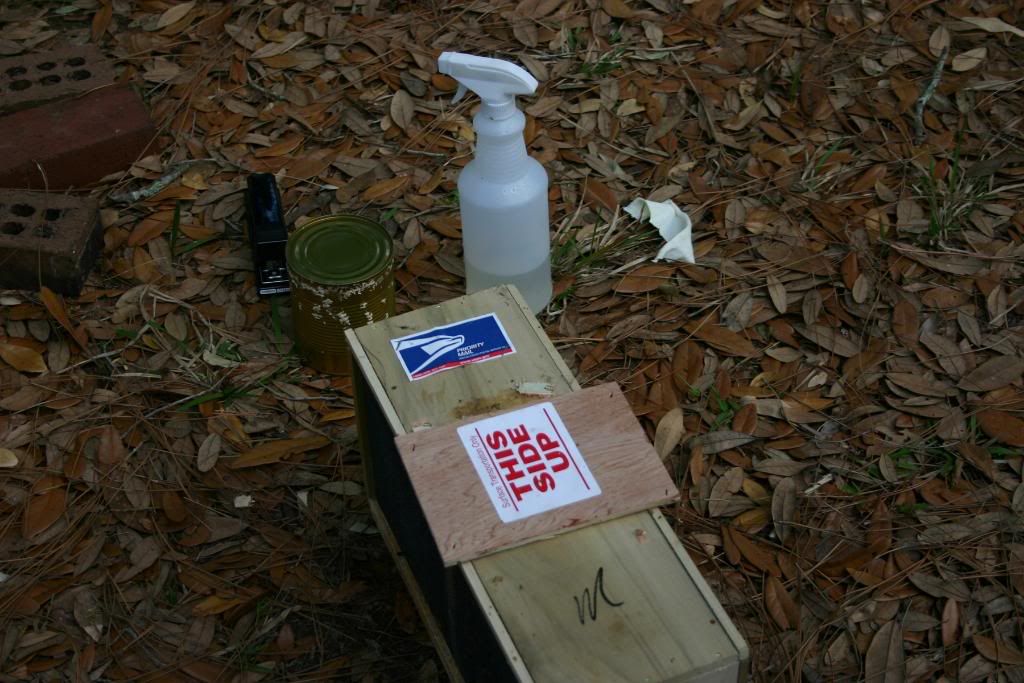
I was completely unprepared since the packages were not suppose to arrive for another week, but I made do and put together what I needed to install the packages that late afternoon. All you really need to install a package is a spray bottle with sugar water (1:1). The first step is to profusely spray the bees inside the box. Tap the box on the ground to drop the bees to the bottom of the box. Spray them some more, pry the syrup can cover, spray them some and tap the box on the ground once again. When pulling the syrup can out along with the queen cage, it is not a bad idea to spray and tap the box one last time. It is a good idea to keep the can cover handy to close the hole after pulling the queen cage out.
Inspect the queen and confirm she is alive and looks healthy/active. Then MAKE absolutely sure to remove the cork on the candy end of the cage. Place her in the hive using the metal tab to dangle her from one of the top bars. I chose to place her between the 3rd and 4th bar
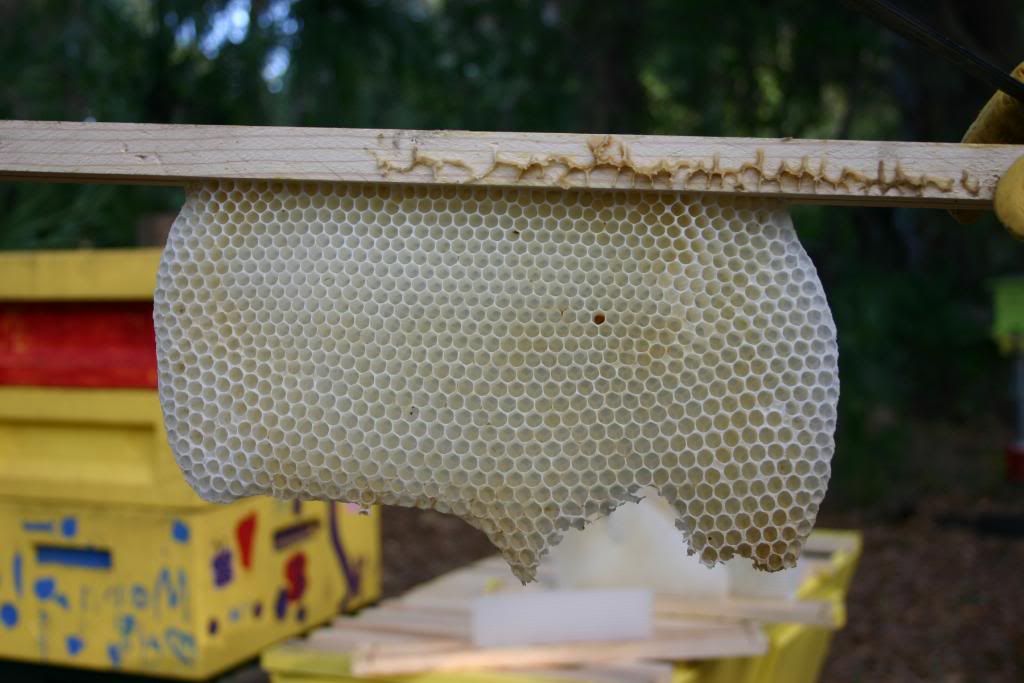
I placed one inch starter strips on all my Top bars, but I also outsourced (the current American way) some honey comb construction to my other hives. I removed one of the outside frames that had not been worked on from their Suppers, I slid all the frames out, and placed one top bar right in the middle of the supper for a total of four days. Below is one out of three bars with the results of the four days of work.
Although we are currently in a dry spell, the nectar flow is on. Some 10 ounce of sugar water and the remaining contents of the package’s feeder can is not going to hurt.
Now prepare the hive by removing enough bars to make a large opening in which all the bees can be dumped inside the hive. Before dumping the package spray them some more. The busier the bees are cleaning themselves the less likely they will fly out as you dump them in.
The picture below shows my TBH with the bars back in place. The metal tap to the right (front of hive) is the where I placed the queen’s cage, and to the left (back of hive) you can see the top of the feeder bottle.
Now leave them alone for at least 4 to 5 days

Sunday, April 19, 2009

Wax Melter

WARNING: Wear garden gloves or use heat pads. The Temperature inside the box will exceed 130F after an hour of sitting undisturbed in the sun. It’s hot enough to burn your finger tips if you touch the baking pan. Trust me, I know for a fact.
Key components:

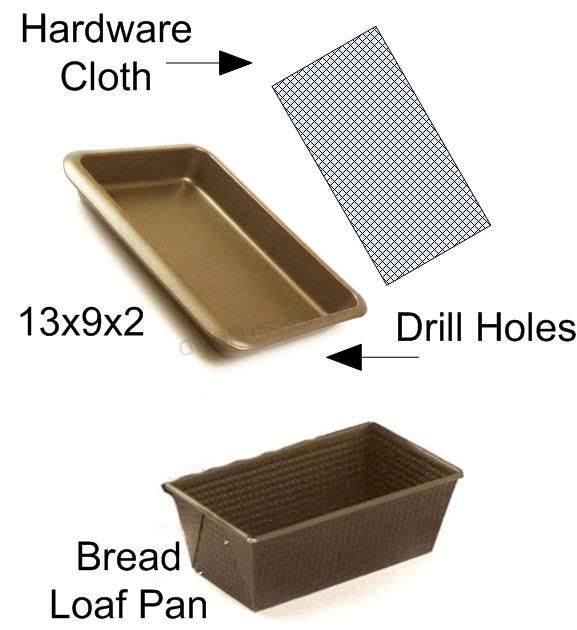
  • I chose a 13x9x2 baking pan to hold the wax to be melted $ 7.50
  • A bread loaf pan to catch the melted wax $4.50
  • Wood to build a box $6.00
  • 22x16 Pane of glass $6.50
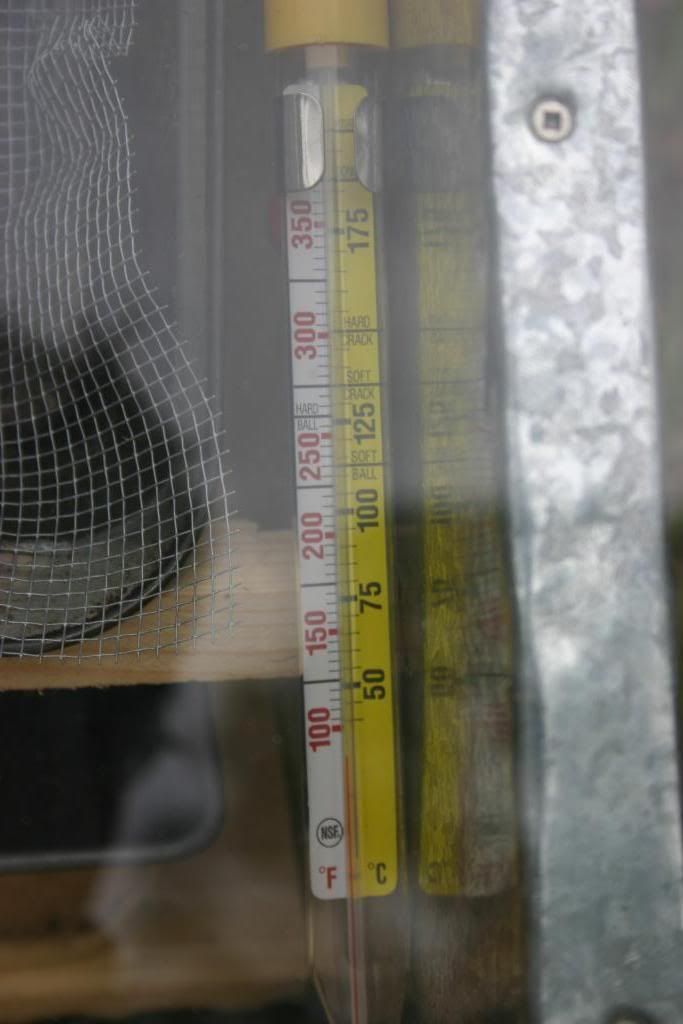
  • Optional candy thermometer $2.50

It is not a bad idea to take the new purchased pans into the kitchen and swap them for an older set. You will need to make a wooden box big enough to accommodate the pans; the larger pan must drip into the smaller pan. Then make a frame for the pane of glass and seal it all with some door and window caulking.


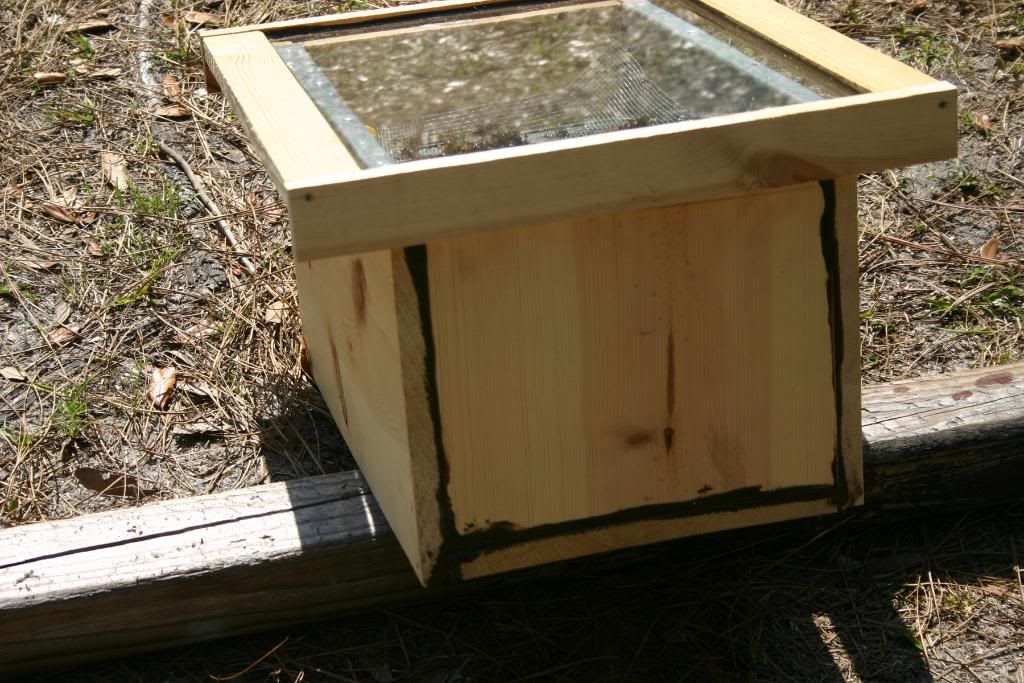
Here is the box sitting in the sun. The dark lines along the seams of the box are door and window calking.
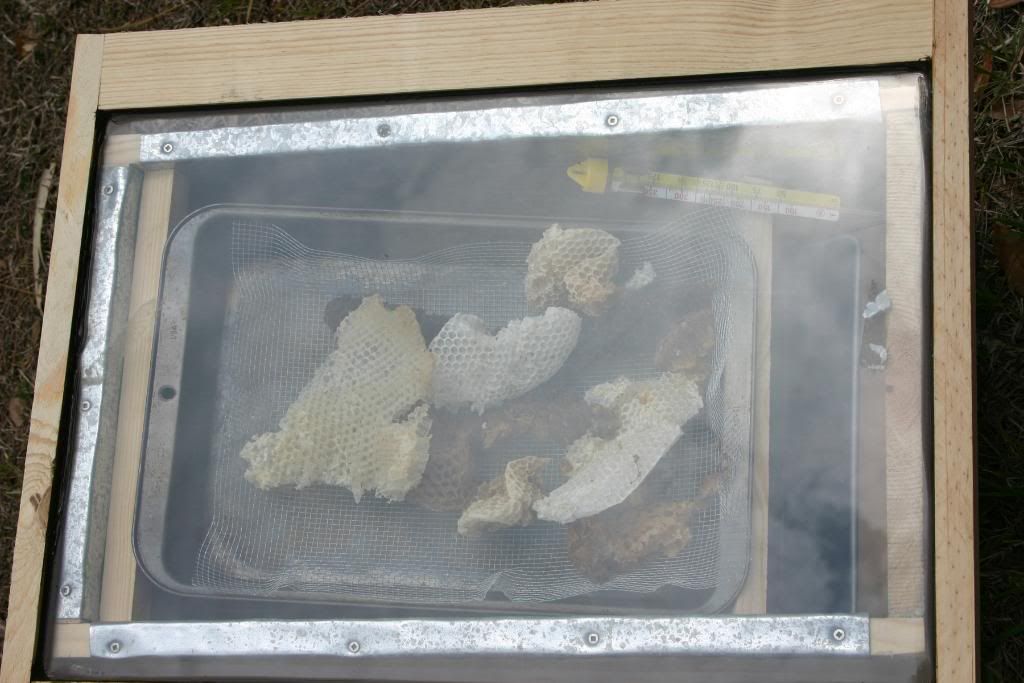
I made a bed on my holding pan with hardware cloth to filter larger pieces of wire out of the starter strips and whatever else may be in the wax. It also holds the wax off the pan so that heat can reflect off it.
The old wax from brood frames is not a good wax to try and melt. It’s not only ugly but it never melts enough to flow out of the top pan. I had mixed wax from old brood frames that were replaced, and wax left from the crush and strain process obtained while robbing honey.

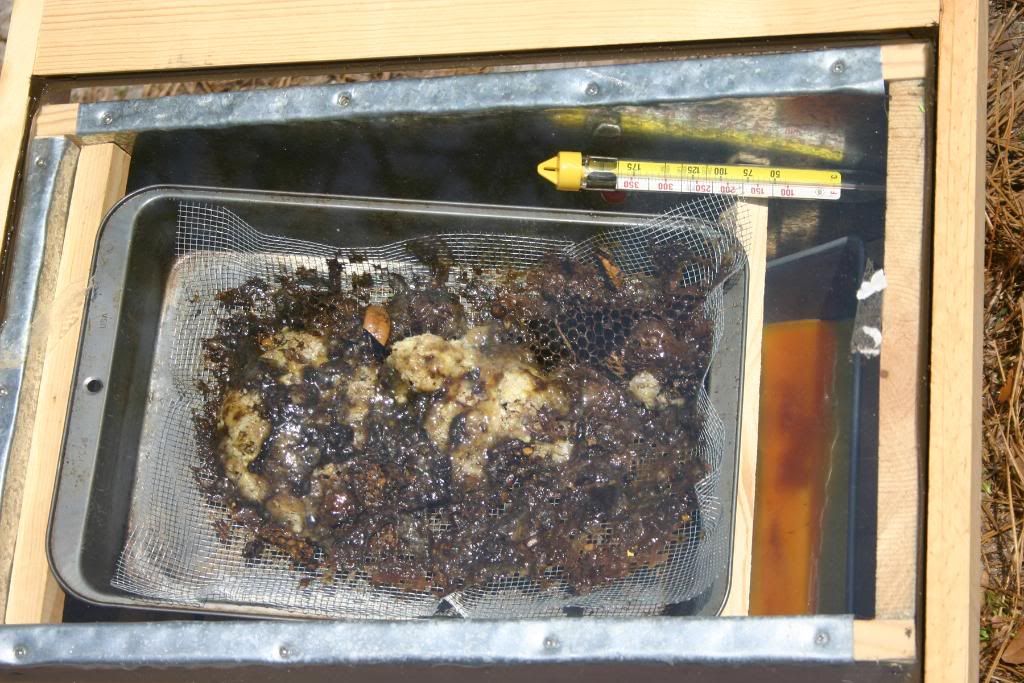
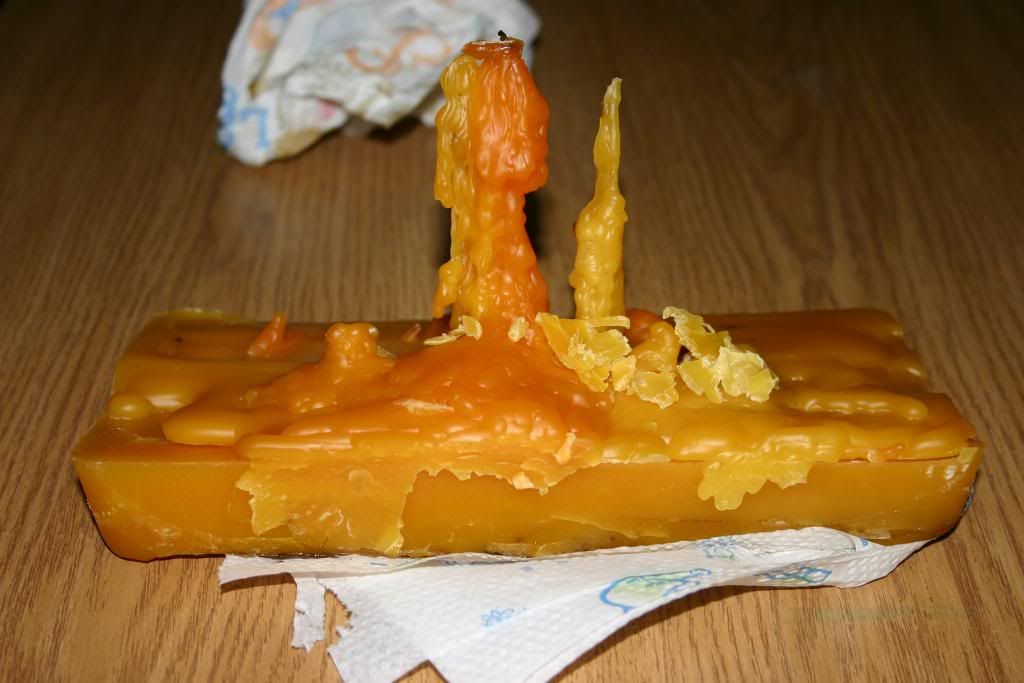
Below is the result of my 1st solar wax melter trial. The stalactites of wax were formed because the sun went down before the wax in the holding pan had dripped down.

A few more hours the following day did the trick. Notice in the picture how one side of the wax is thicker than the other. The pan in the melter is not level. Allow the pan of wax to cool down over night. Once the loaf of wax is cool, place the pan and wax for five minute in the freezer. Remove and immediately twist the pan to remove the block of wax out of the pan.
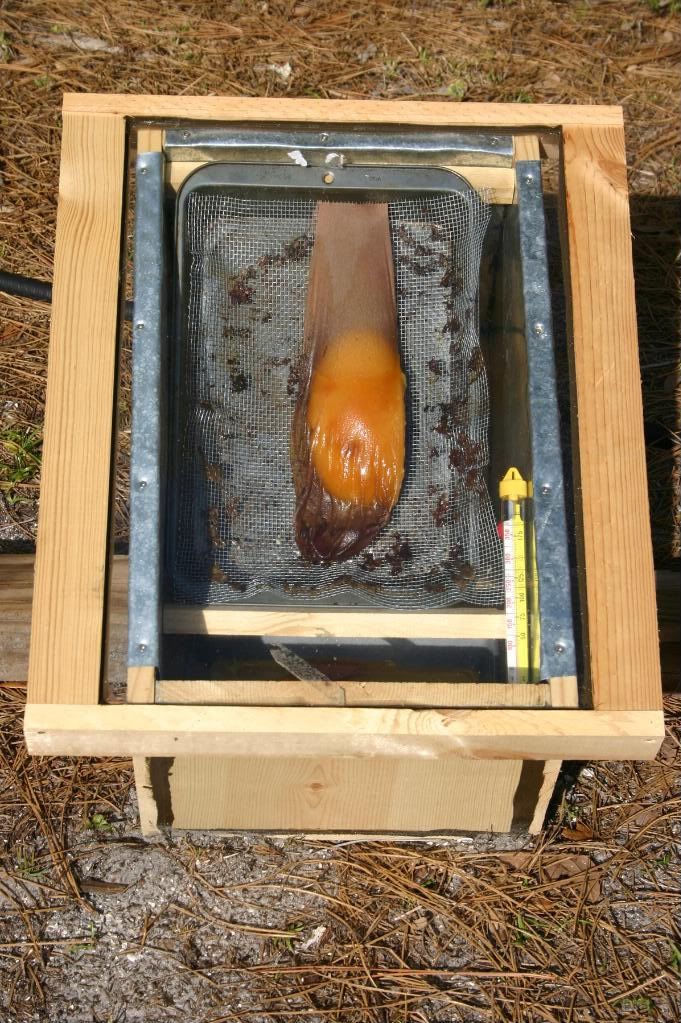
This block of wax has really not been properly filtered out of impurities. Some people choose water in the collection pan. The wax sinks and the impurities float, therefore separating the two. Others use paper towels or coffee filters as a filter medium. I decided to use an old pair of panty hose. Below is my block of wax in the panty hose melting once again in the solar wax melter.

The weekend was clear, sunny and high of 82. The solar wax melter reached a temperature of 90 within 10 minutes, and within the hour the temperature inside the box had reached 130 Fahrenheit. That was hot enough for the wax to begin flowing down
Time for candles?

Powered by WebRing.
Powered by WebRing.