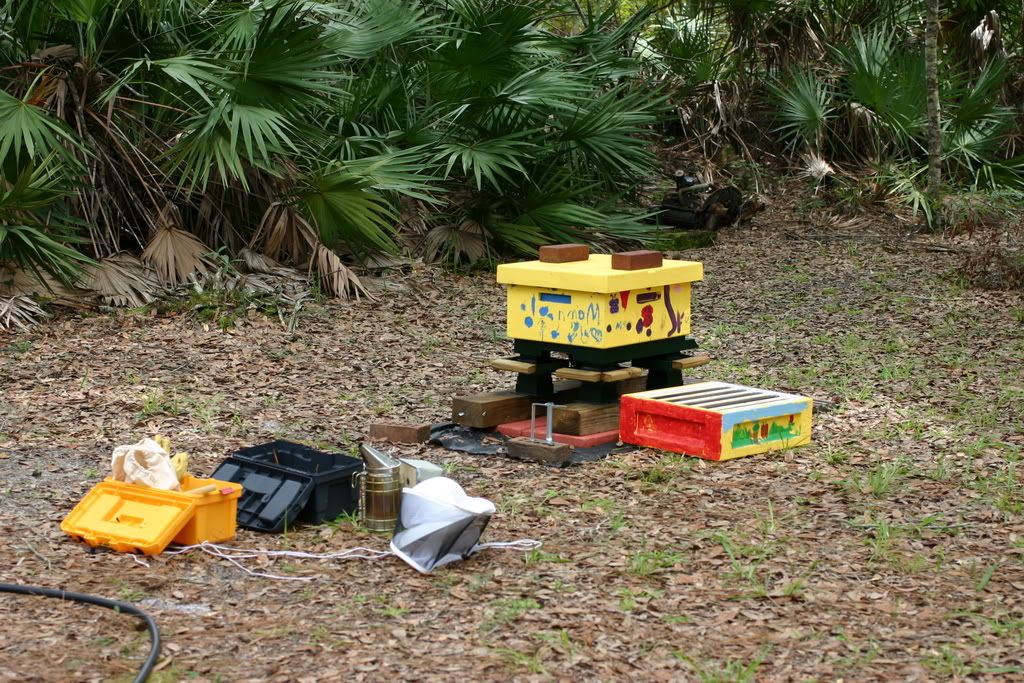
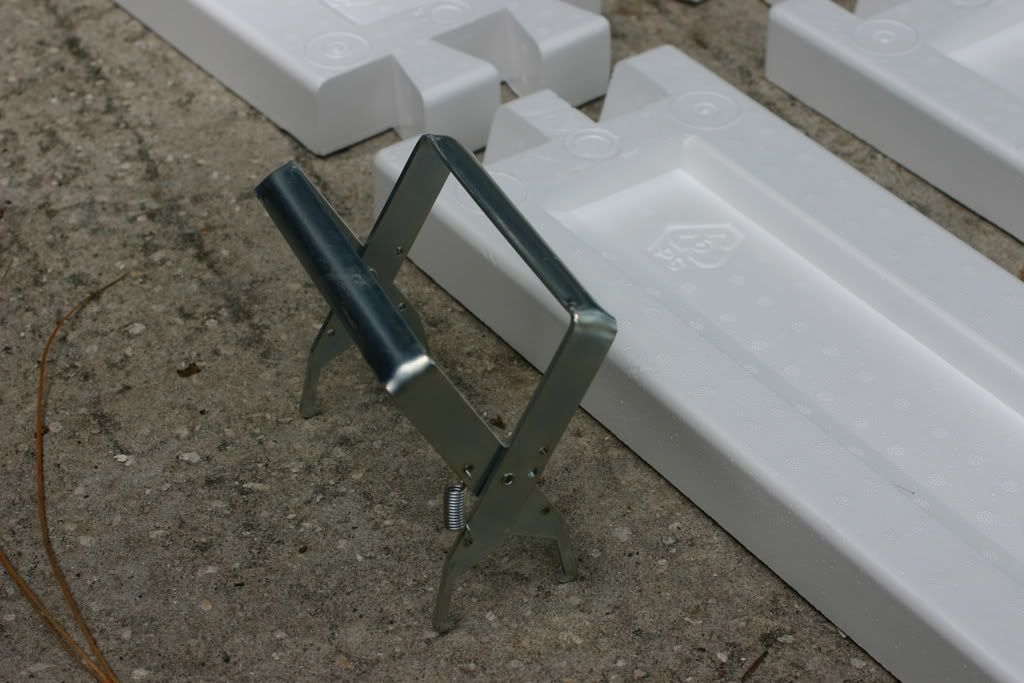
I’m getting better and more confident at inspecting the hive. Armed with my new frame grippers, things went smoother than they ever have. Not perfect, but smoother. The picture shows my two tool boxes, one has my actual tools (frame gripper, hive tool, a couple of screw drivers, and beekeeper gloves just in case). The second tool box holds my smoker fuel (pine bark and pine needles). I collect those when the weather is good, with the afternoon showers; you just never can count on finding any dry needles or bark. I usually put a layer of pine needles, then pine bark, and finally another layer of needles. Not in the picture is my butane welding torch. I took the picture on my way back from having to go get it. The torch is probably a little of an overkill but one blast of the torch and the smoker is lit from top to bottom.
I’m still toying with the idea of making a new hive top cover or modifying the current one. It fits too snug, and the bees do such a good job gluing it down that it takes a lot of patience and wiggling to pry it off. I might cut the front and back telescoping sides to be able to insert my hive tool to pry it up. The worst of the summer is over, so I don’t think I’ll need to vent the hive, but making a top entrance, and venting by lifting the cover would be a lot easier if I modify or make a plain top cover.
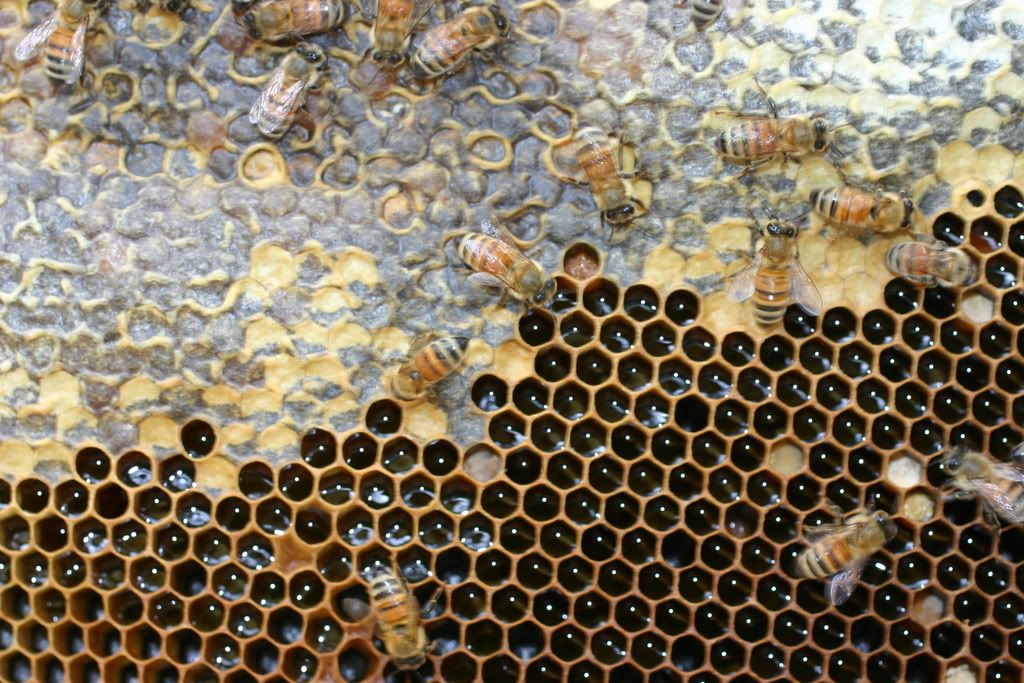
I gave the hive its usual puffs of smoke under the screened bottom, the entrance, and once I had the cov er loose in the top. I readied my frame puller, waited a minute, and WITH OUT my beekeeping gloves proceeded to open the hive. I had never pulled the frames on the east side. I pulled frame 9 , it is completely drawn out, but the outside of it is empty, opposite side of it is full with 80% uncapped honey (picture) . I placed that frame on top of the top cover, and leaned it on the body of the frame.
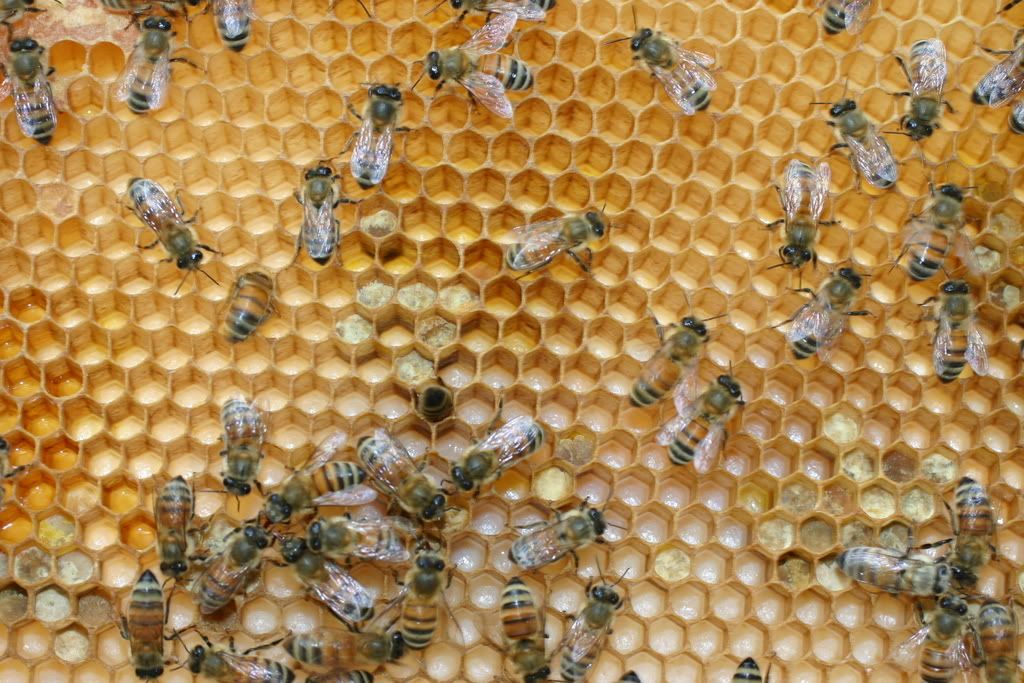
 When I pulled frame 8 I was surprised at how heavy it felt. It was full of Pollen and honey (picture) , not a single cell open. I replaced it but moved it out, to get better access to Frame 7.

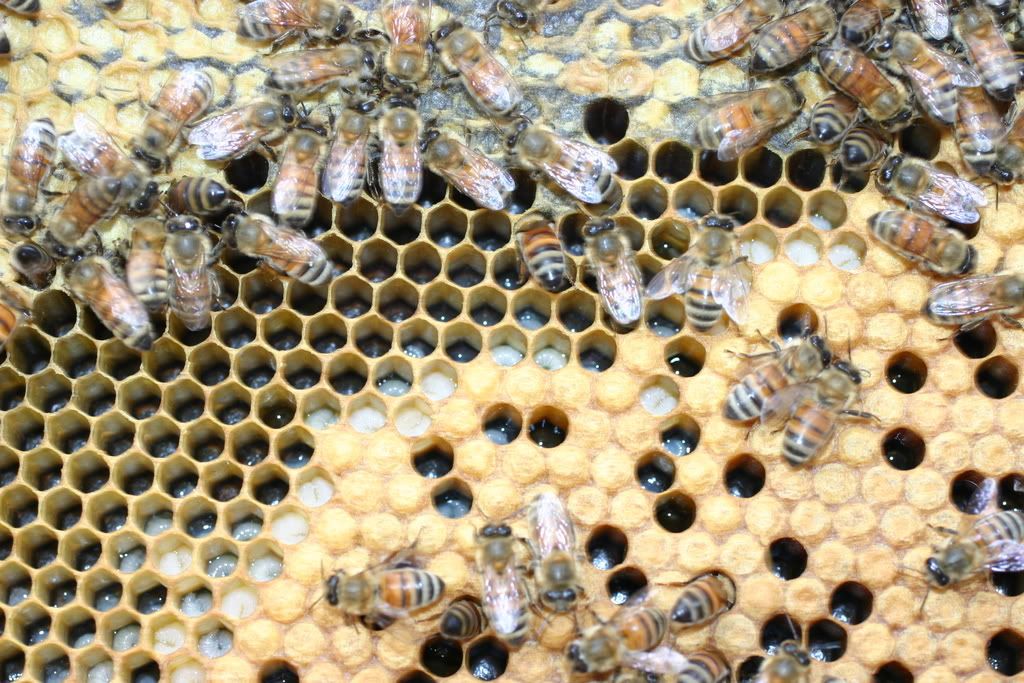
The outside of 7 was full of caped honey, but the inside was full of brood. Mostly workers but also a hand full of drones on the edges. I'm very surprise they are raising drones so late in the season !!!!!!
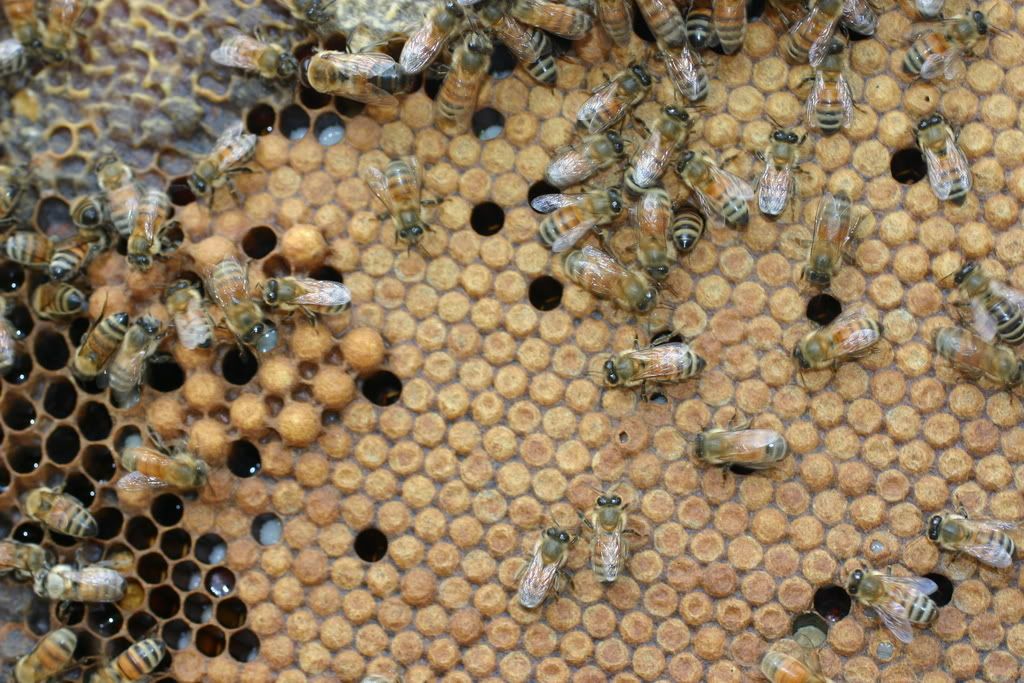
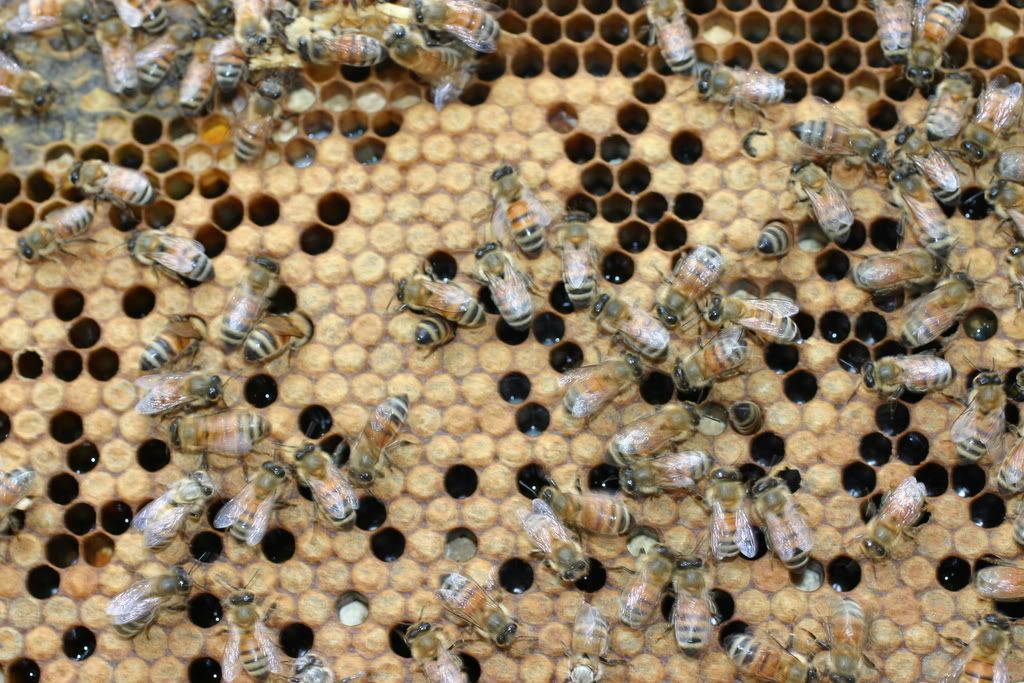
 Frame 6 was nothing but brood from top to bottom (see picture), a little bit of capped honey on the upper outside corners. Frames 5 and 4 were the typical capped honey on top, a band of pollen below that, and then the capped brood. I’m no expert, but I think I have a very good laying queen. I was getting hot again, and a wasp stung me as I was putting my hat and veil on. Not sure where I picket it up, but it was in the veil's netting, I though it was dead so I pulled it off, it then flew right at my cheek and stung me. Two feet away from thirty thousand bees, and a wasp gets me ...... what are the odds???? Either way, my face hurt, and I was getting very hot again in 92 degrees. So I called it a day.
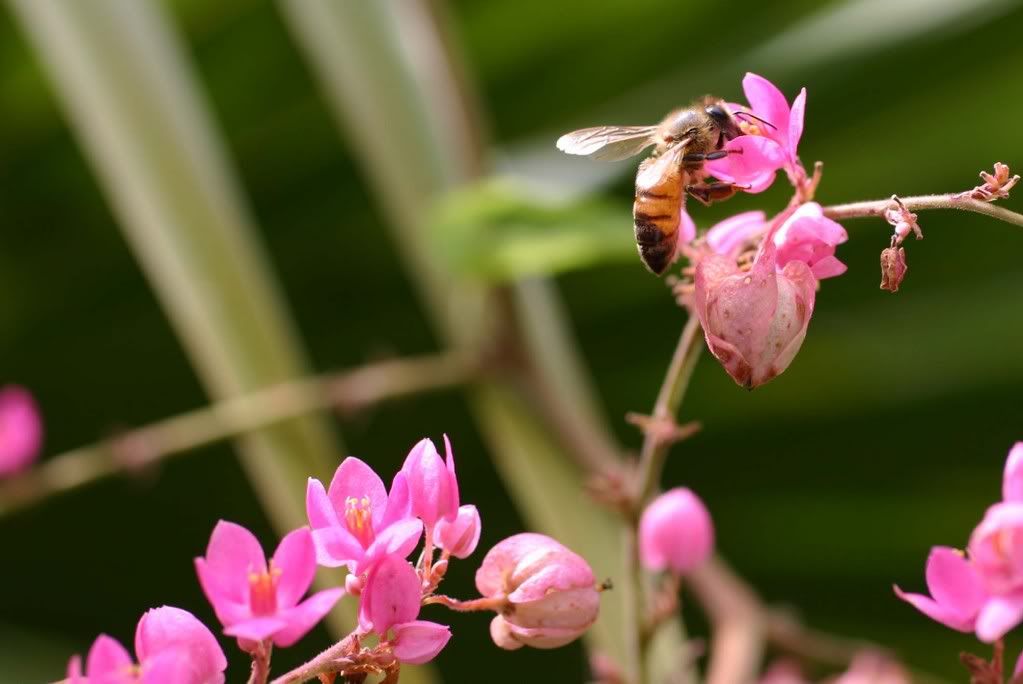
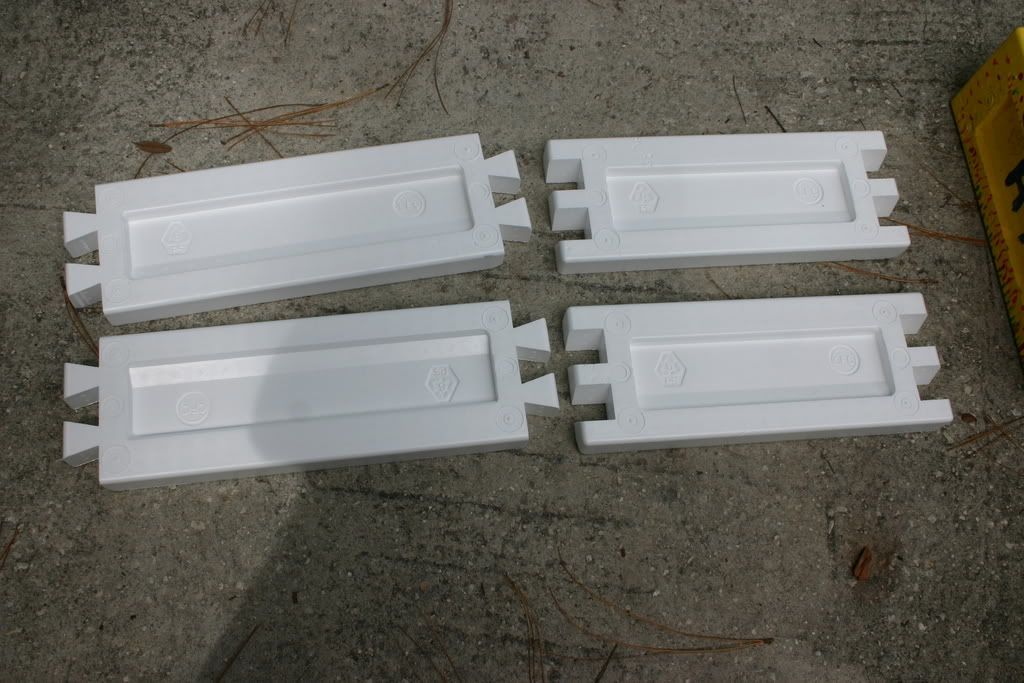
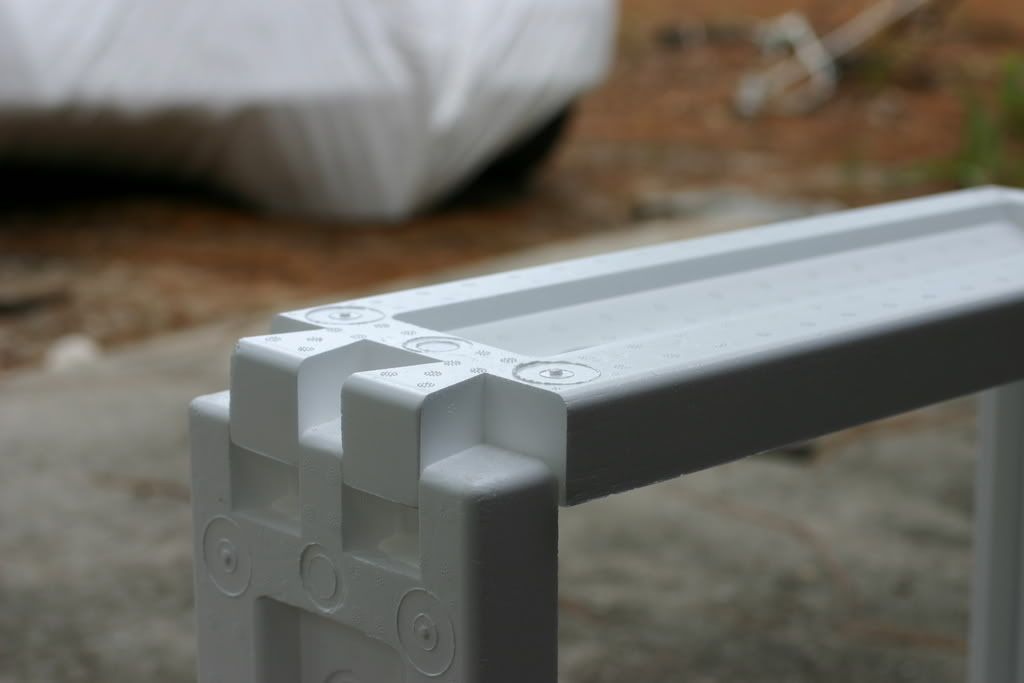
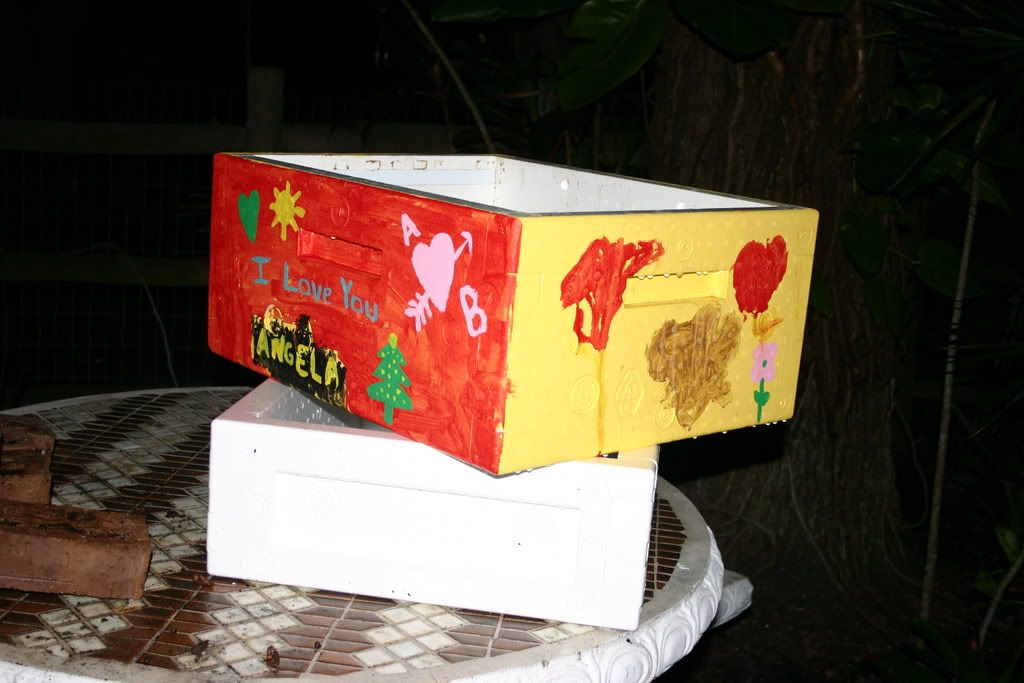
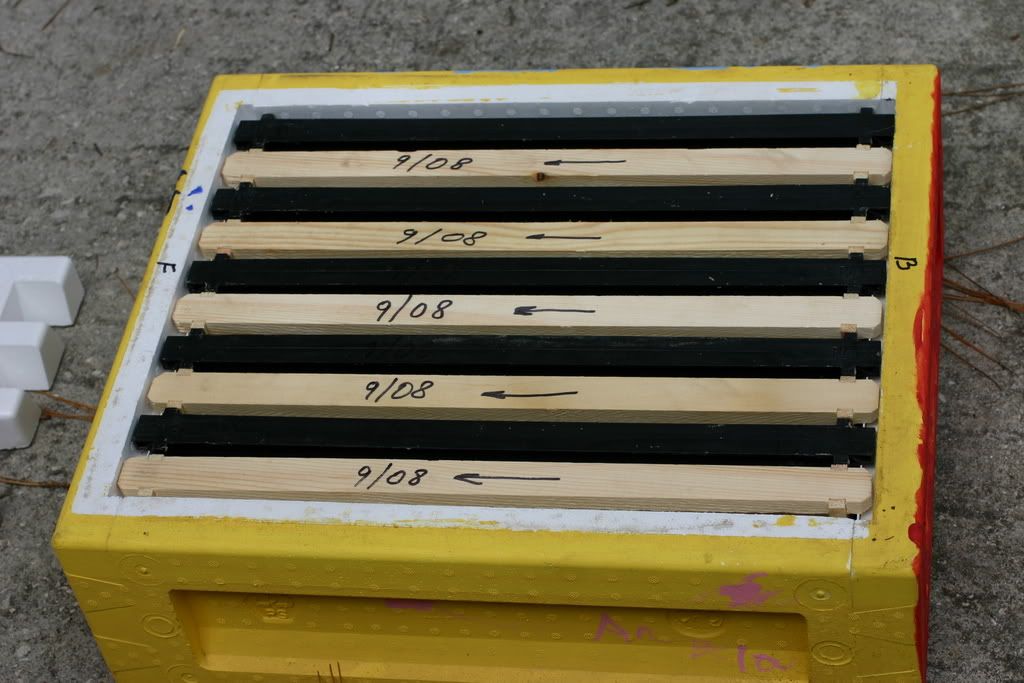
 I’m very satisfied with the progress, but also slightly worried that they might decide to have a late swarm. The queen has a lack of laying space in the brood frames, there is just half of one frame empty for food stores, they are raising drones, and we are having very good Florida weather. My Hyacinth plant even had a second bloom. Notice in the picture the first batch of flowers going into seeds, as the bee works the second blooms from this week. I decided to place my medium supper on. I have no intention of harvesting any of this honey, if they even decide to move up, but it would be nice if they worked some of it to make sure there is enough food for the winder. You know that week or two that we might hit 30 Degrees Brrrrrrrrr. If they do move up, then next spring I can just put in my queen excluder, let what ever brood might be there hatch, and then it can be use for honey stores. I’m also very curious to find out if they prefer plastic or wood, foundation or foundationless.
My mistakes during this inspection:
- Assume the wasp in my veil was not alive
- I forgot to pull frame 10. I know is drawn out, but I have no clue if the bees are using it yet
- Change the macro lens to the wide angle lens. I get some awesome detail with it, but I don't get the entire frame in one shot
- Forgot to clean the old queen cells
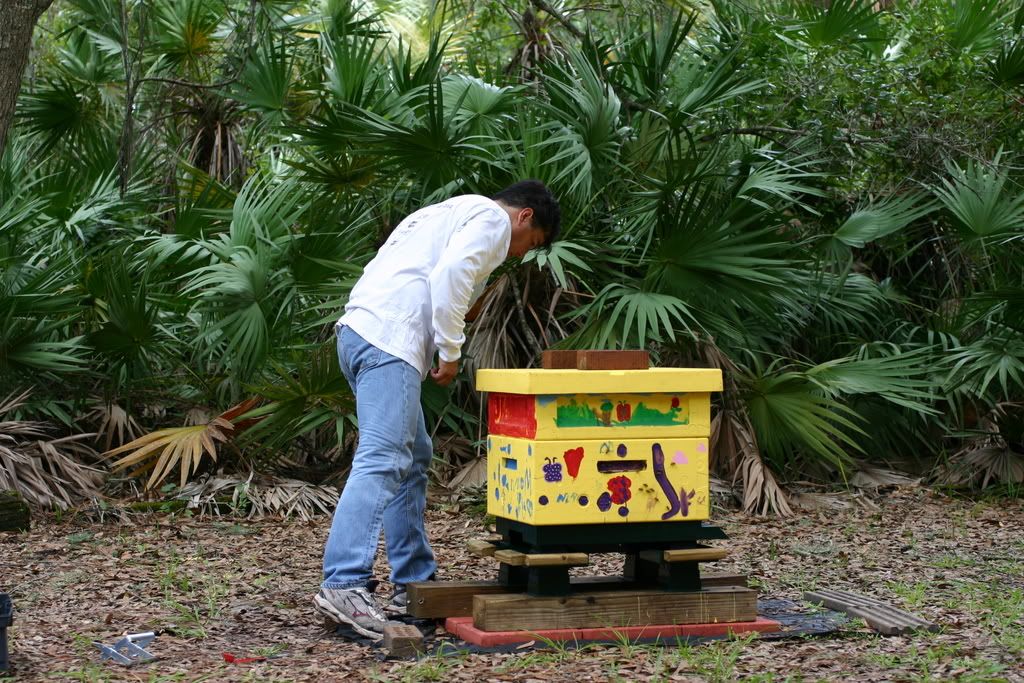
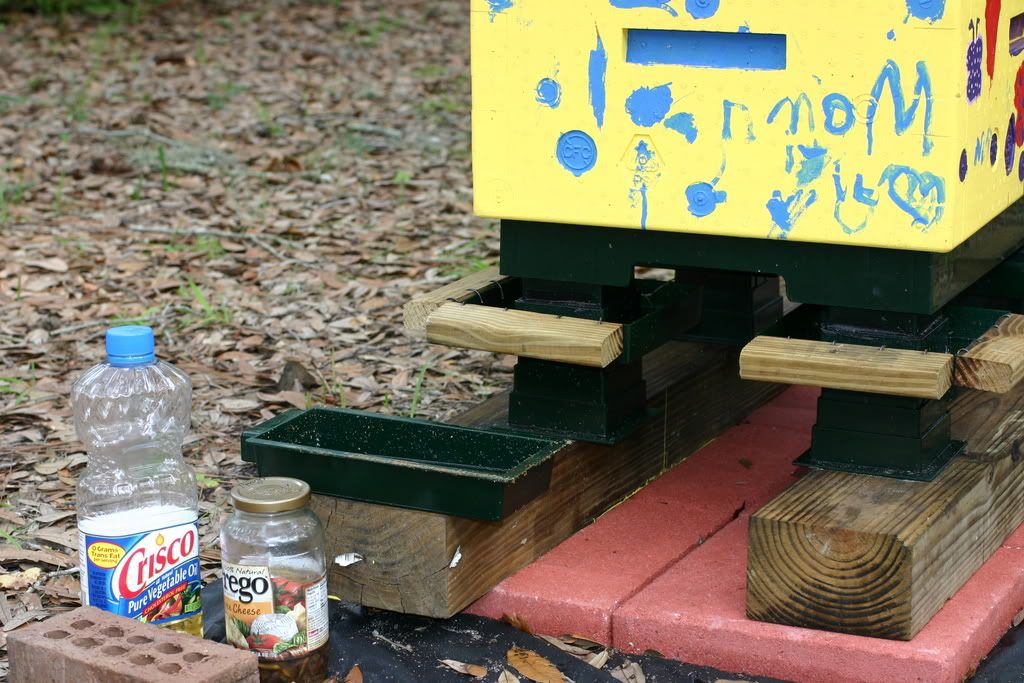
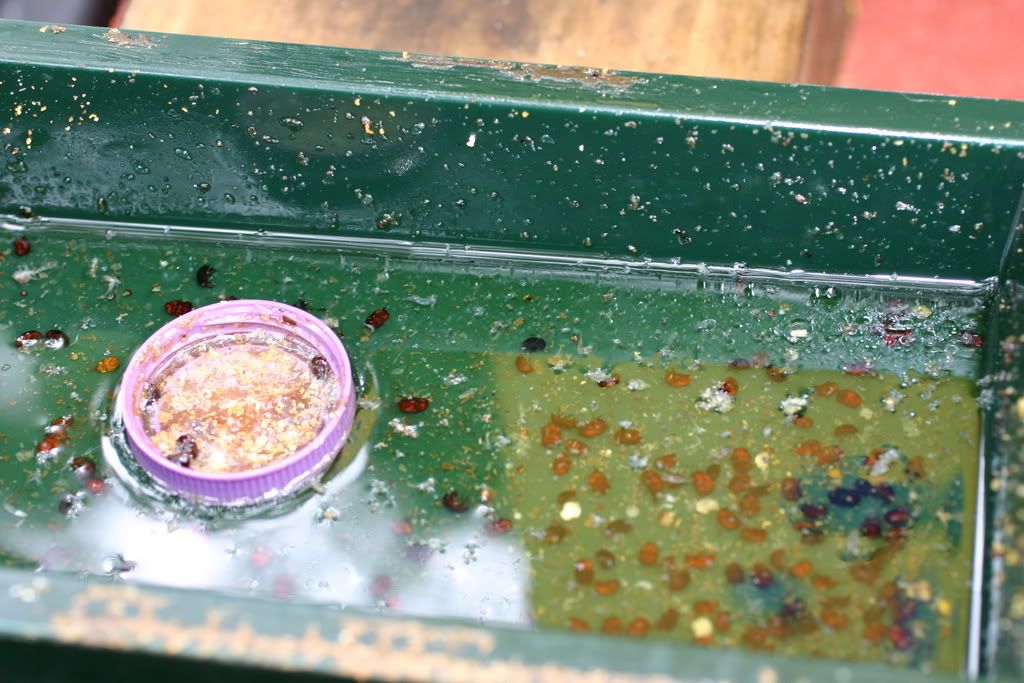
Here is a candid shot of yours truly. I did wear my hat and veil, Jeans, thin long sleeve shirt, but no gloves. I'm just making sure the new super is lined up correctly on the body. My final thing for the day was to reload the bottom inspection drawer. Second picture shows it, the Prego jar is where I keep my bait, and the tall bottle is my vegetable oil. All the pictures in this post were taken on Saturday, except for the last picture that shows how good my bait and trap are working. I like to add that I saw no Small hive beetles in the hive, nor did any show up in the pictures. They are all in the trap. My attempt to bait and trap outside was a failure. Did nothing but attract ants into it (not a bad thing mind you), and the one away from the hive kept getting tipped over by some critter.